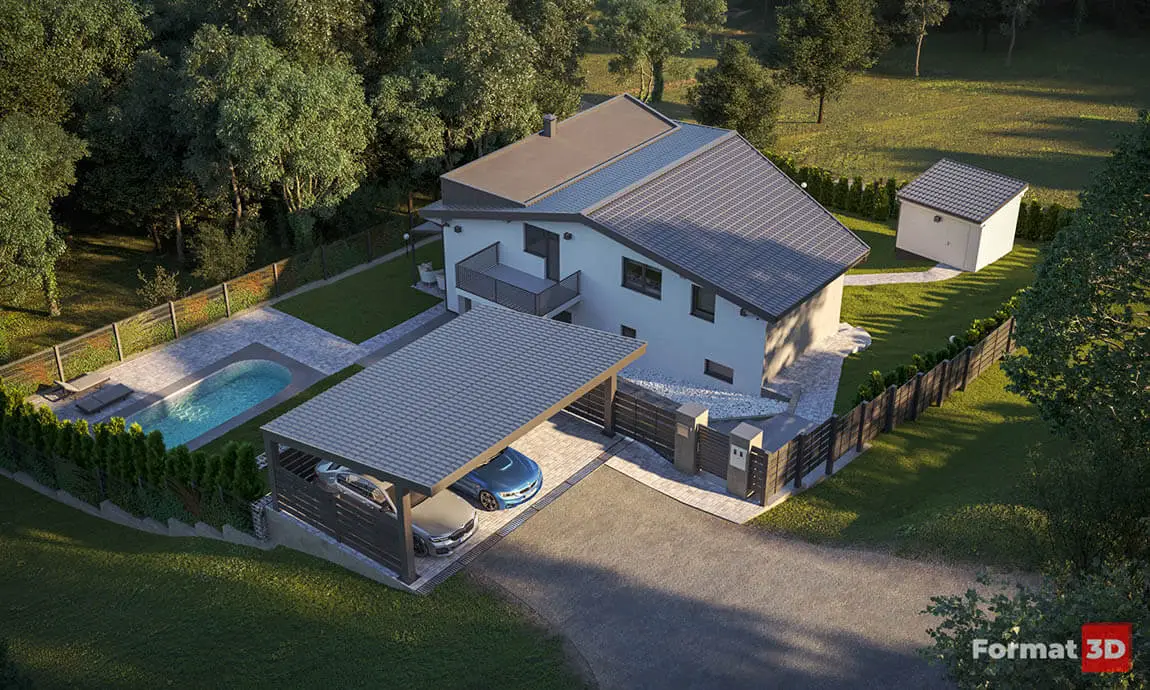
Recently, we have been receiving more and more requests related to visualizations and renovation projects of family houses. Therefore, we decided to create a case study about the process of creating exterior 3D visualizations of a family house in Zagreb, more precisely in the settlement Borčec near Sljeme, close to the Zelena Magistrala Road.
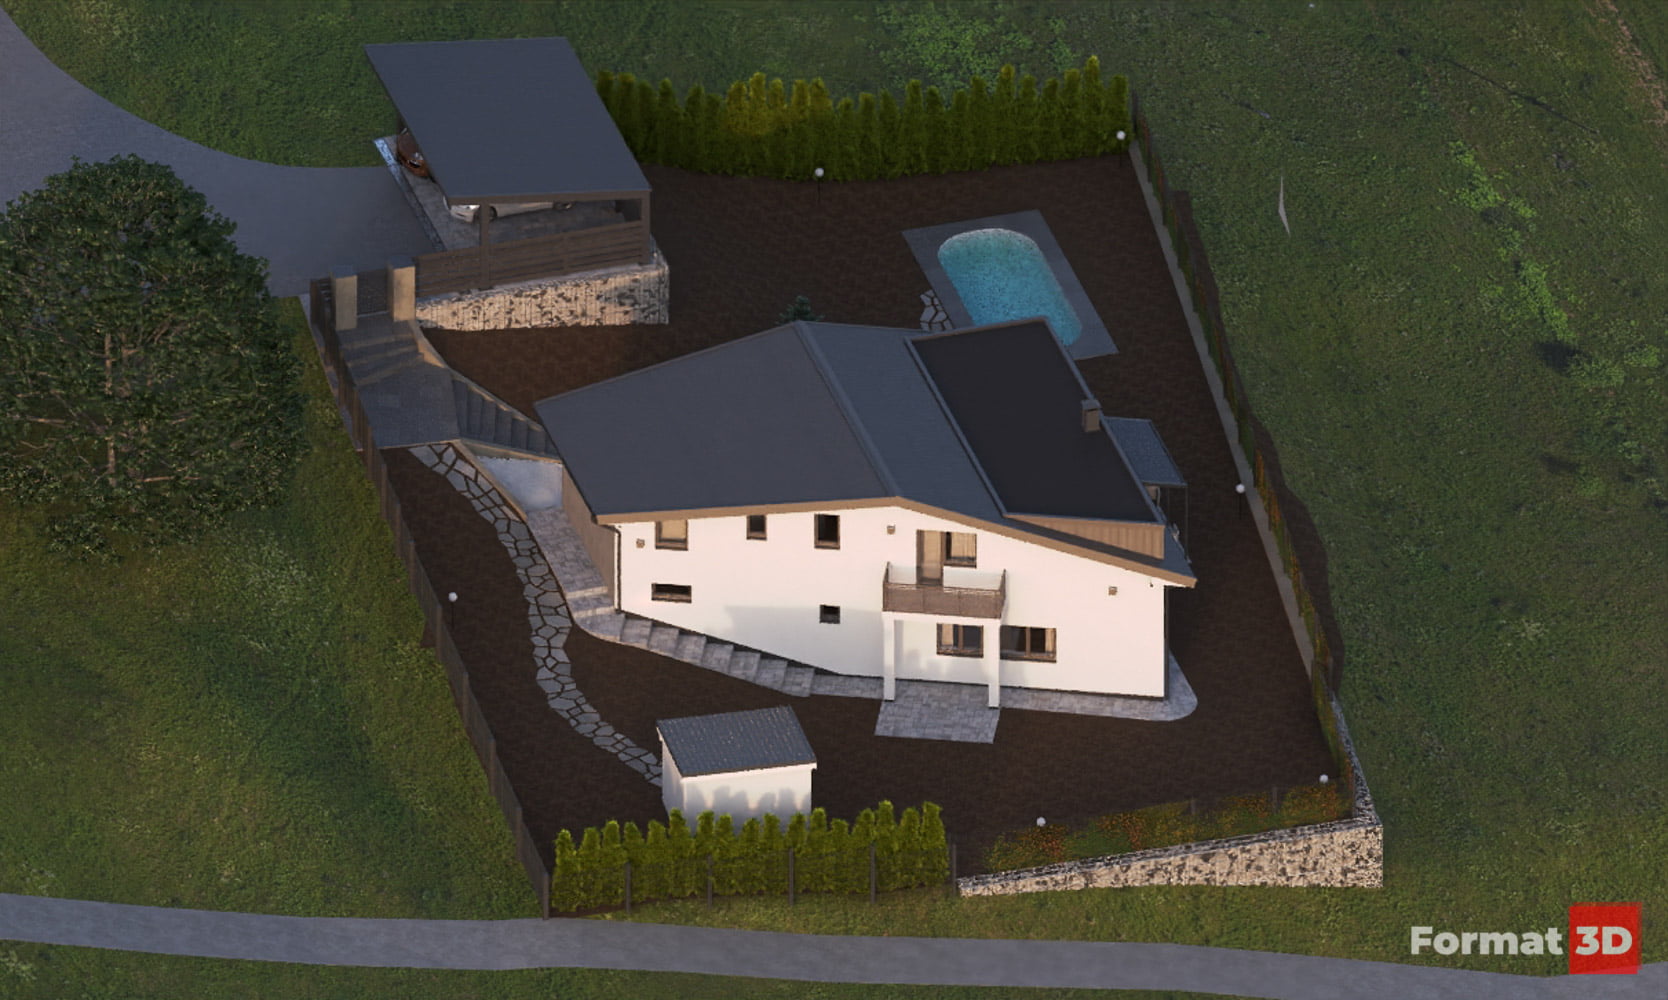
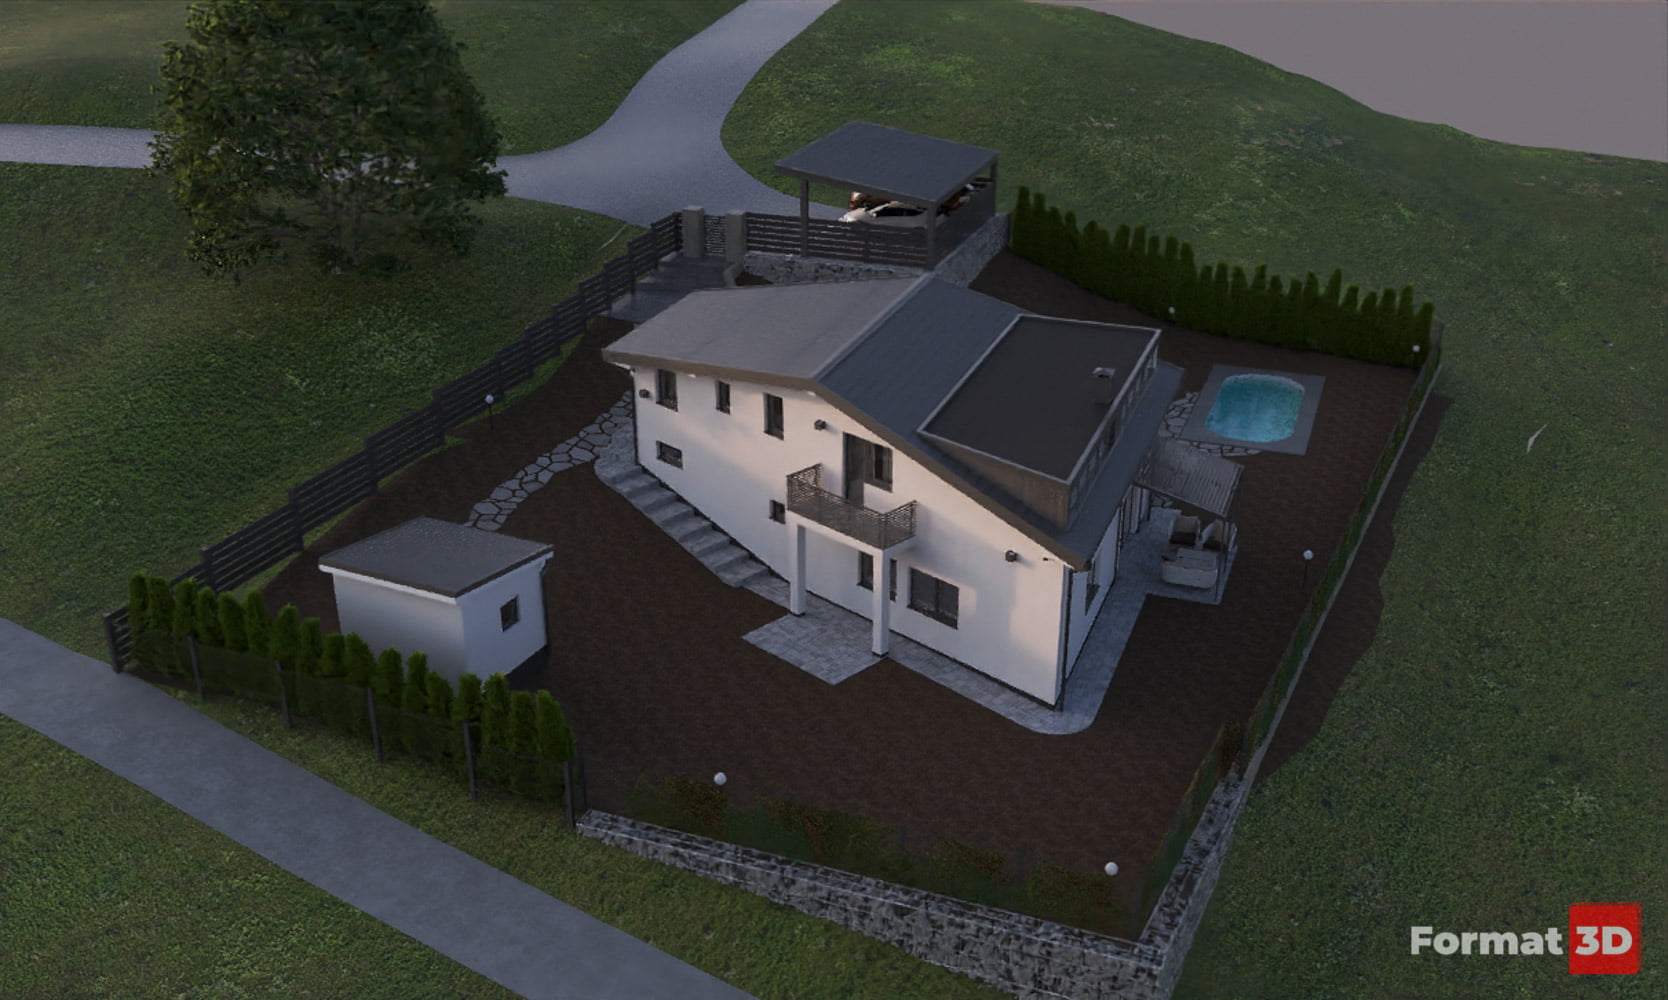
It is a house of a little more than 300 m2 on a plot of 927 m2. The facility is located in a secluded location, reached by a little more than 100 meters of traffic branch from the main road, which further contributes to the intimacy of the place.
The project task in front of us was consisted not only of 3D visualizations, but also of the complete horticulture, terrain planning, retaining walls, parking spaces, placement of the pool, definition of the terraces, choice of color of the roof, facade, carpentry, paving, locksmithing… etc…
The design of the terrain was also a great challenge. Therefore, in this article we will talk again about photogrammetry, which was extremely helpful in creating an absolutely accurate geodetic survey.
1. Modeling
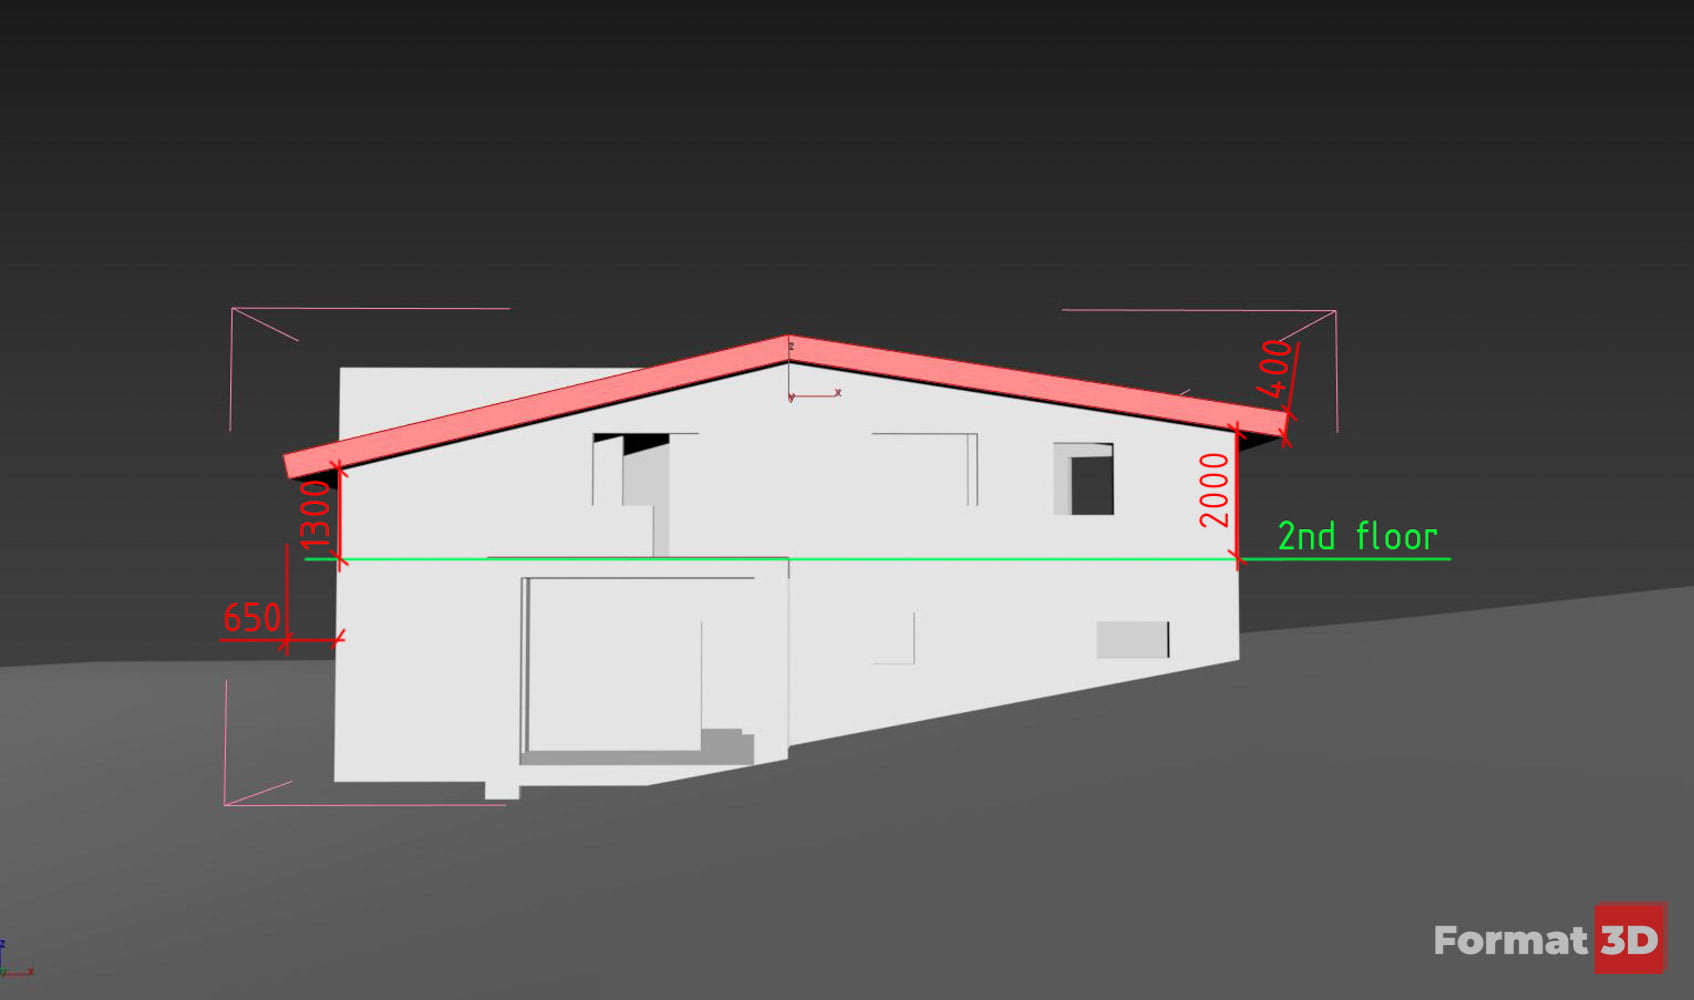
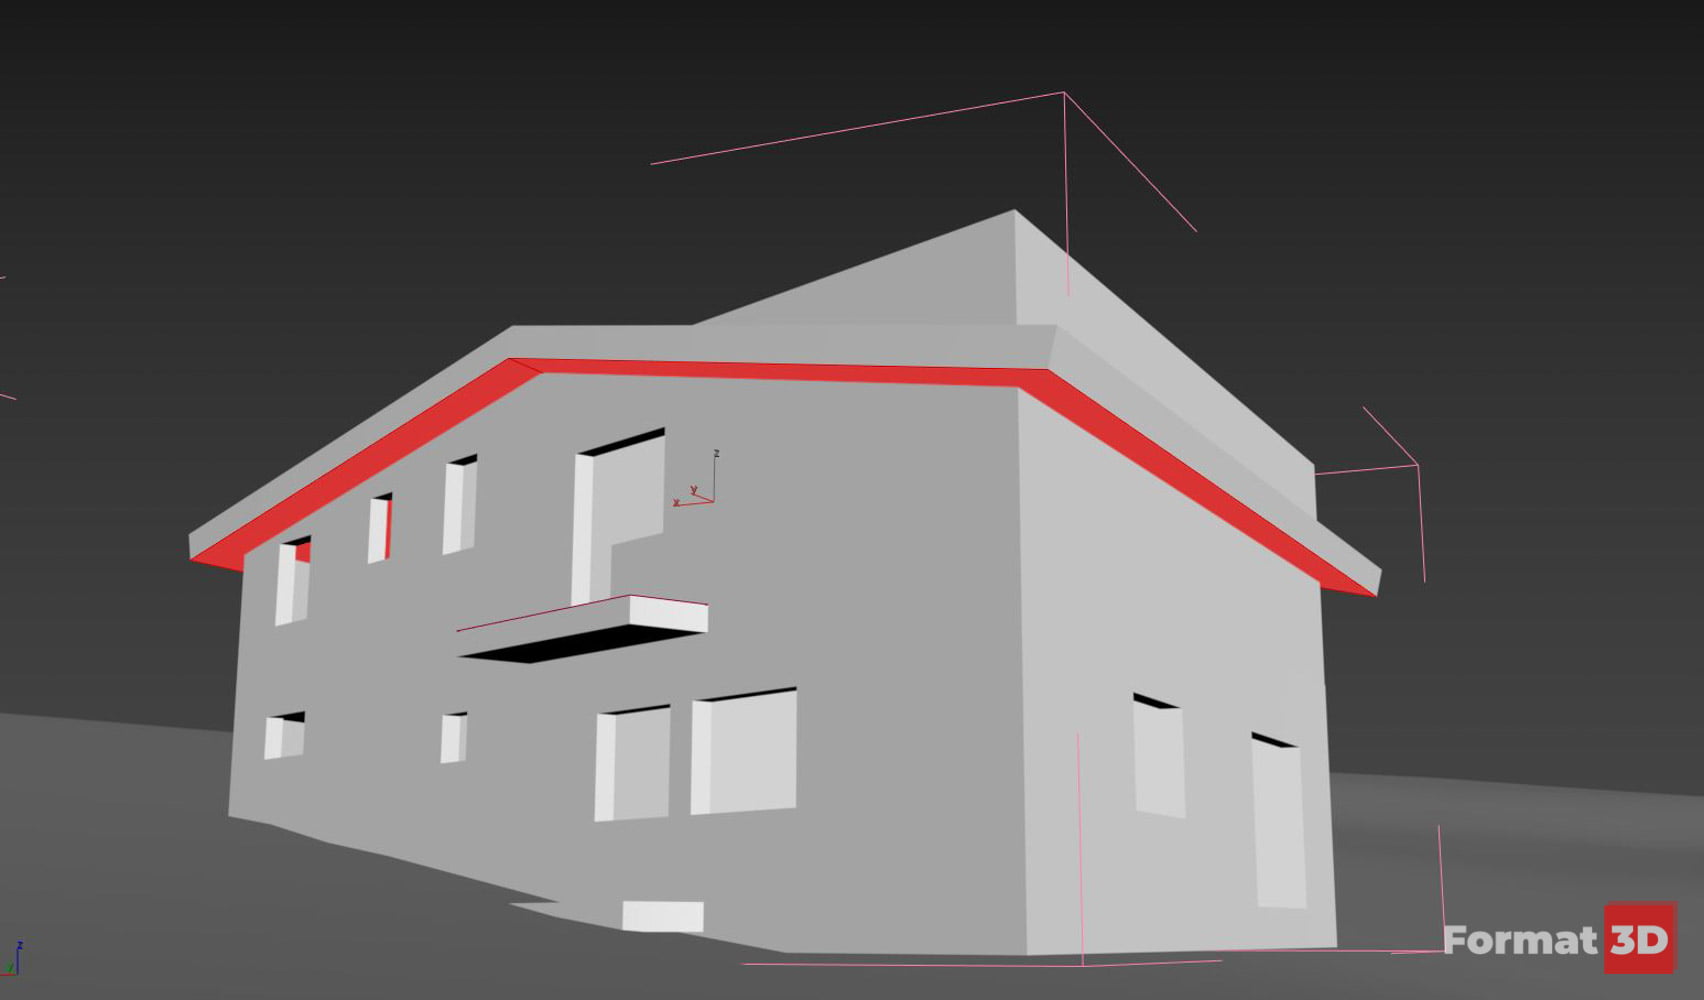
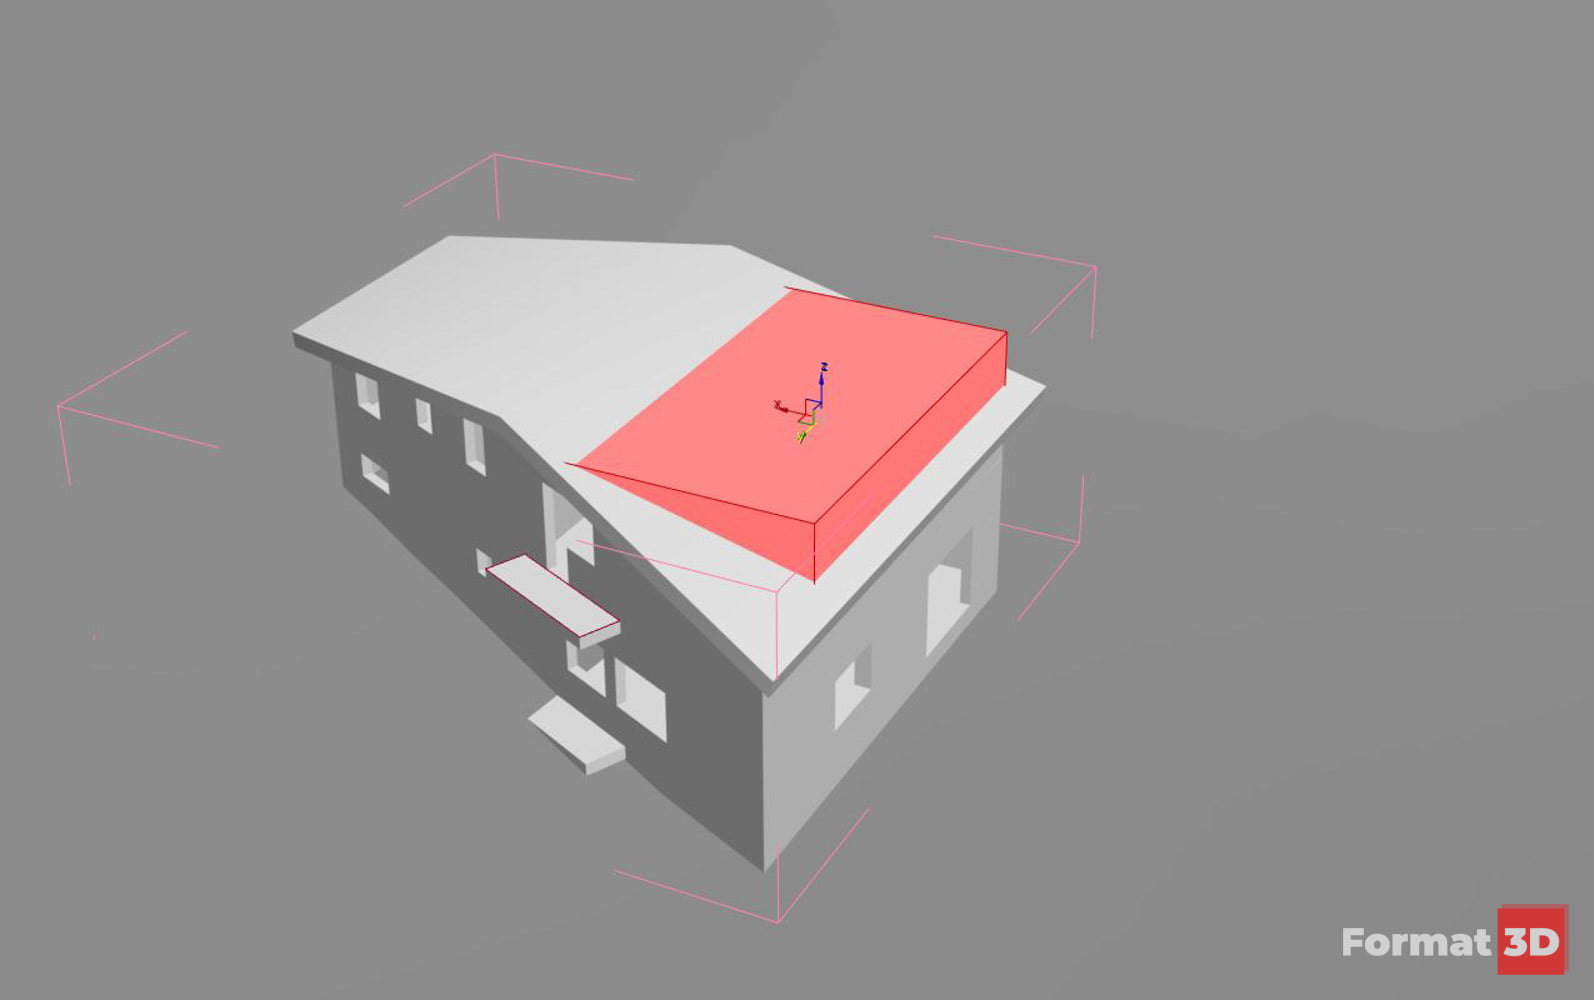
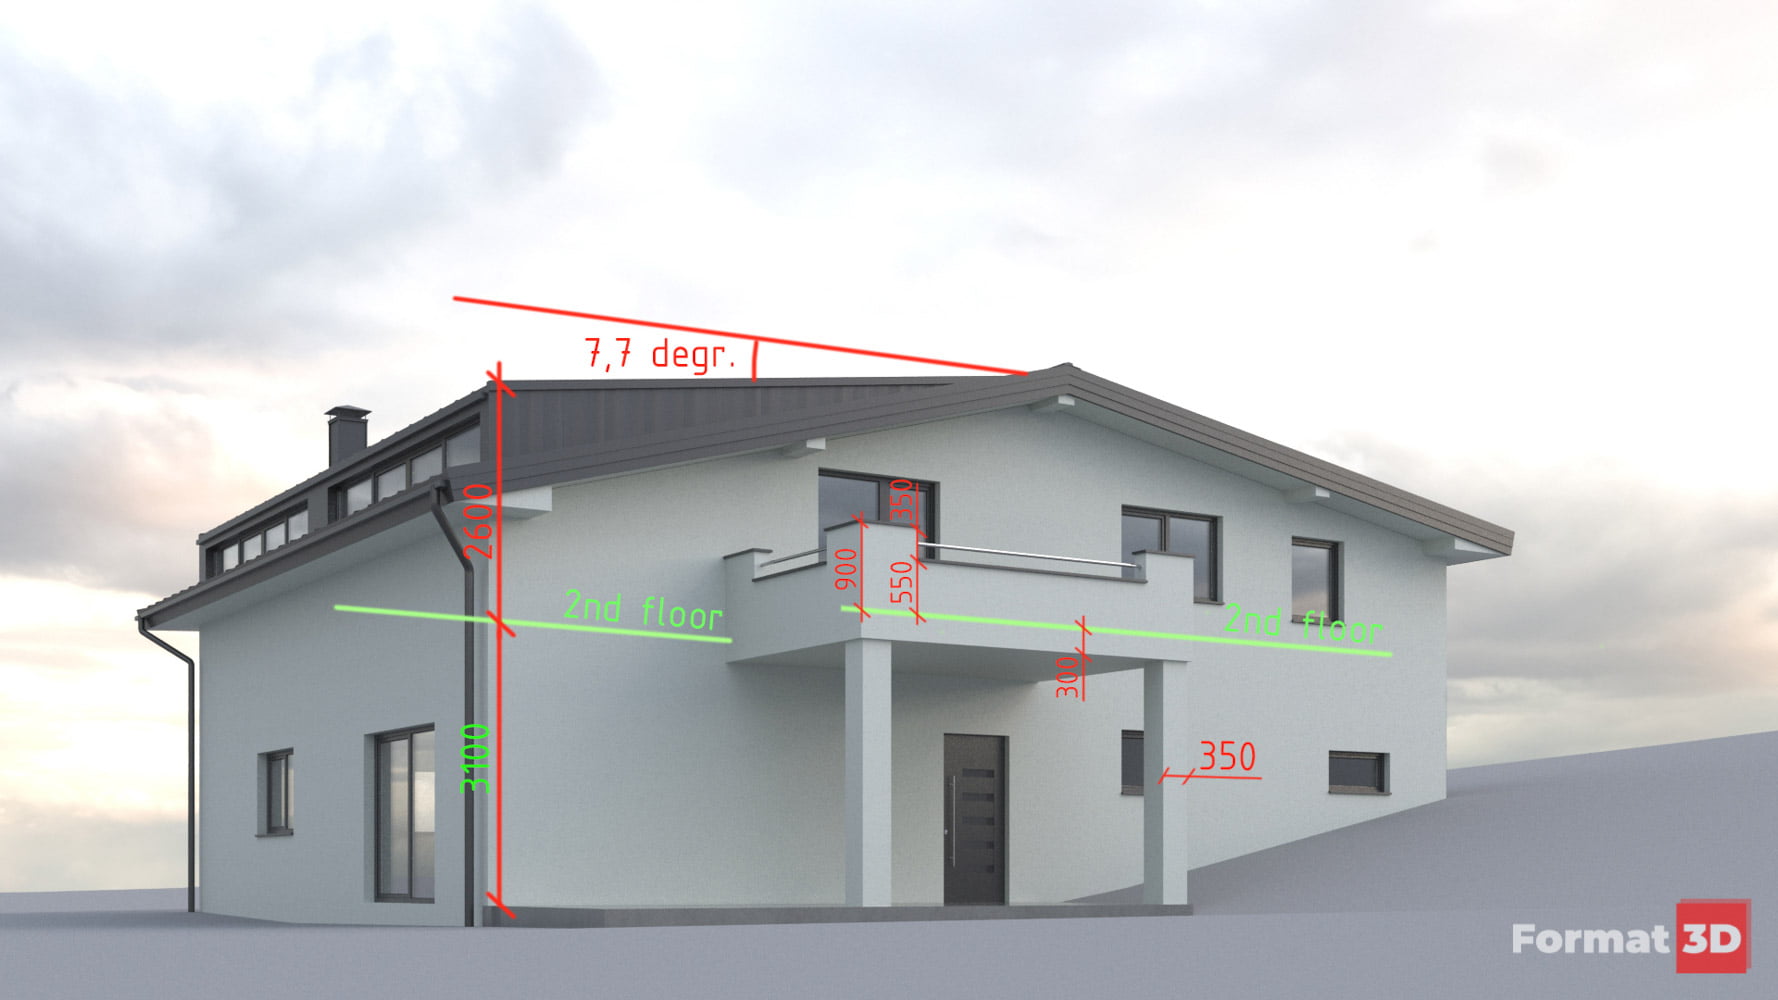
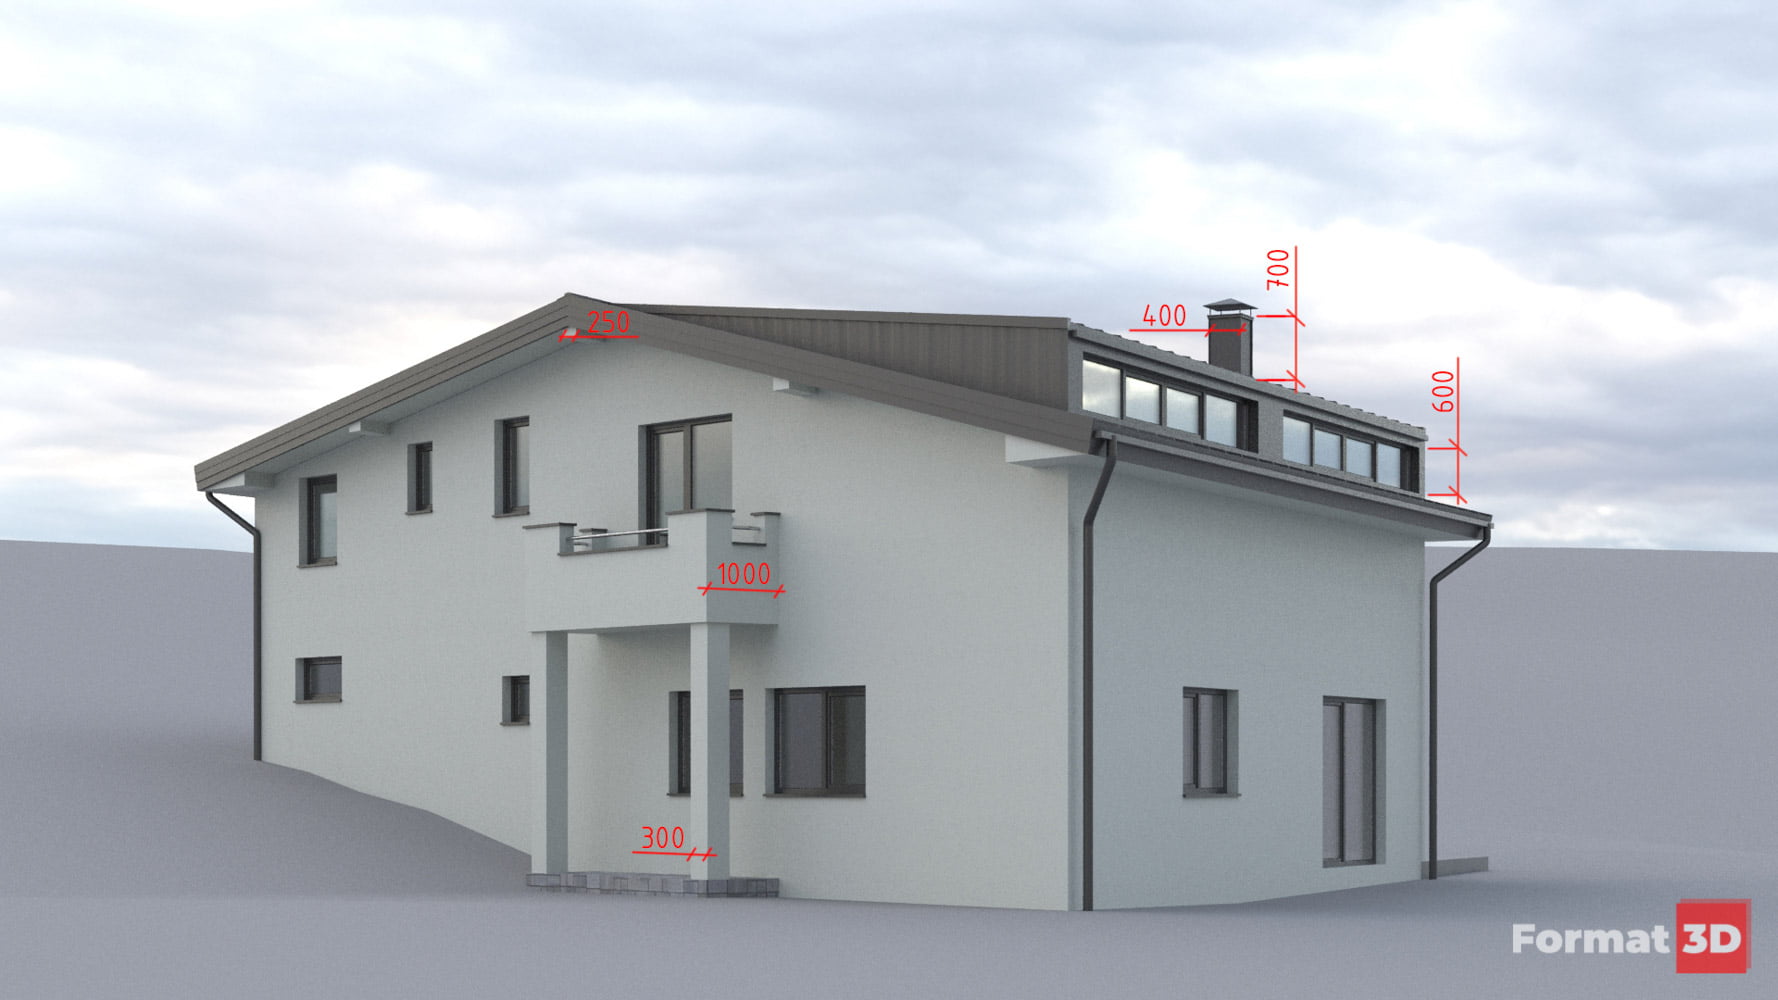
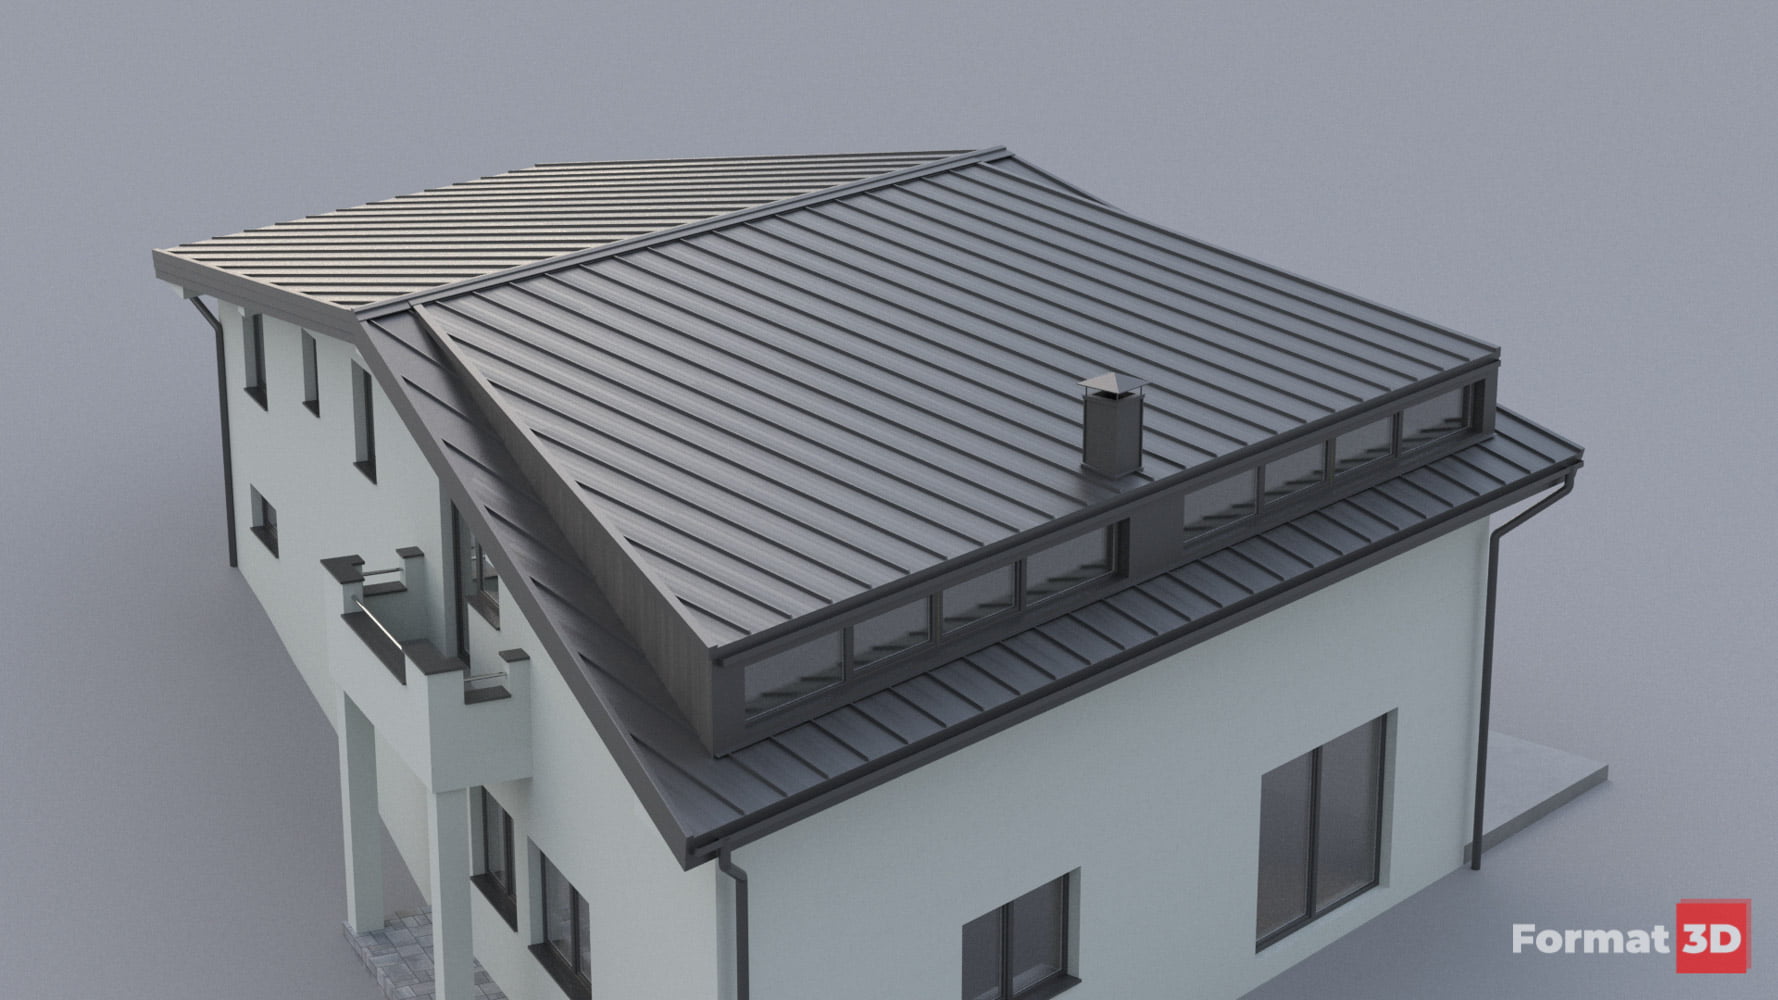
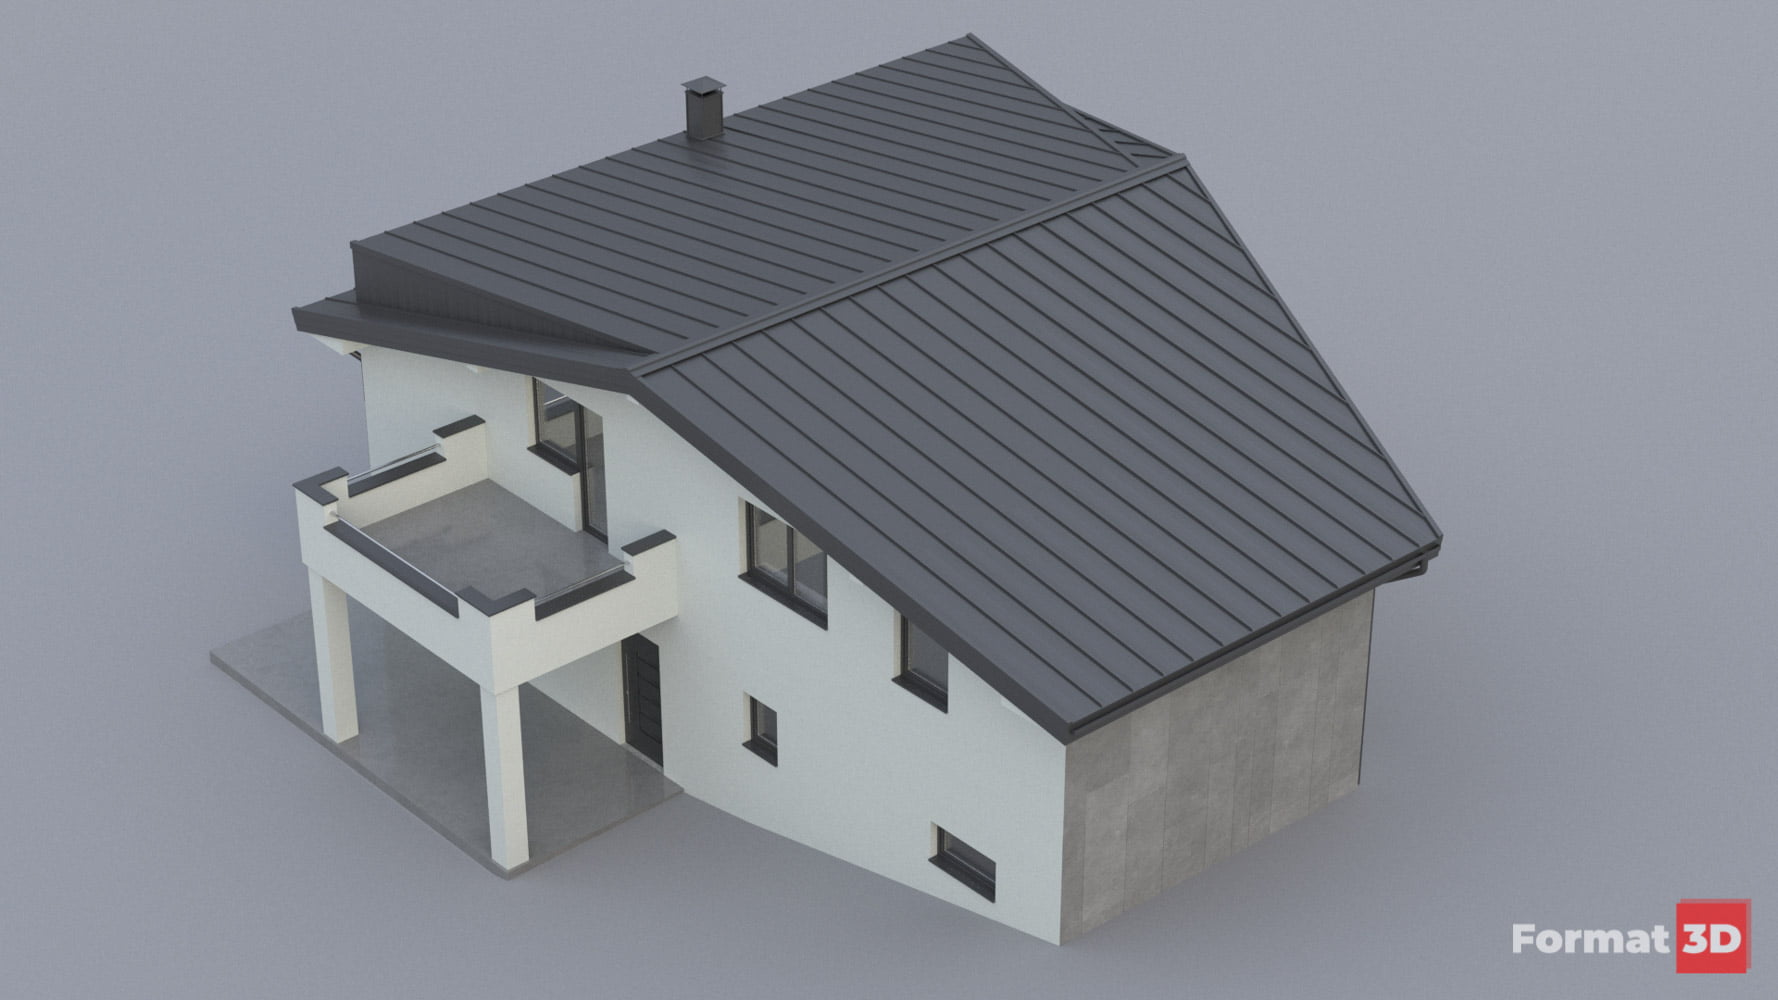
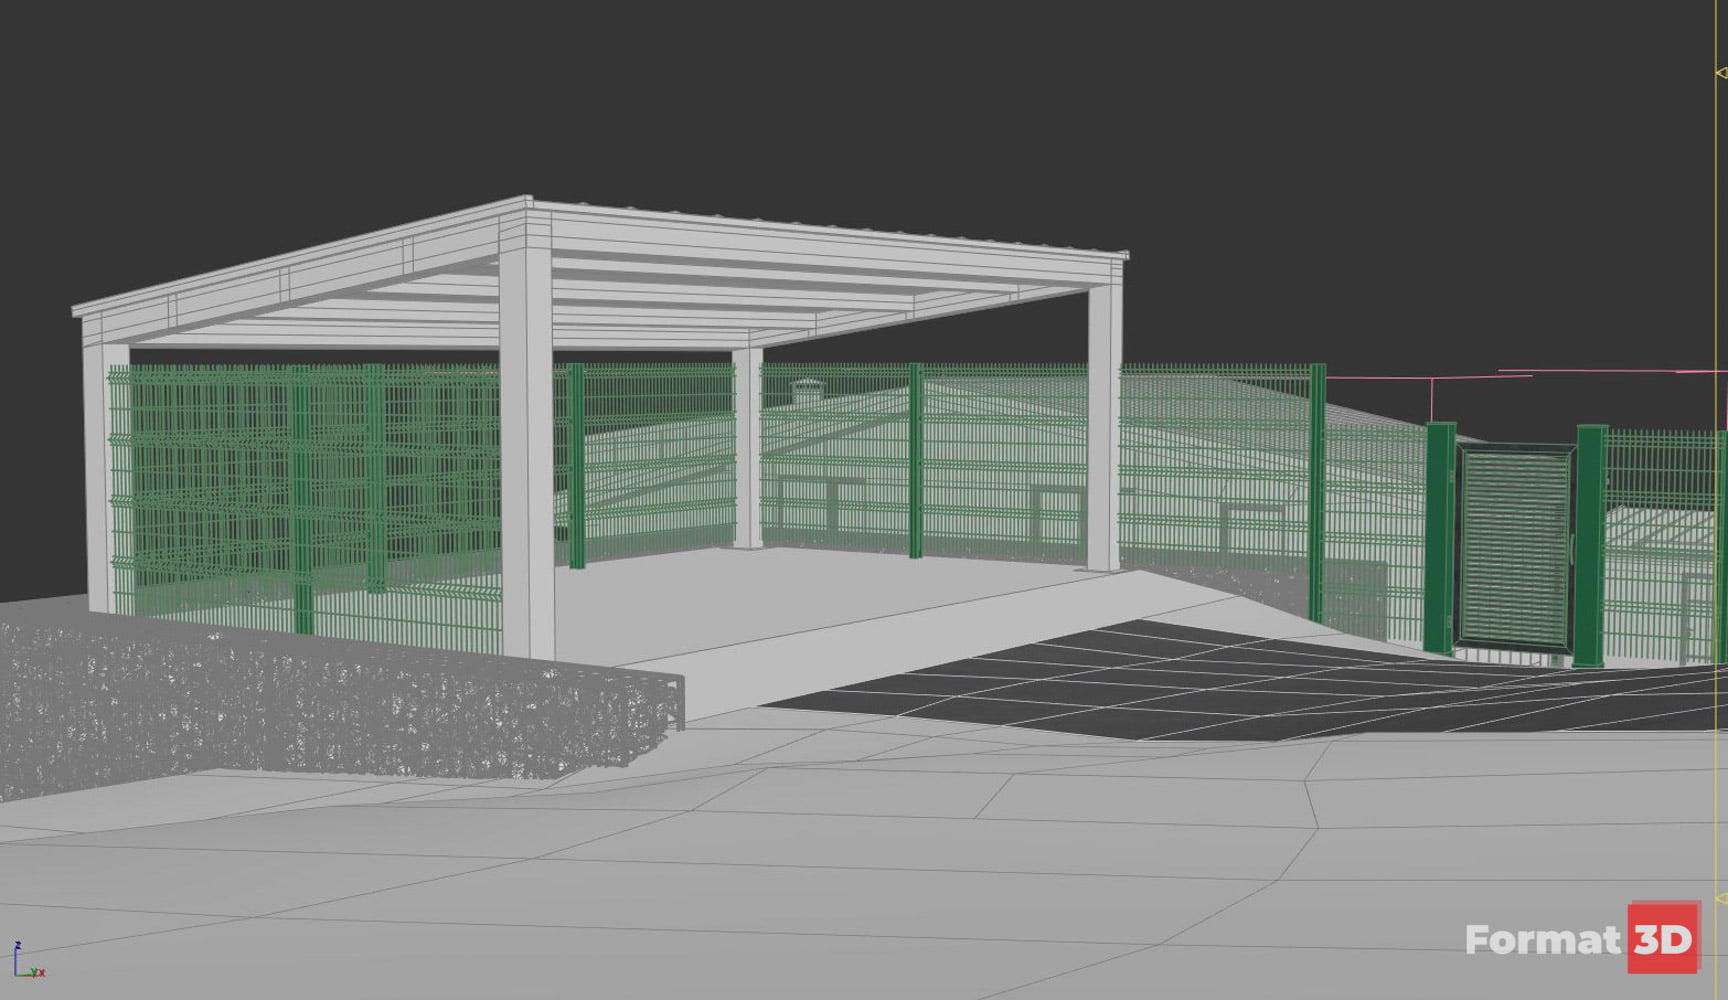
The process of creating 3D visualizations always begins with the creation of objects basic model. So, in accordance with the project documentation, we started with the creation of a rough model in 3ds Max. At the very beginning of the model development, we thought about several possible directions in terms of roofing, terrace railings and roof houses, the purpose of which was to create additional usable space in the upper floor position, especially in the upper living room and master bedroom.
In the modeling phase, the focus is not on the materials, i.e. texturing, but on the most precise execution of the main walls, carpentry, roof and other structural elements.
2. Placement of the object model in the room
The next big task in creating 3D visualizations is terrain modeling. In this project, we were greeted by a geodetic survey that defined the configuration of the terrain by 18 recorded elevations. For most projects, this number of points would be quite sufficient, and by approximating the contiguous layers, we would get a very solid geodetic survey, especially if we were taking a relatively small area, of course, compared to larger construction projects we were working on.
But on this project, that was not enough, because the configuration of the site is extremely challenging. There is a lot of leveling at relatively short intervals and then a sudden leveling. For this reason, we decided to use a drone to survey the terrain and perform photogrammetry of the site. The photogrammetry provided us with a 3D terrain map (mush) that we used in several ways.
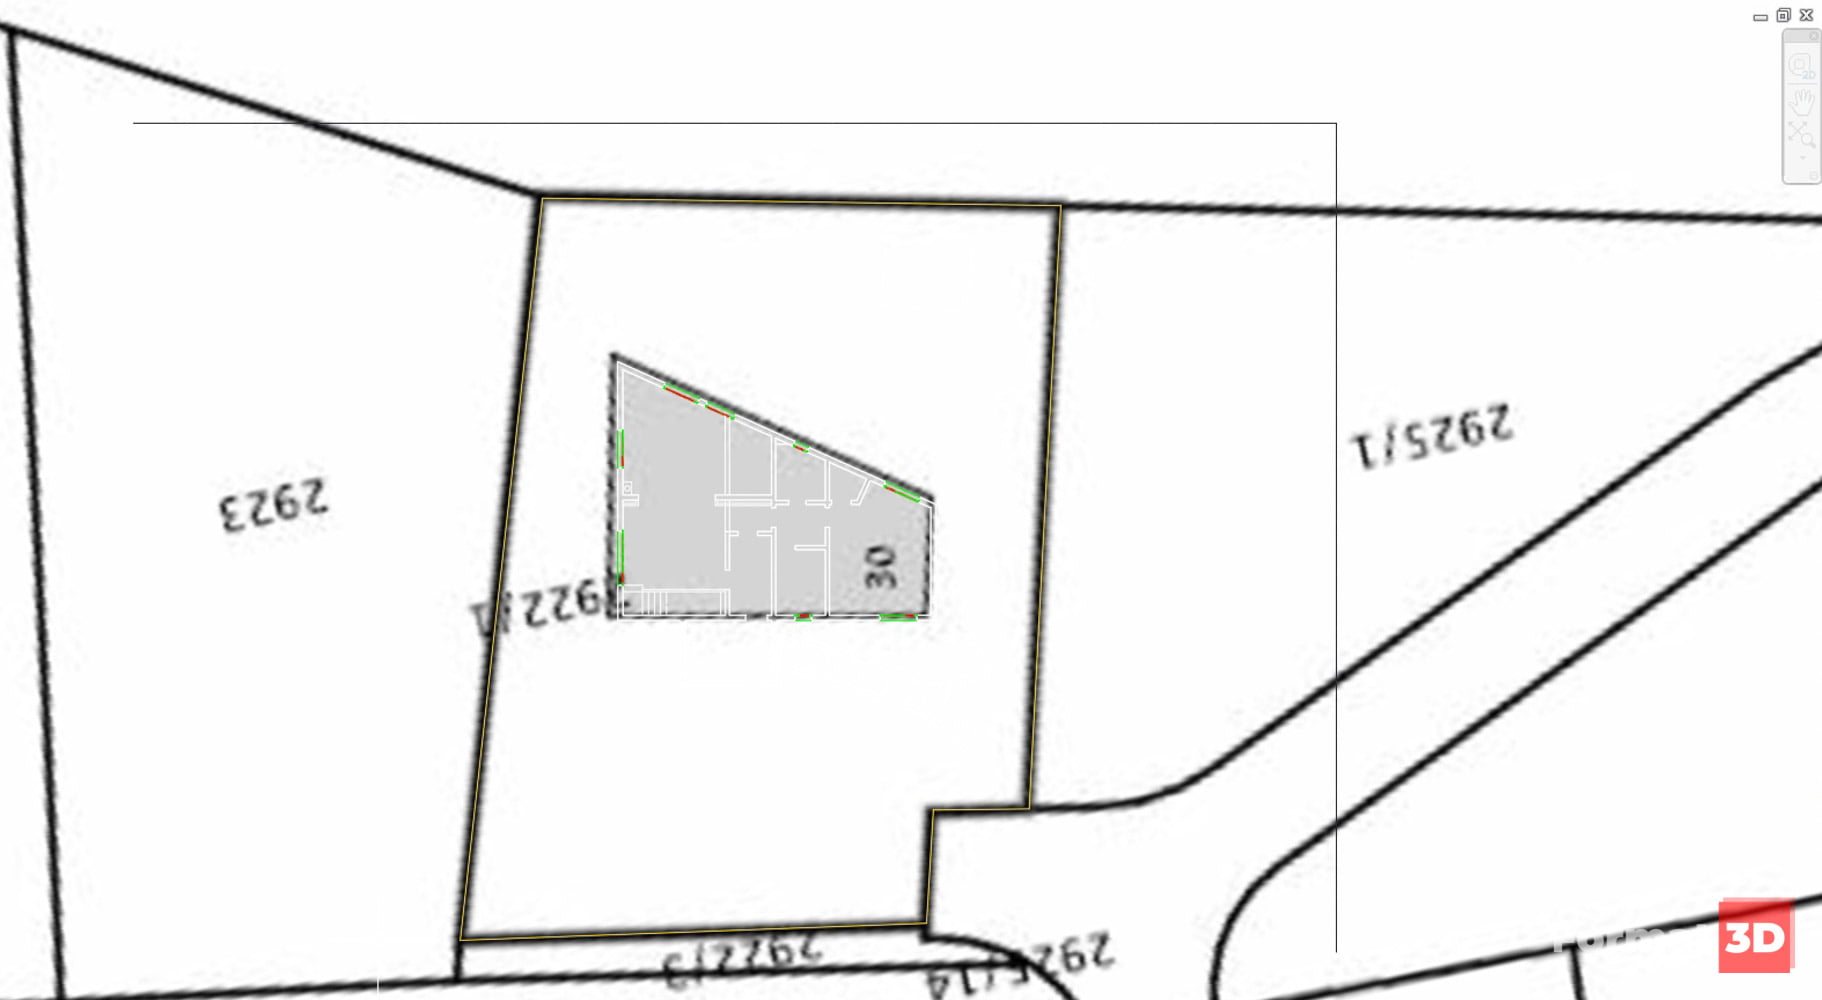
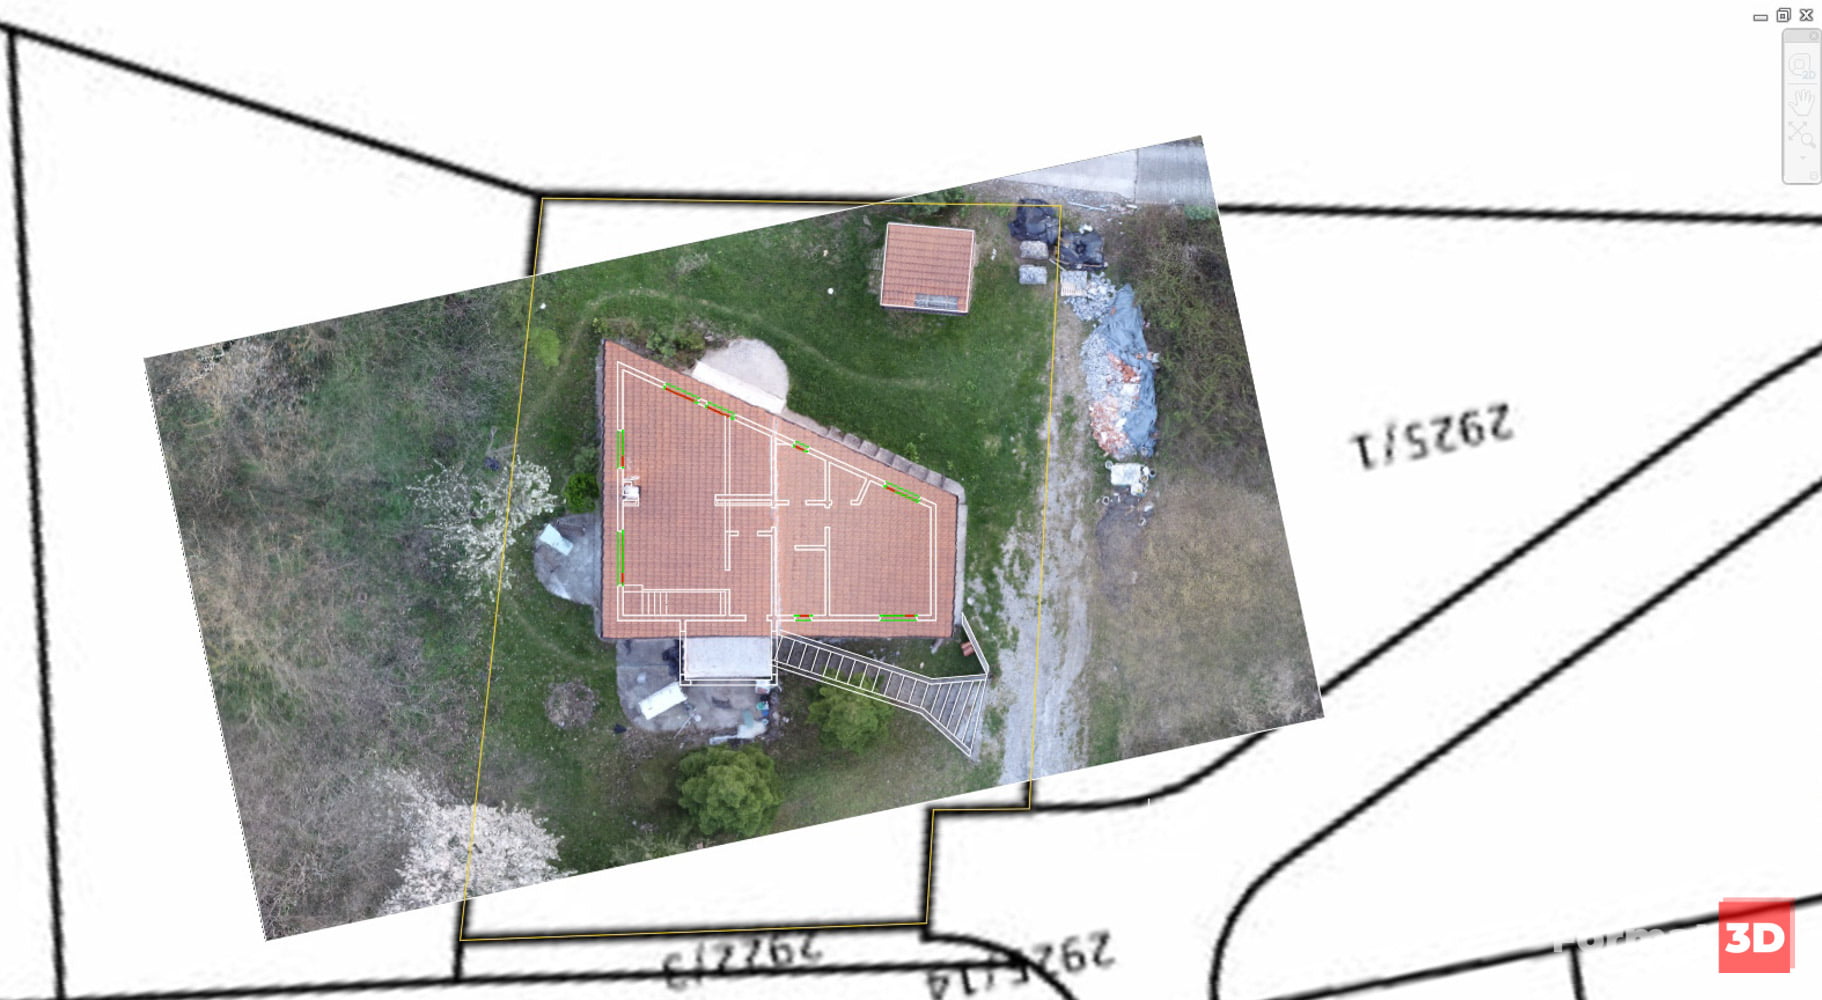
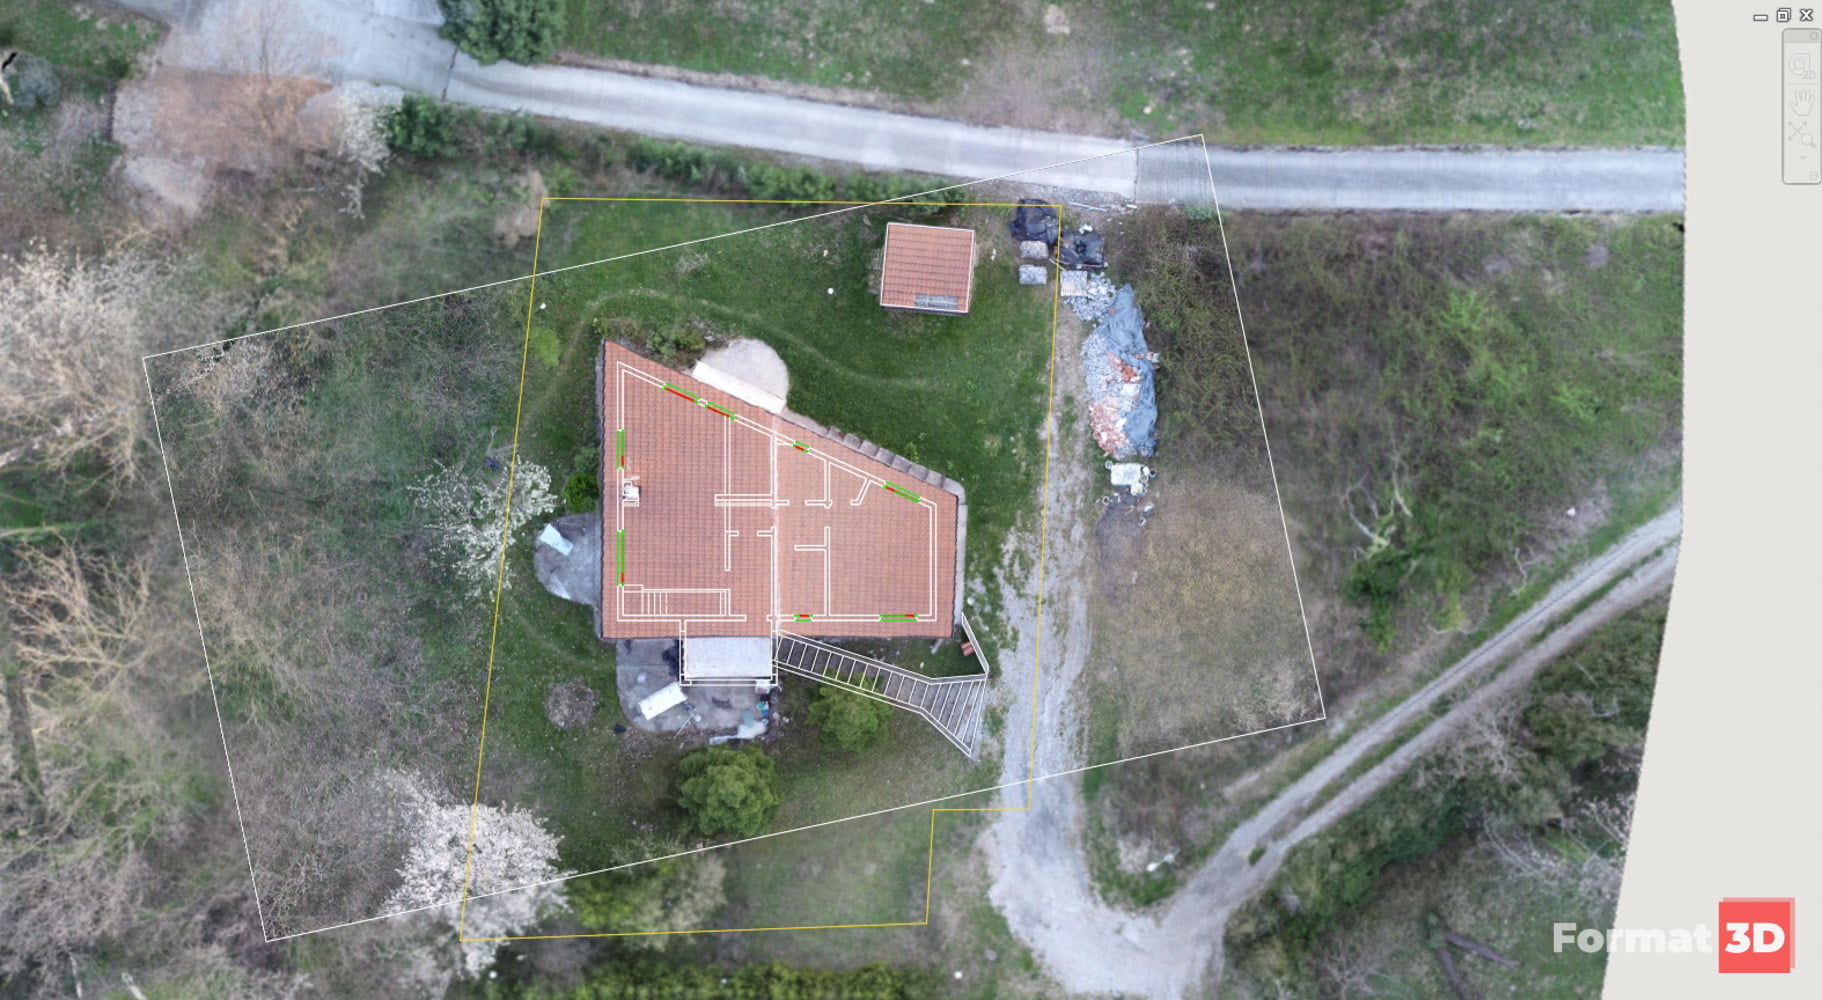
a) Terrain mapping
Although the primary task of photogrammetry is to obtain a point cloud from which we create a 3D model of the surveyed environment, we also obtain a 2D image that we combine with geolocation using Pix 4D software. In this way, we overlaid the cadastral image with the captured situation to delineate the site and represent parapet and retaining walls in the visualizations as accurately as possible.
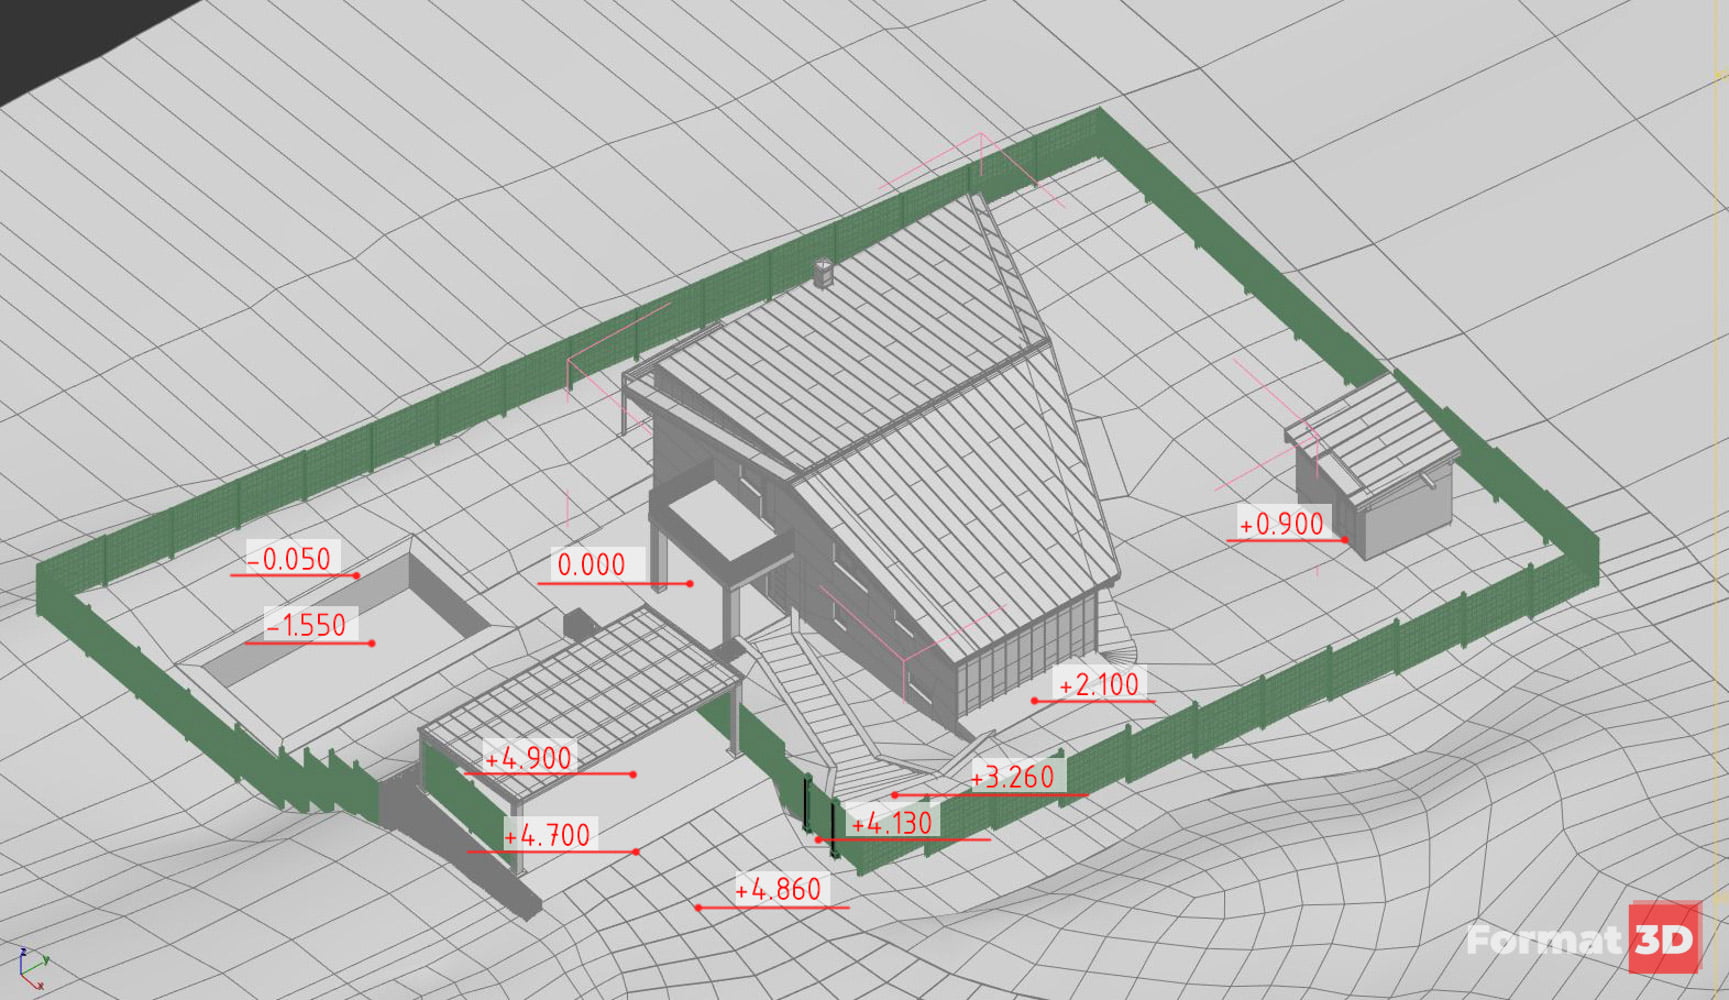
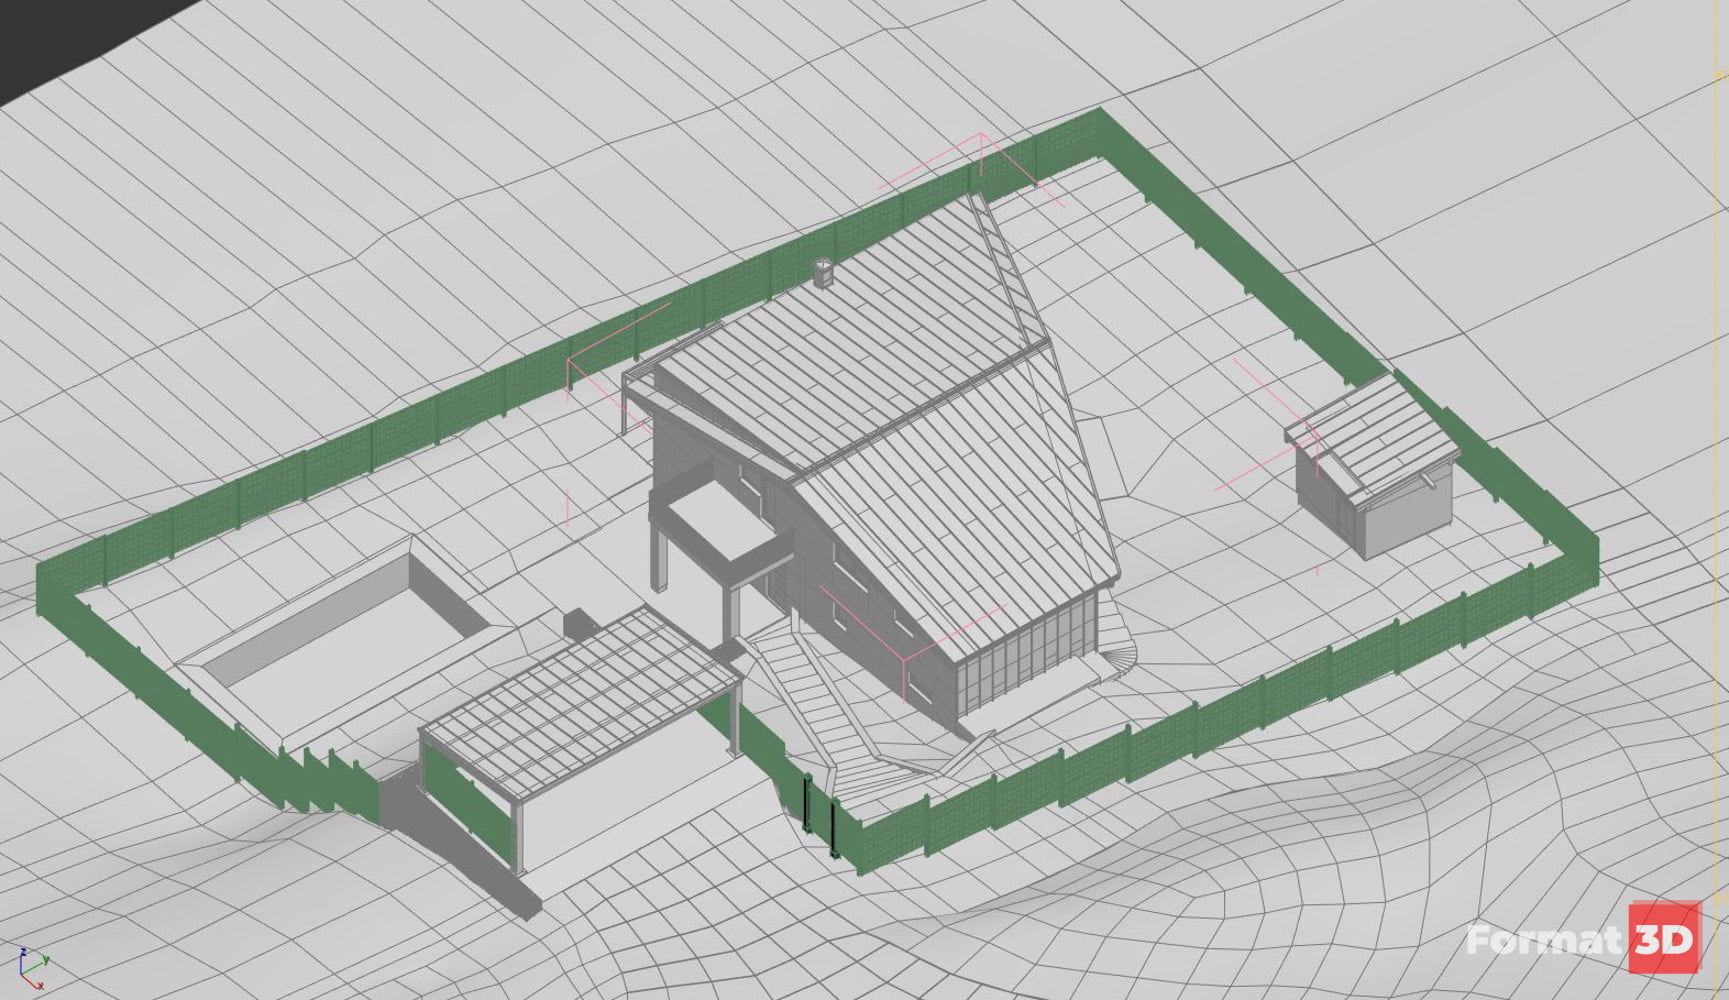
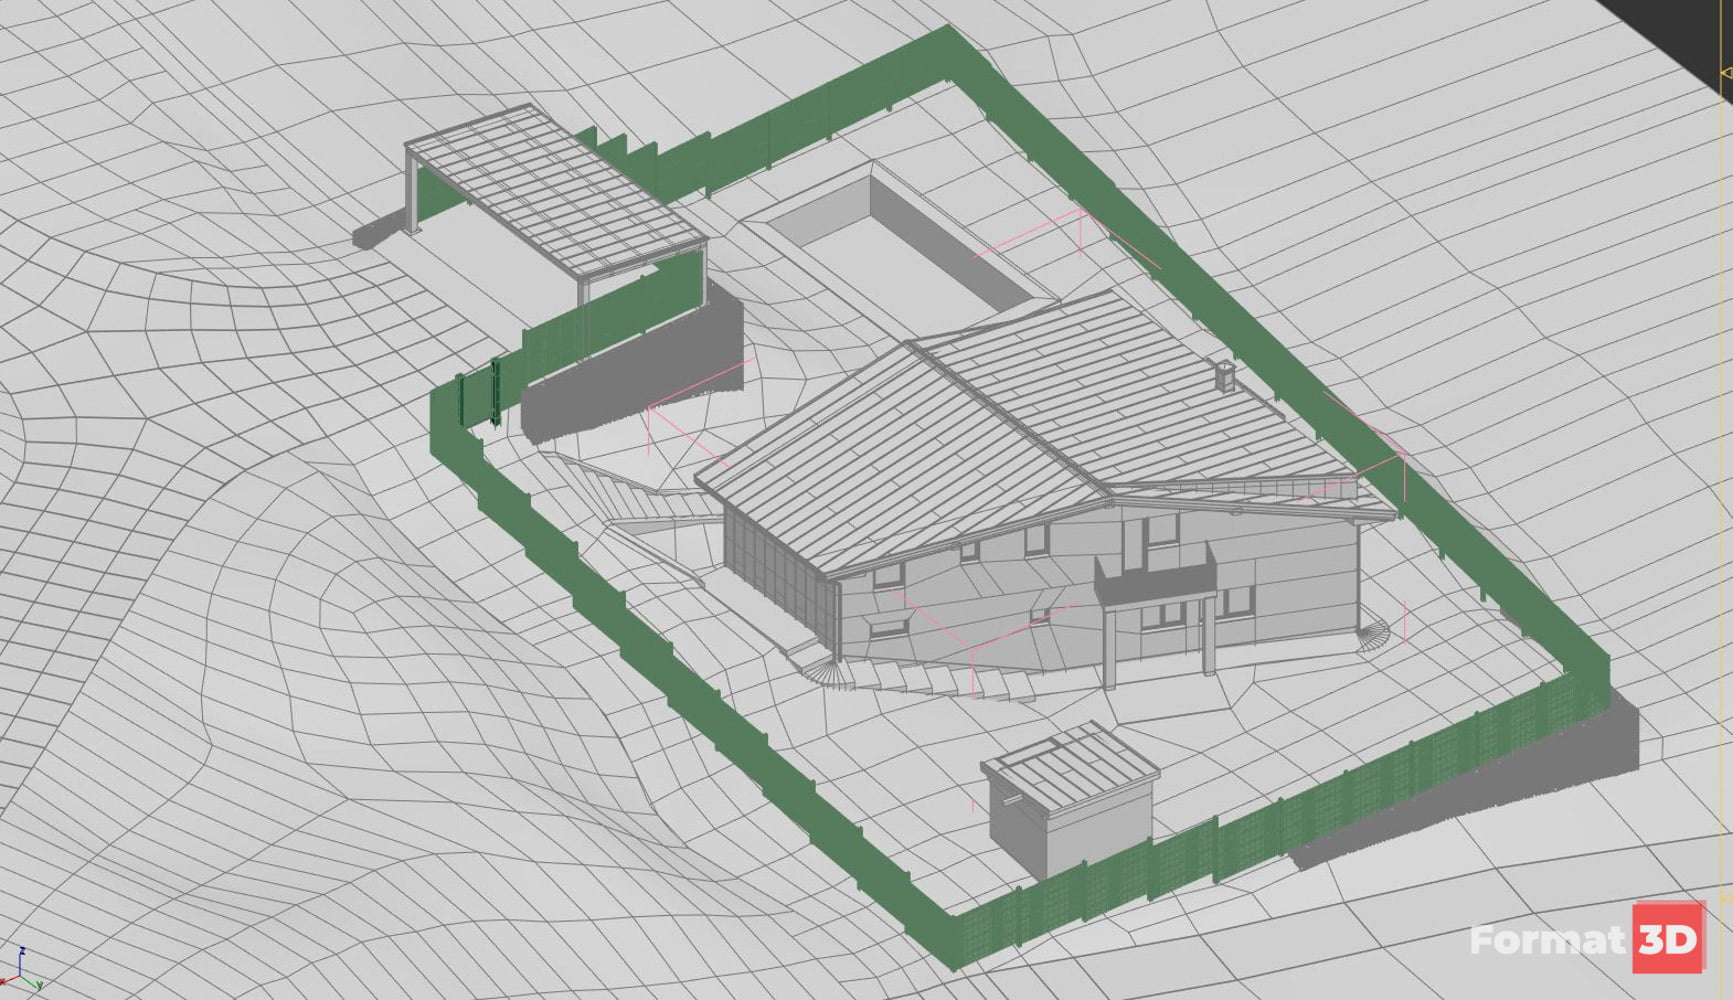
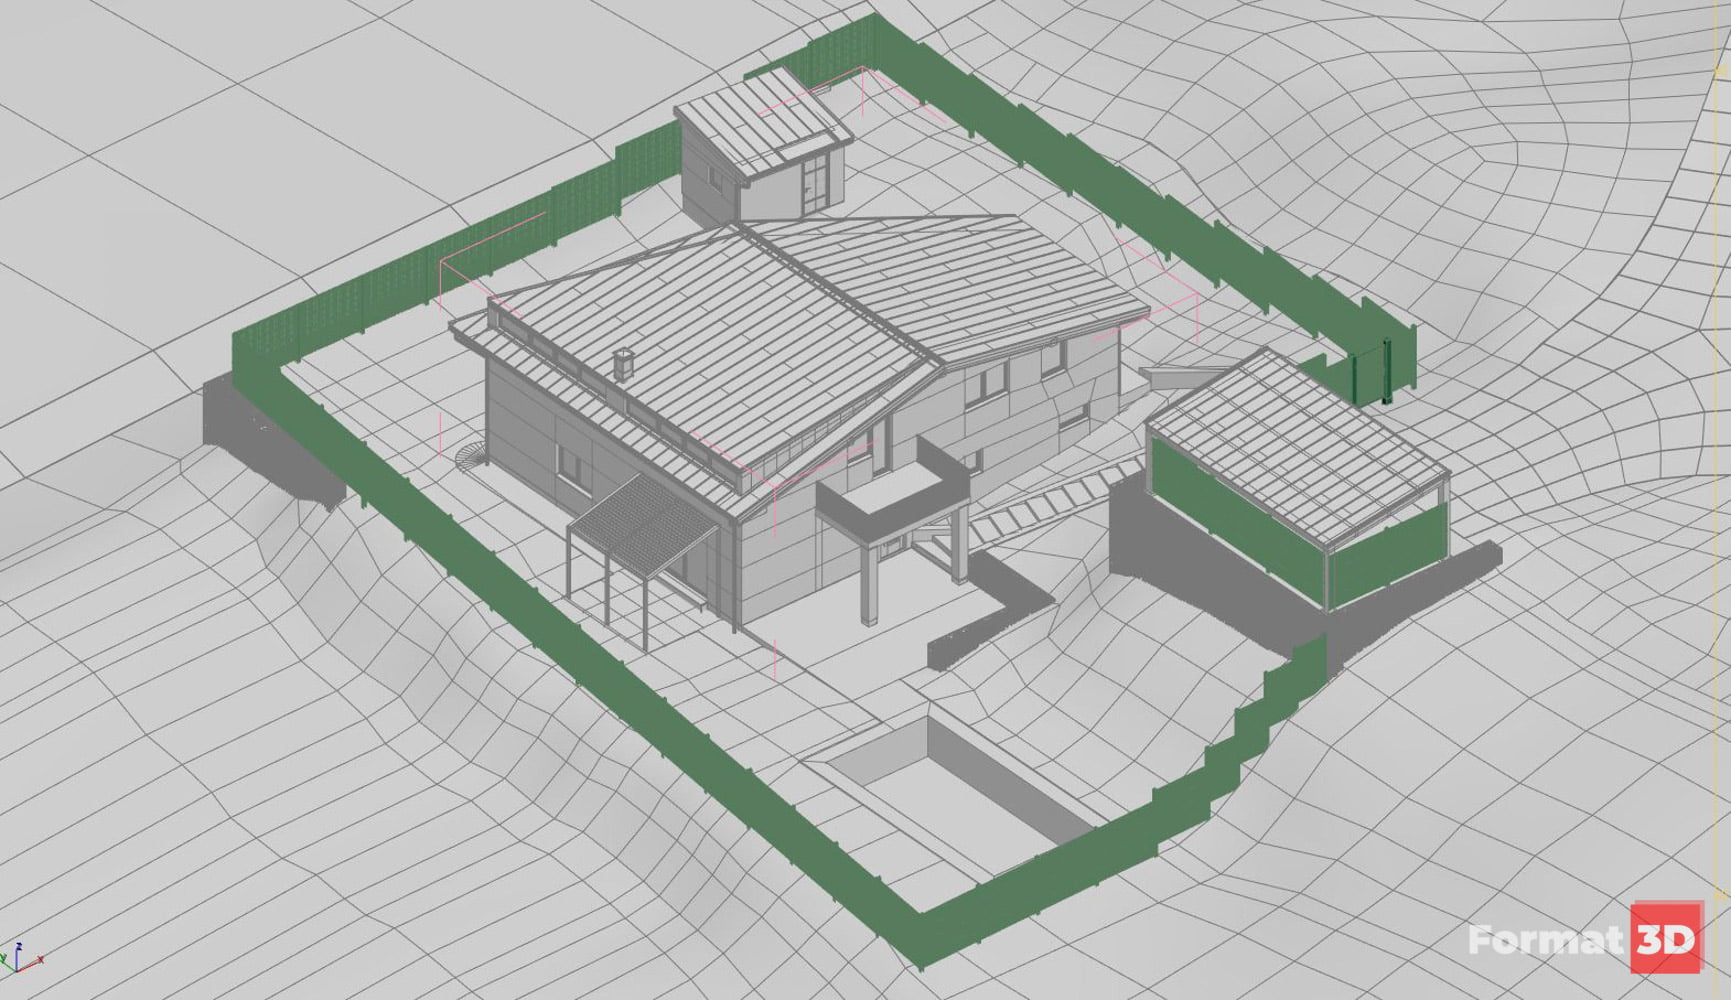
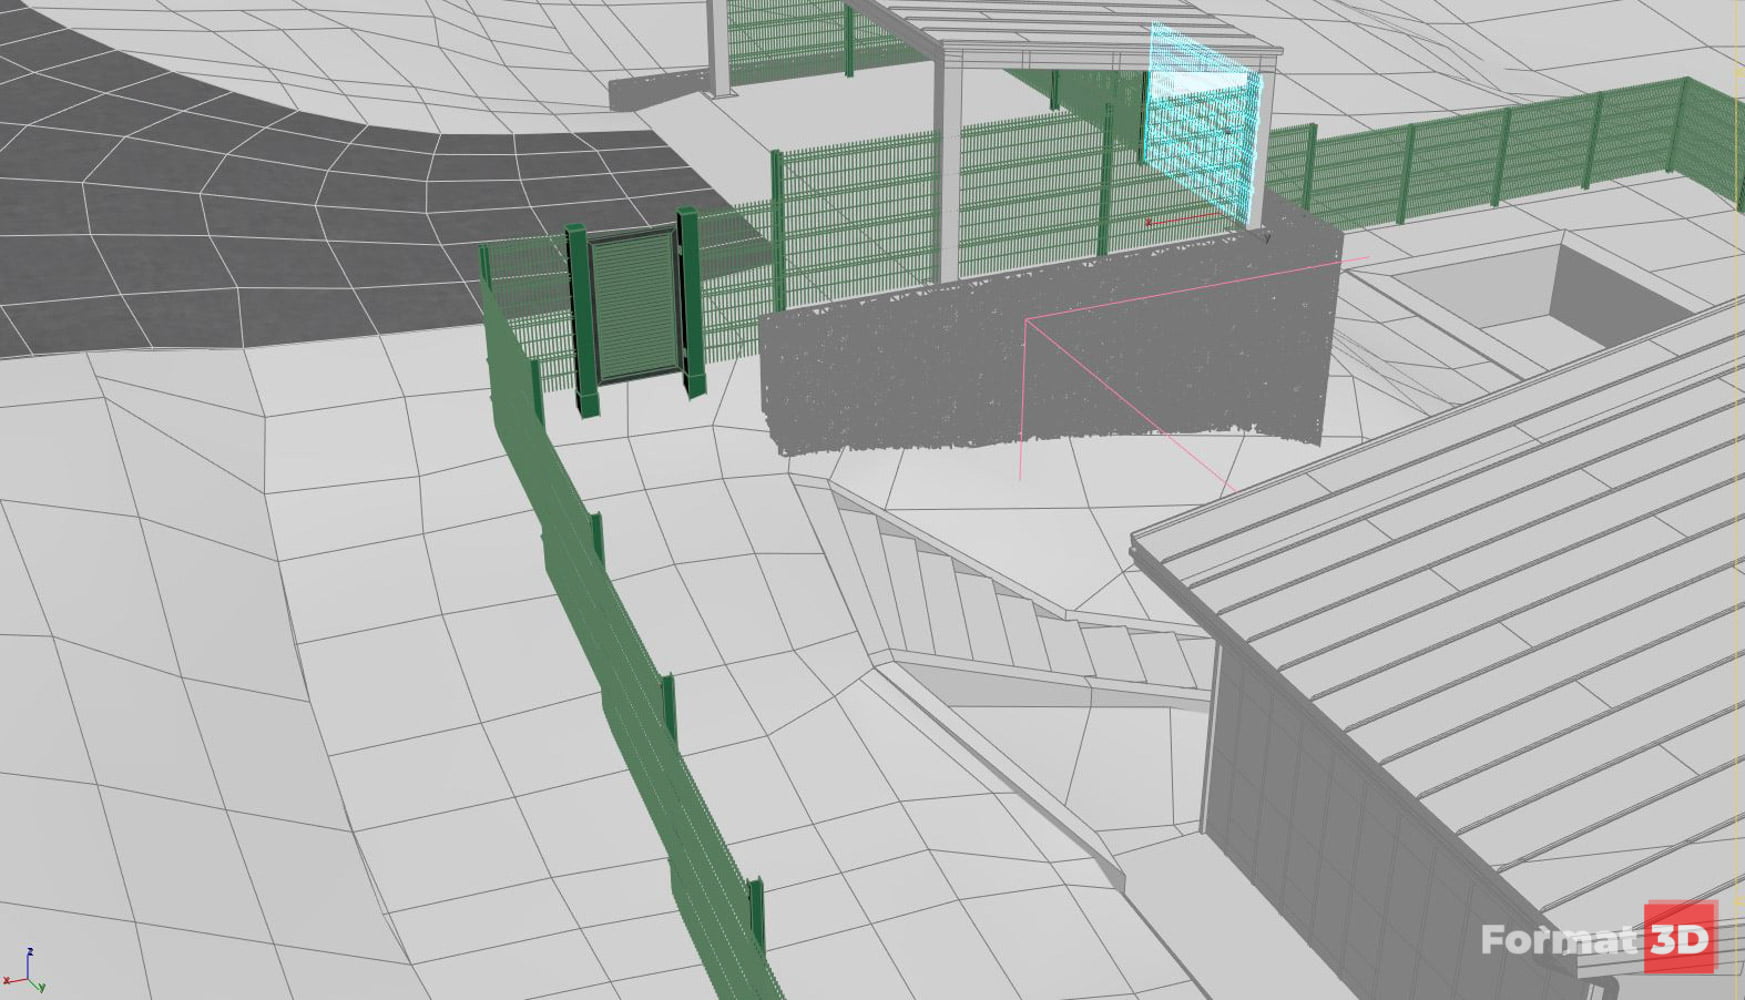
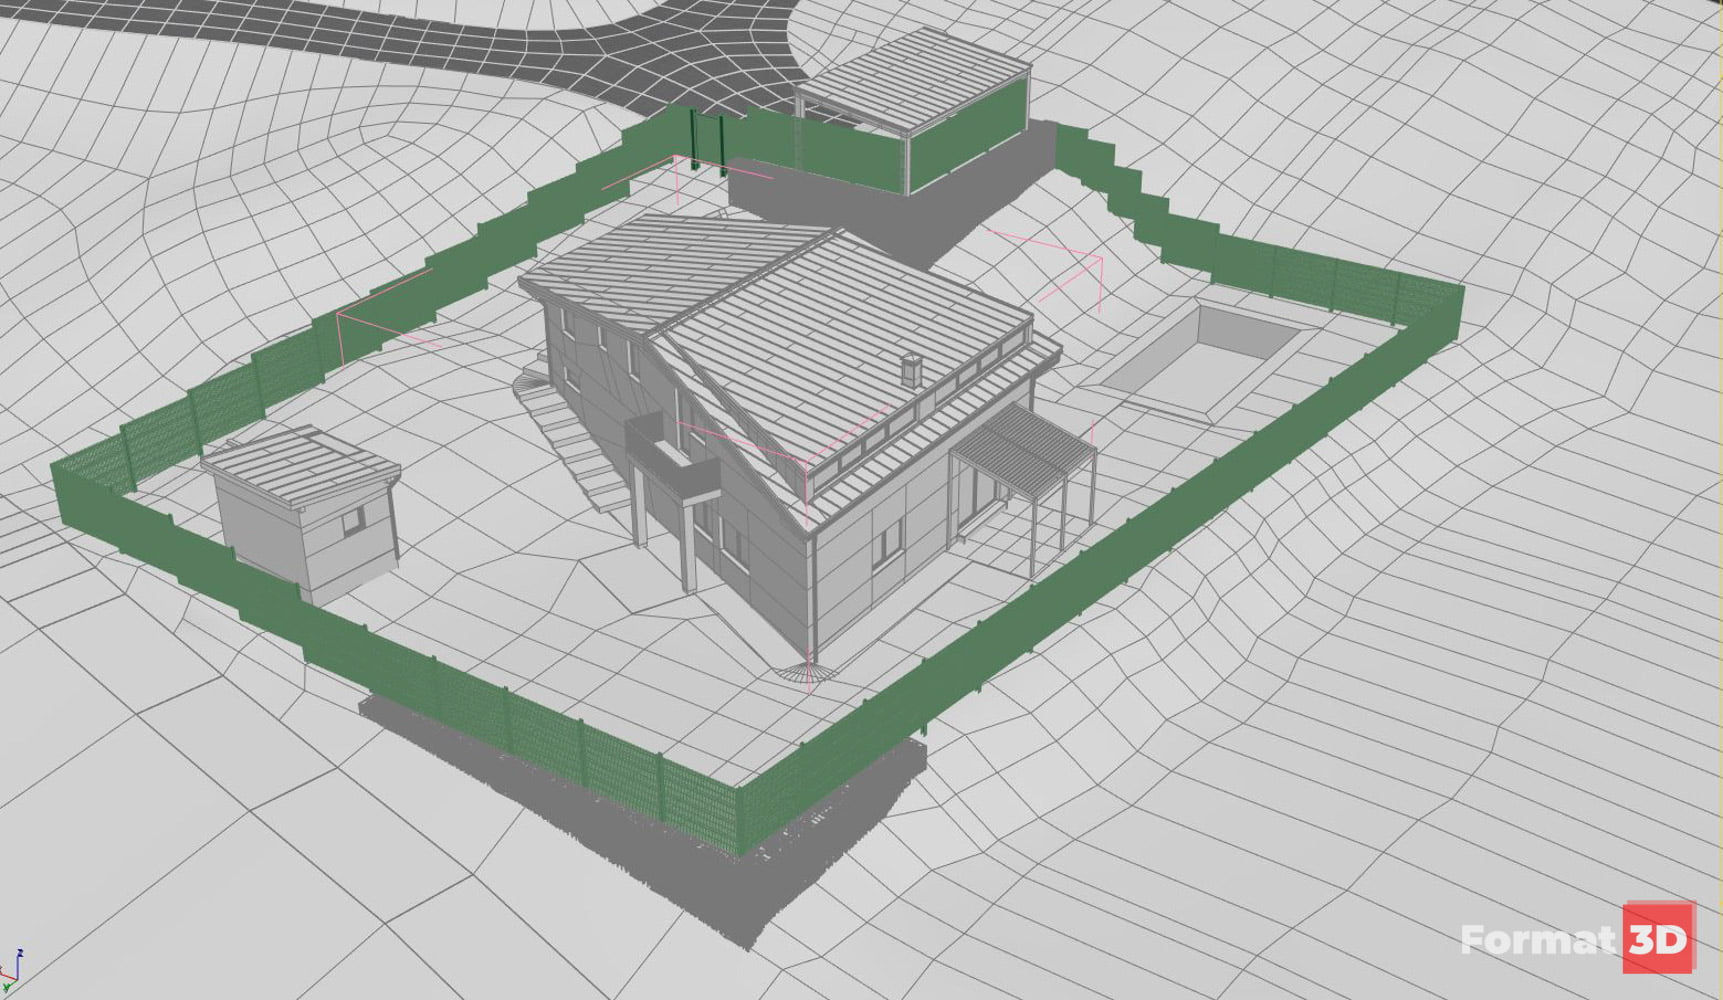
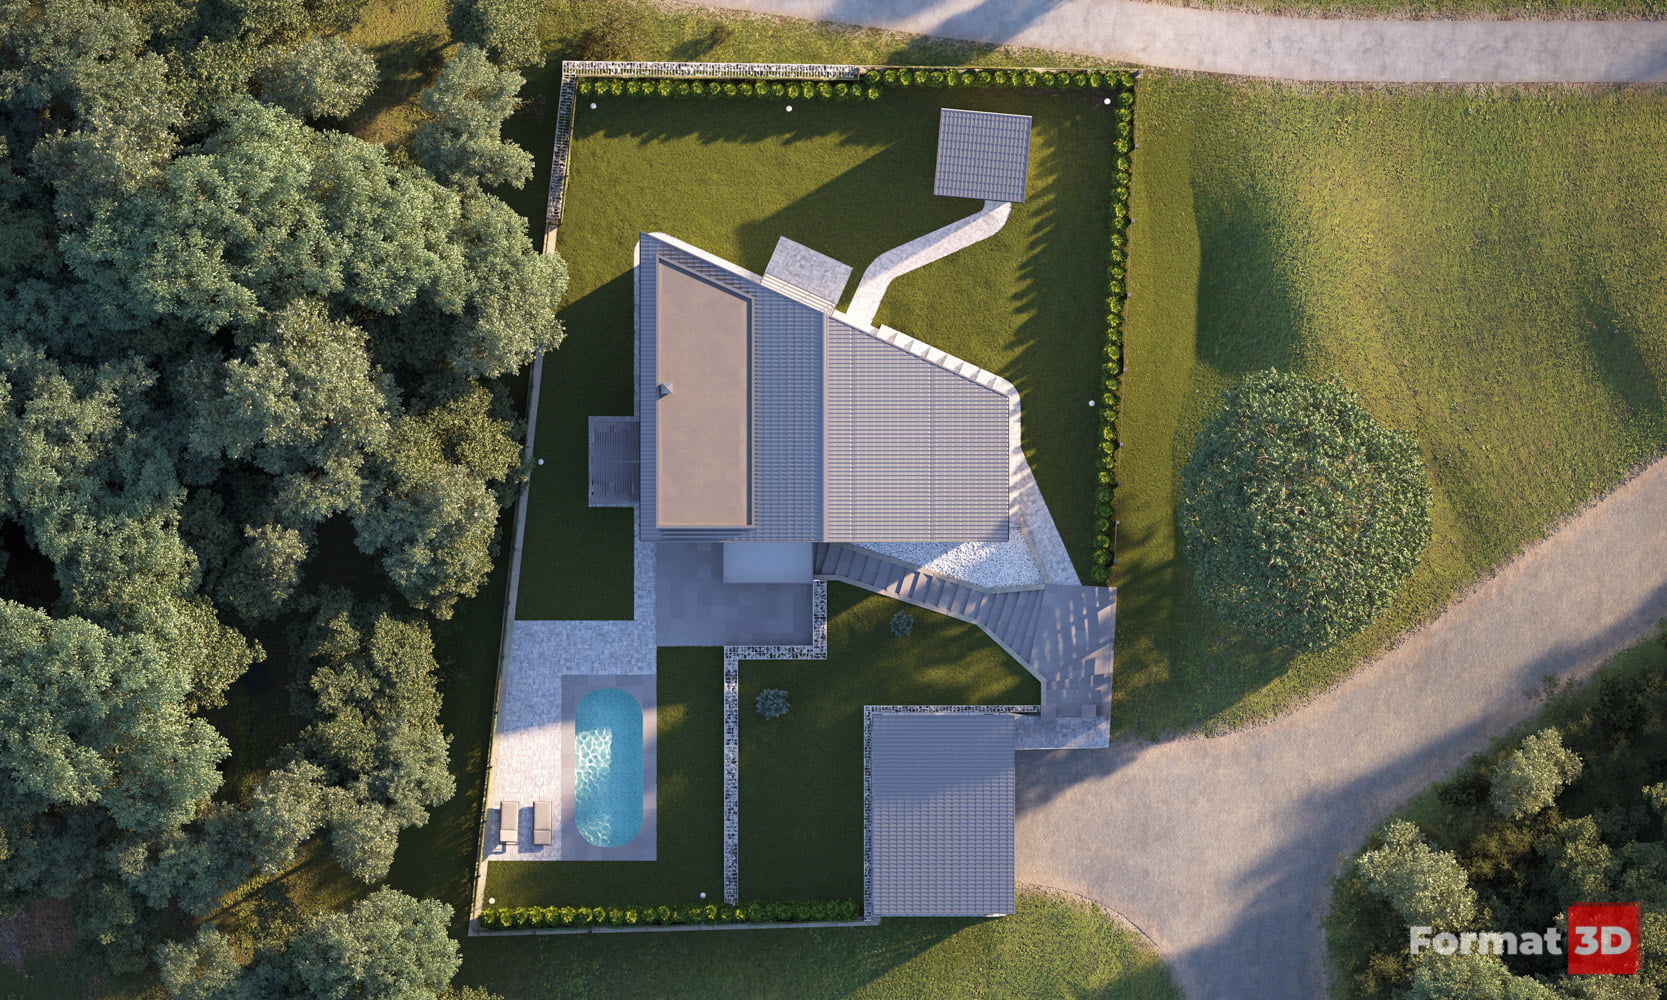
b) 3D terrain configuration
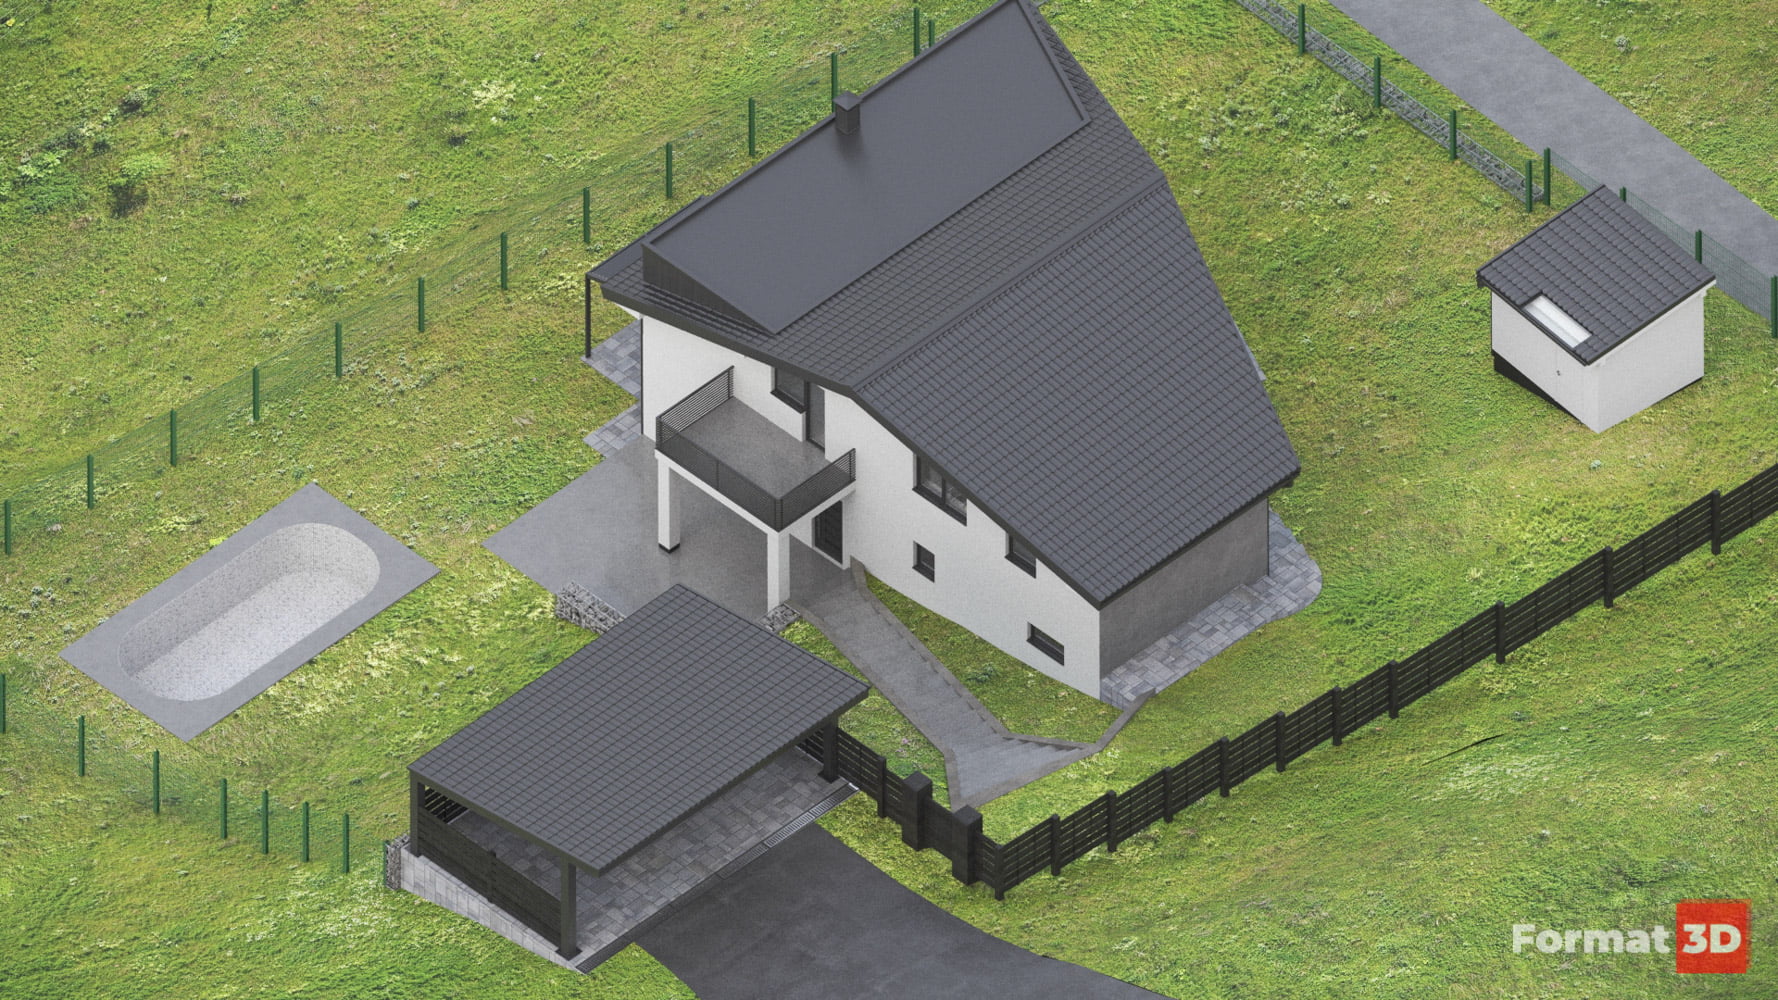
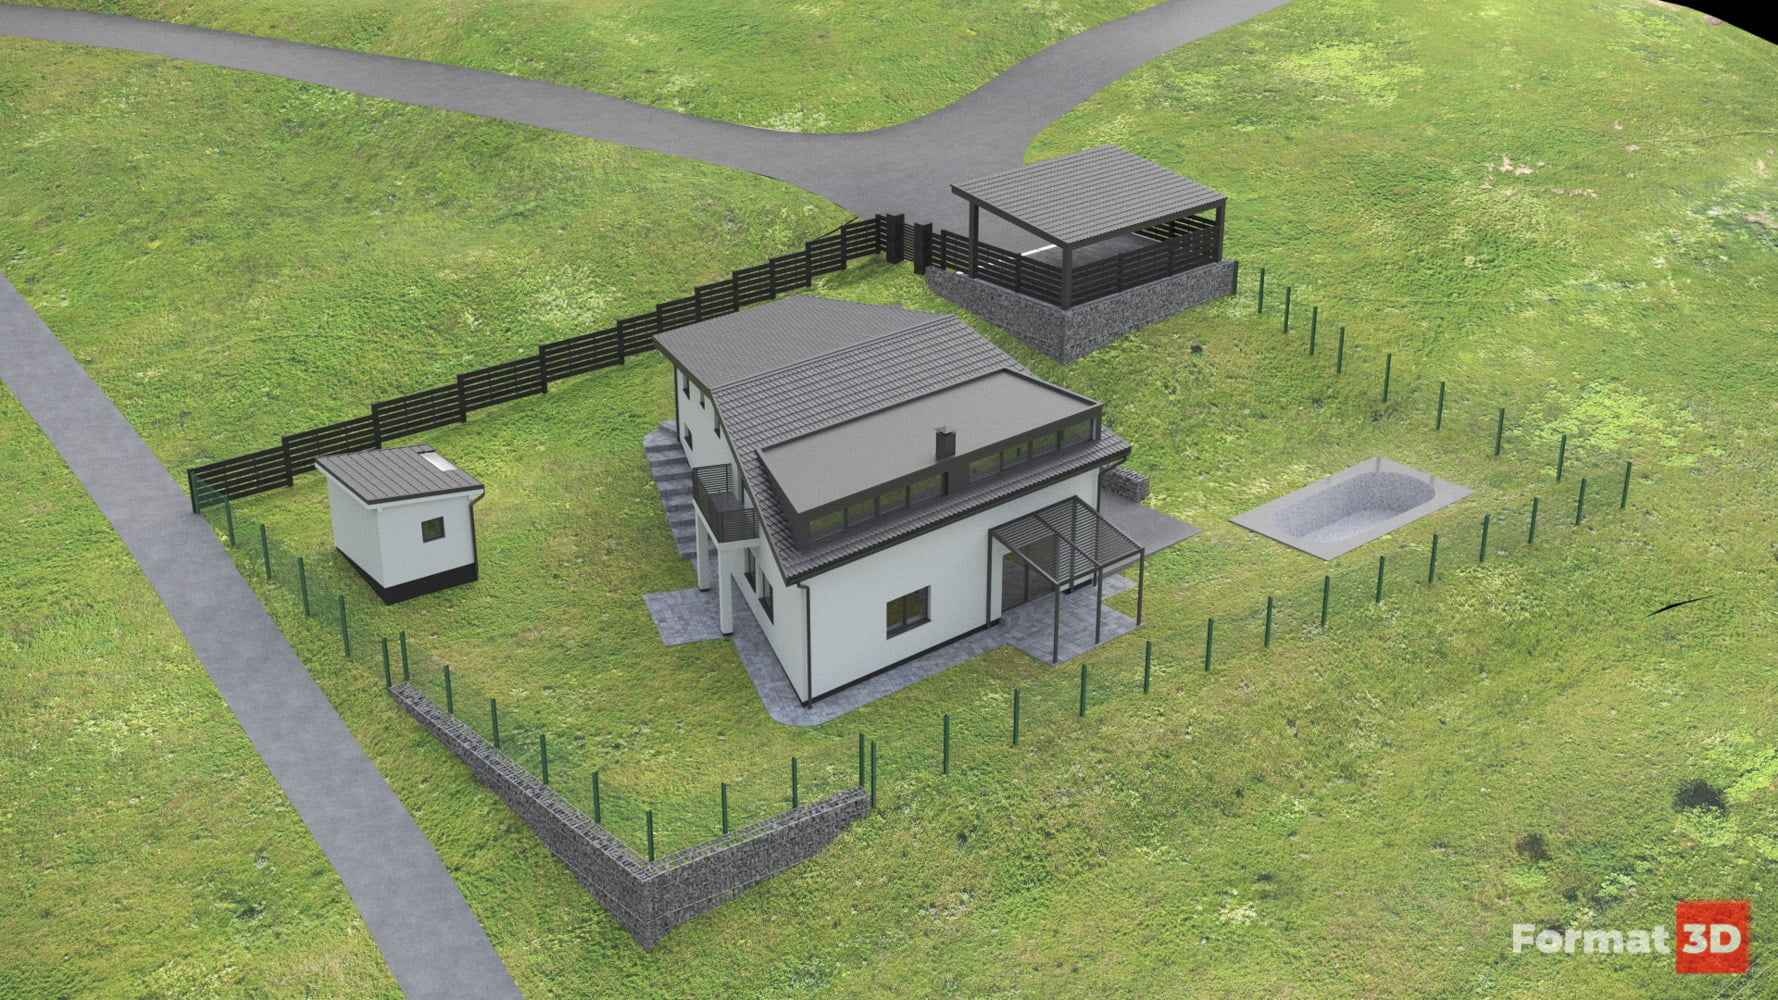
Now it gets even more interesting. In this step you will see the real purpose of photogrammetry in a very detailed example. From the point cloud we created an absolutely accurate 3D terrain model and immediately positioned the main building, retaining walls, parapets, pool and some other details.
In the following example you have the possibility to see the height differences of the terrain.
3. Thorough texturing and detailing
The object and its surroundings are slowly taking shape. At this stage we decided to make several important changes, such as changing the entrance fence, redesigning the house roof to start from the supporting crossbeam rather than the ridge. Also by bringing additional life to the working renderings, we got the desired confirmation of the idea, but we also got closer to the goal.
4. Lower material phase
This phase had a double task. On the one hand, we tried different solutions for the paving around the pool and the walkways that would connect the entrance to the property with the courtyard behind the house. On the other hand, we tested different camera angles, light positions, etc. At this stage, we also decided on some changes that determined the rest of the process. We also determined the angles we wanted to have in the final renderings.
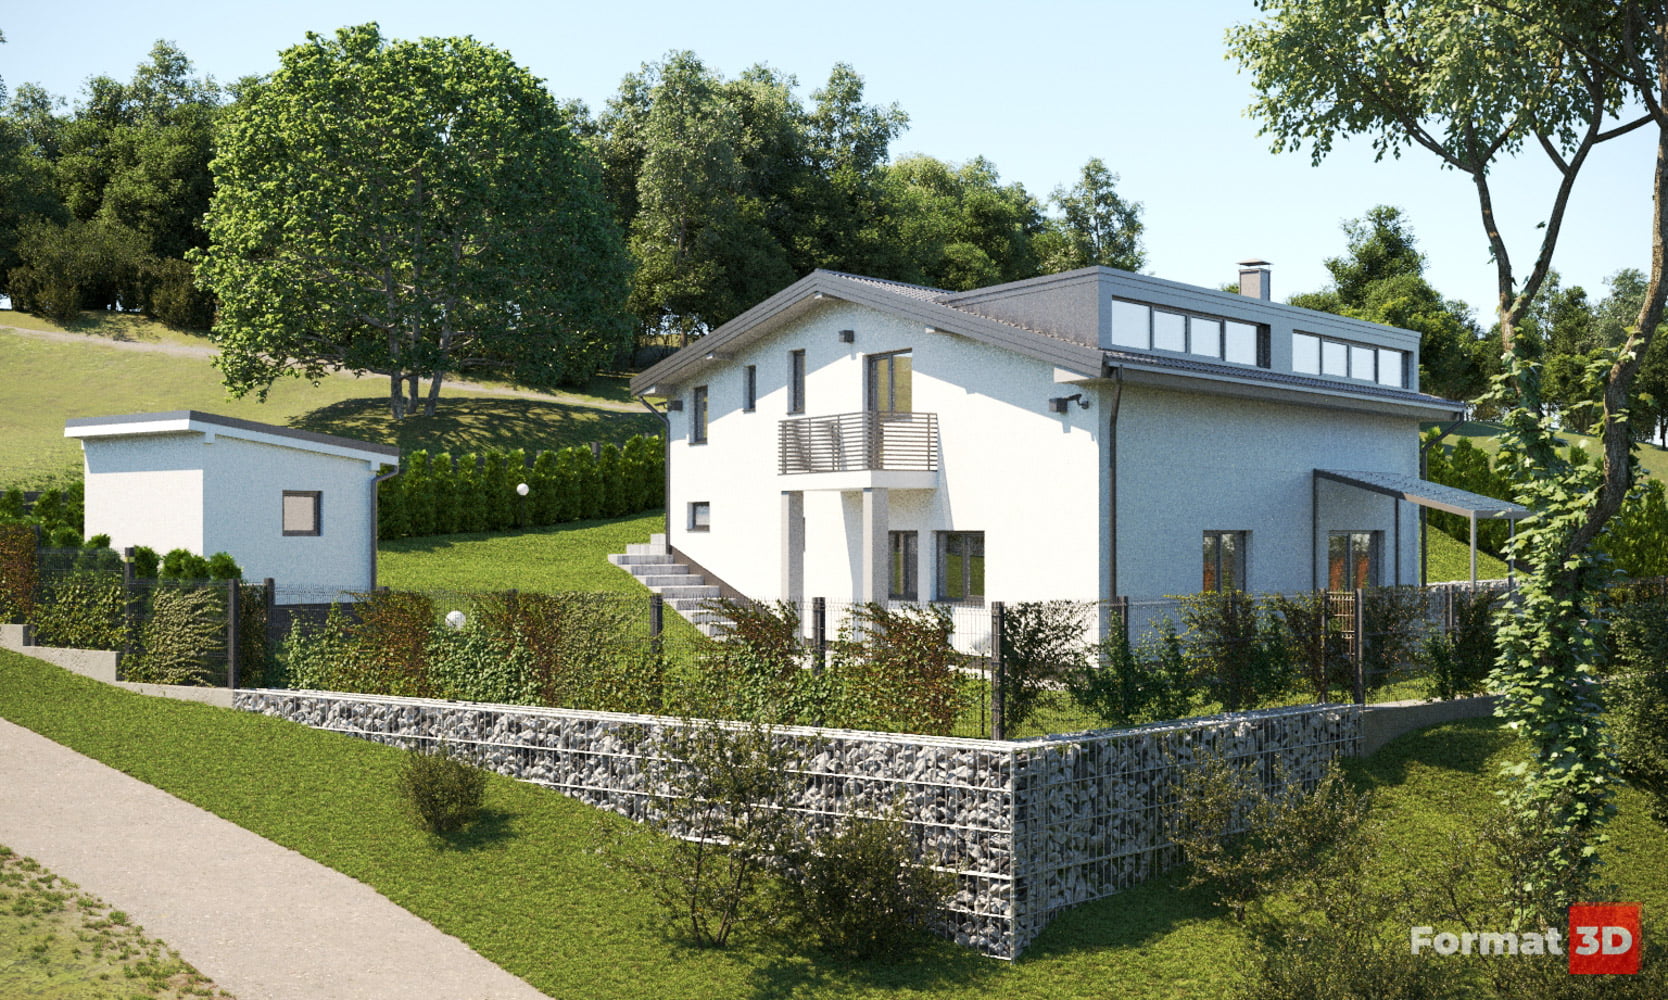
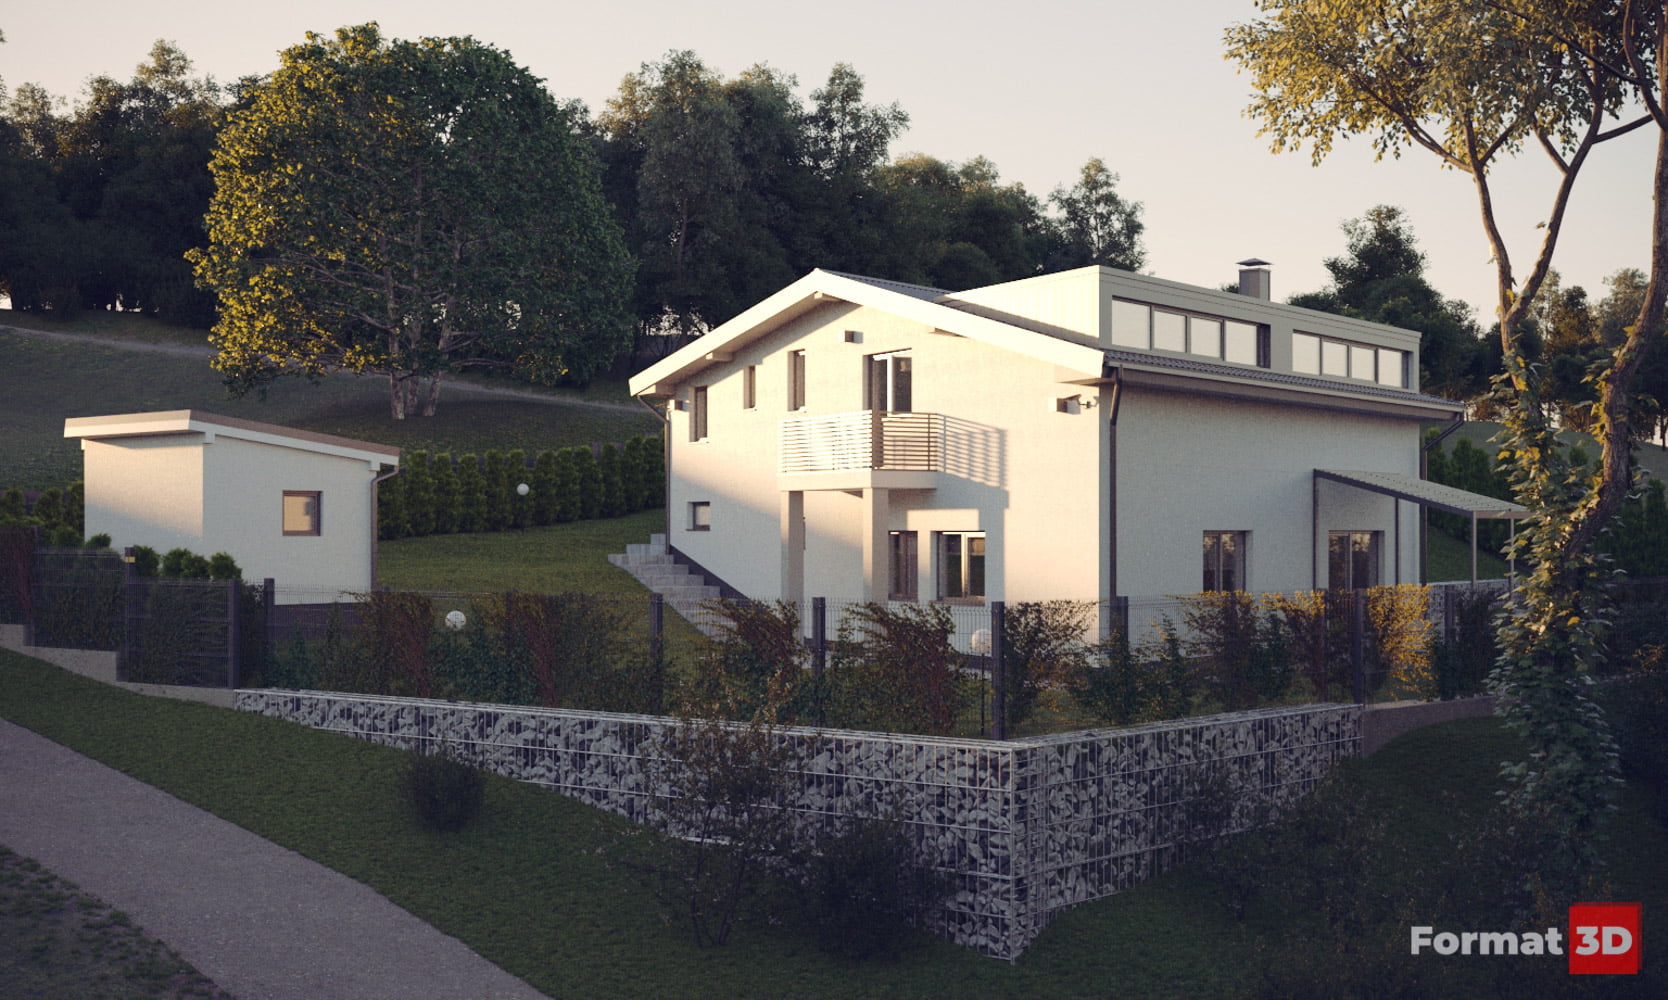
5. Test renderings in lower resolution
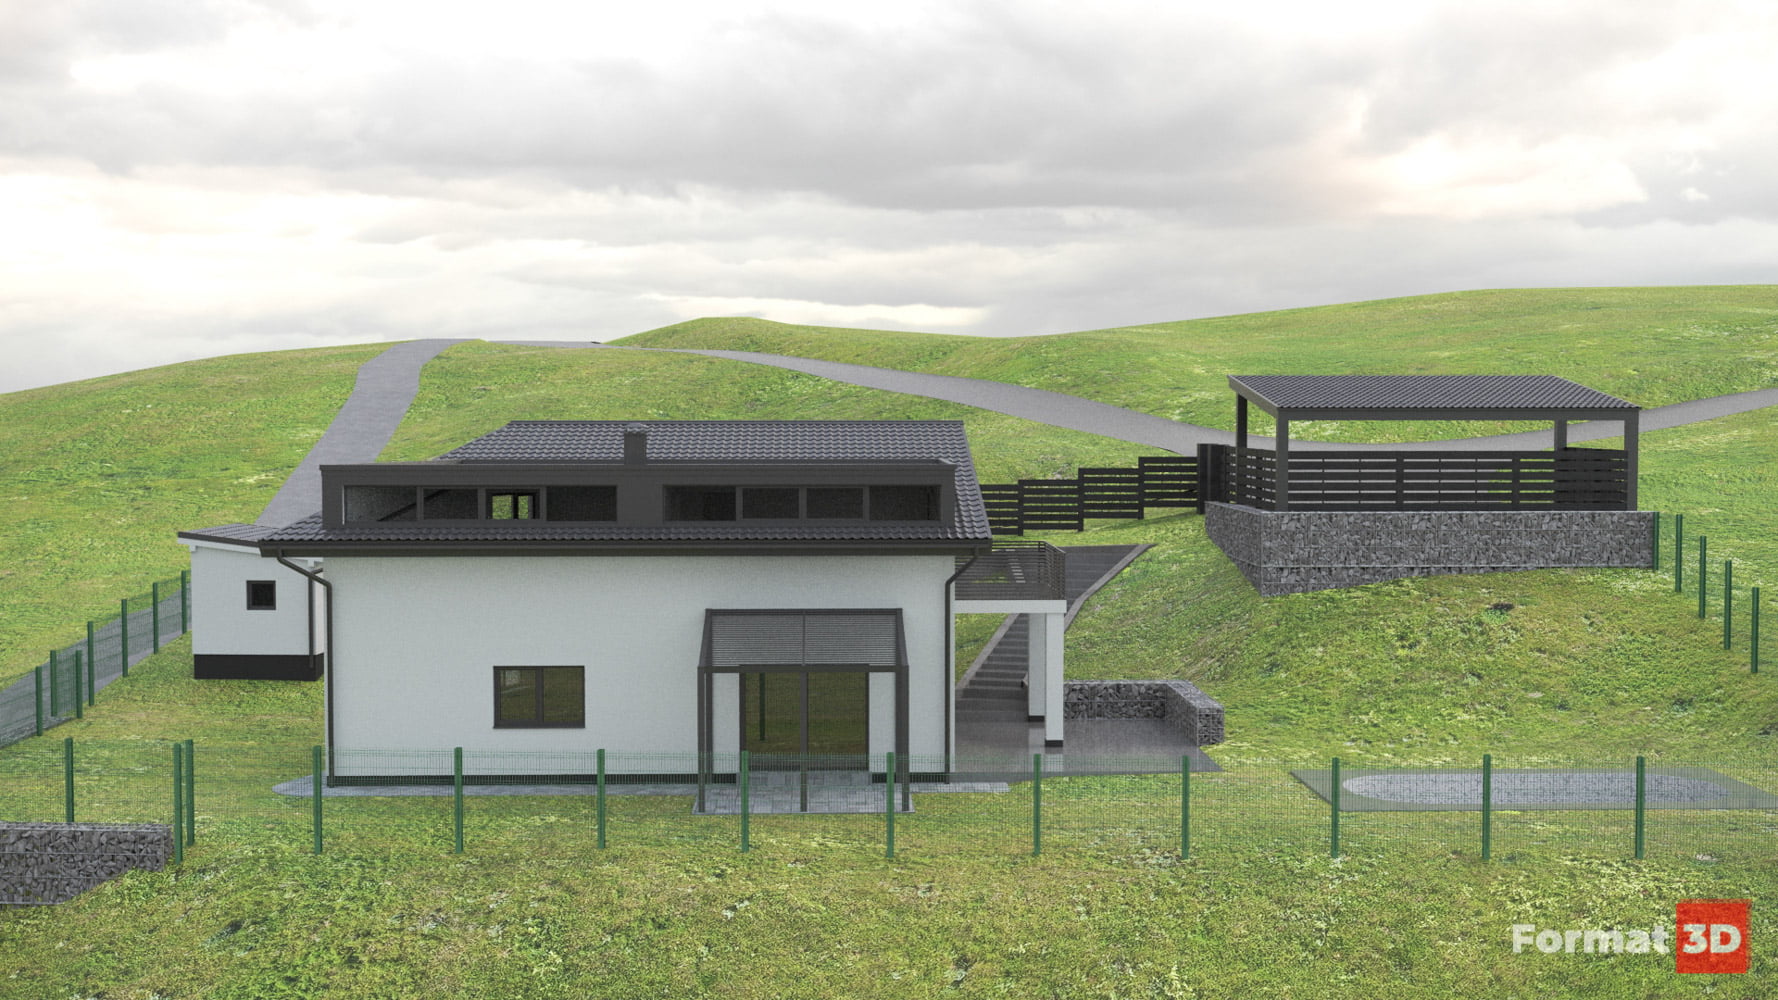
After selecting the corners and finalising the model of the house and the garden, we started testing different types of lighting until we decided on the most suitable one. At this stage, we have already determined the appearance of the garden, set up gabions as a solution for retaining walls and the like. You want to note that gabions are not a structural solution for the retaining wall of a car plateau, because in fact they can not be used in this way, but only as a decorative sheathing of the edge of a reinforced concrete retaining wall.
Revision
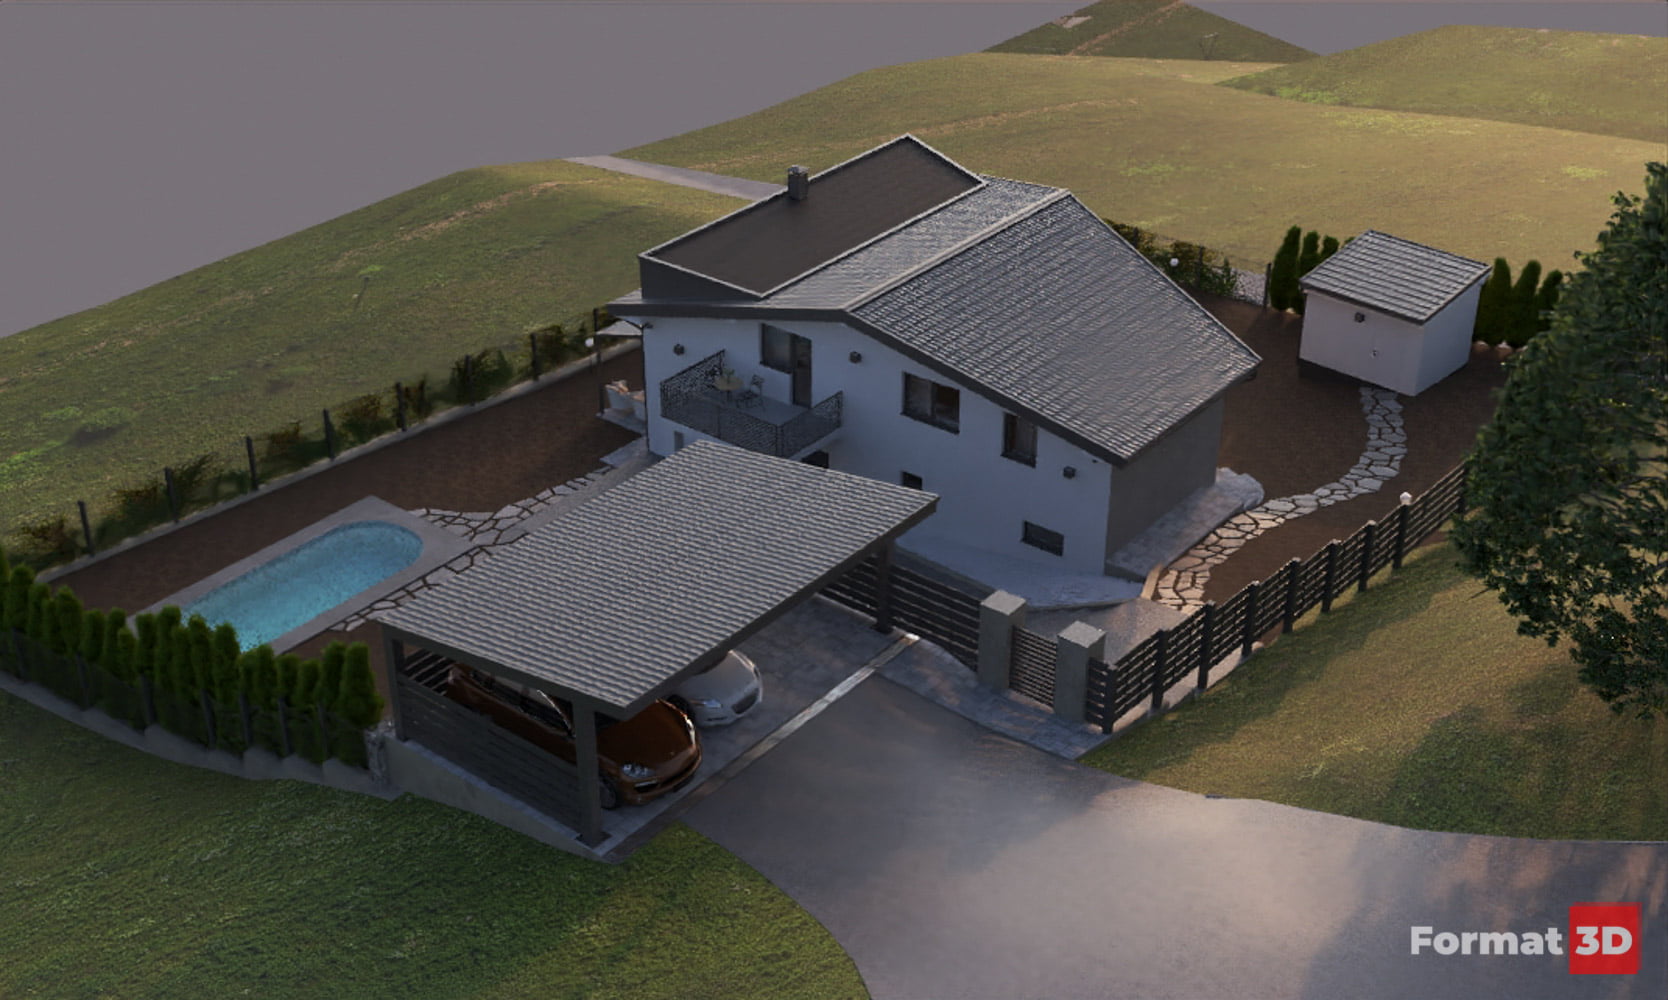
The terrace around the pool is extended with additional paving stones
We would also like to point out that we have prepared project documentation for the construction of the plateau for cars and pedestrian access to the entrance.
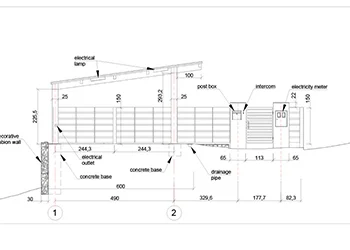
Entrance elevation
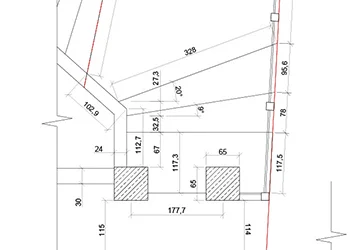
Entrance plan
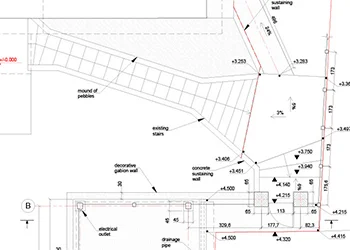
Heights plan
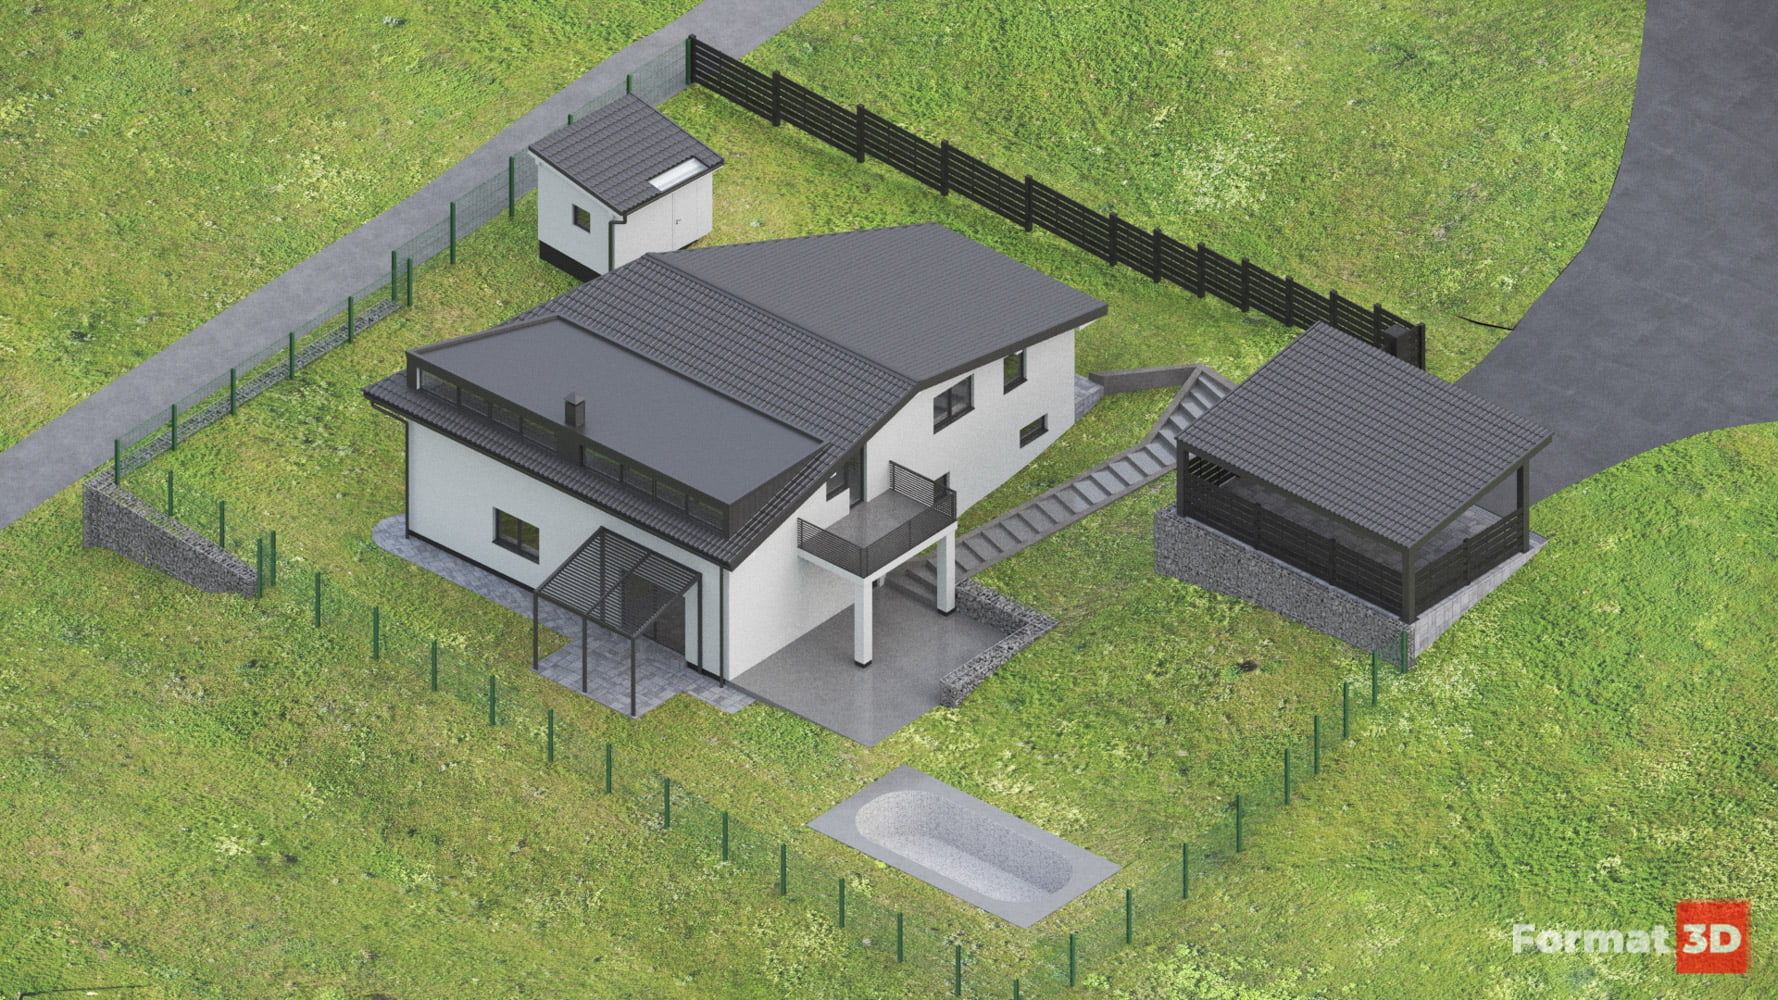
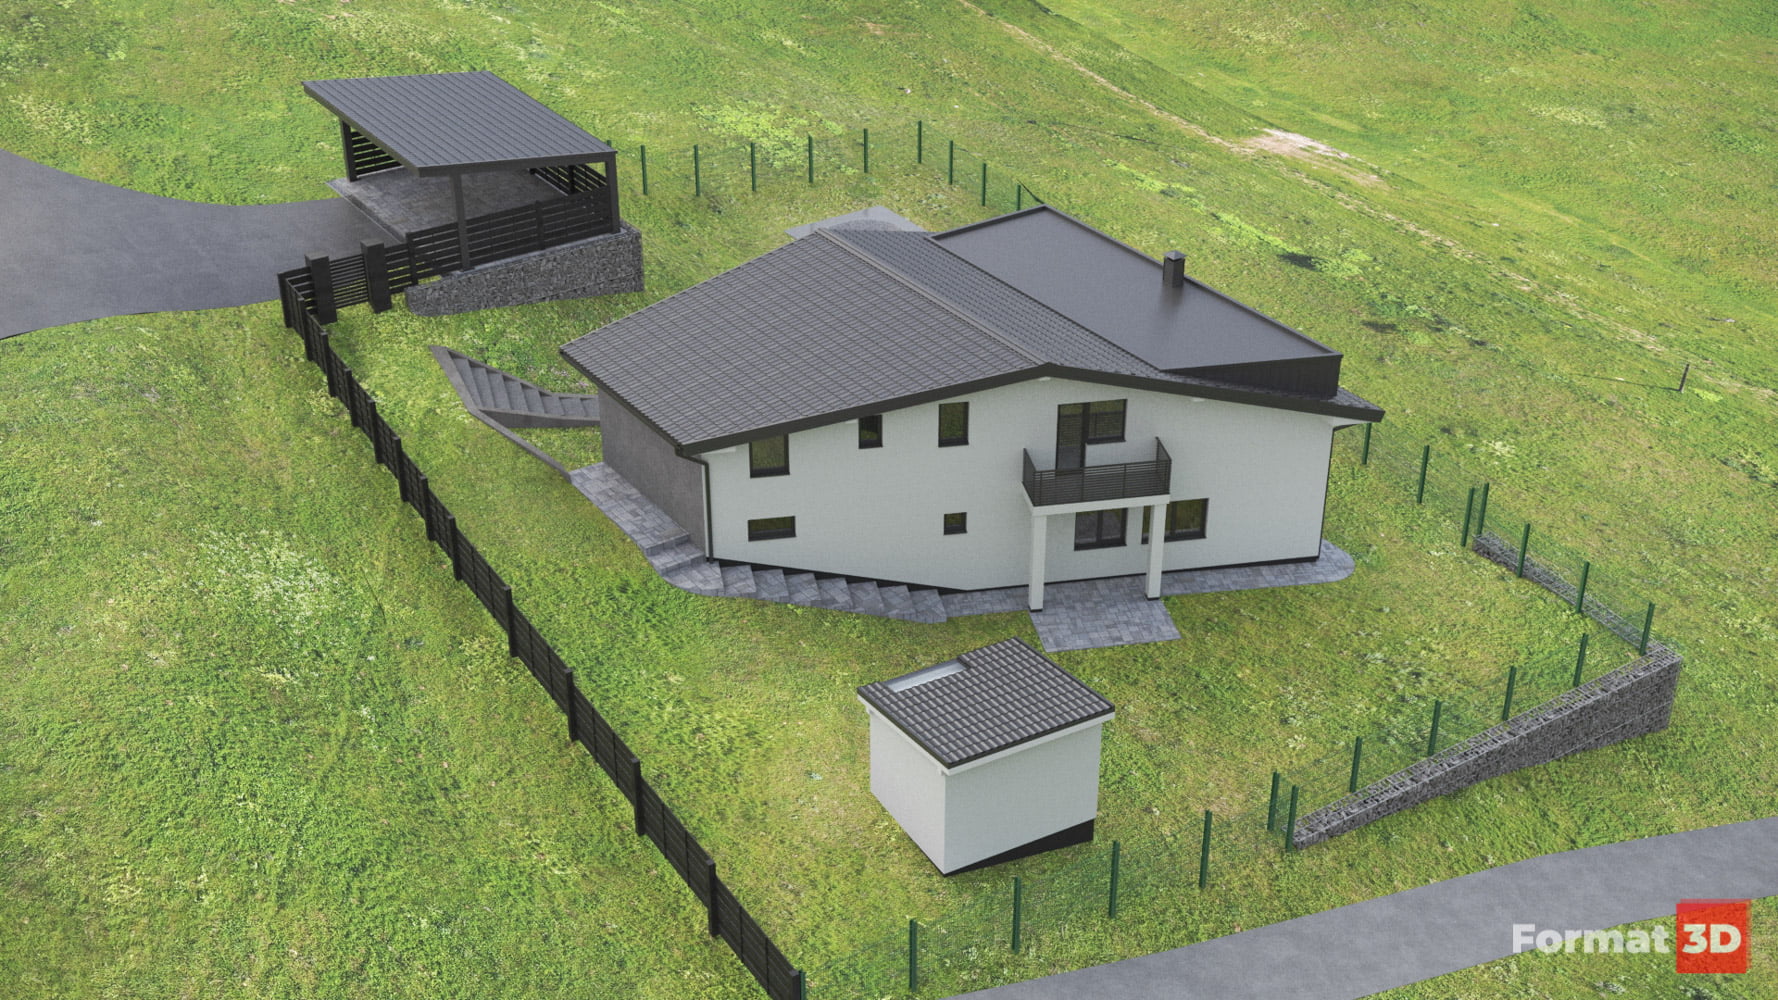
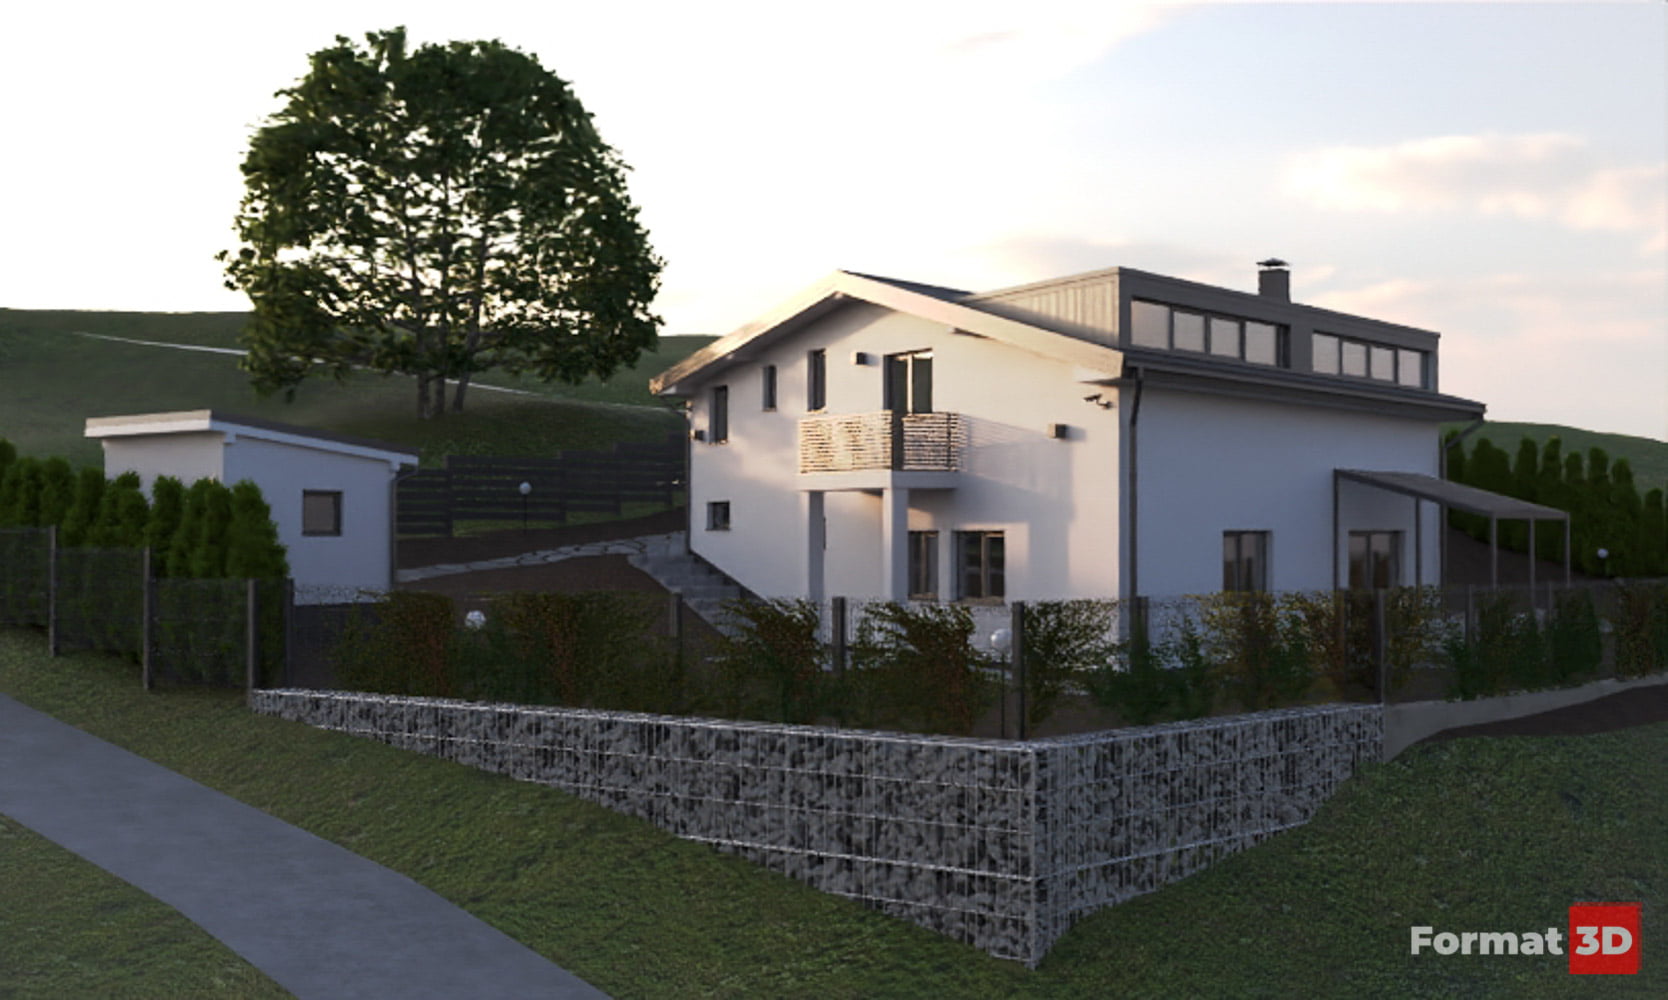
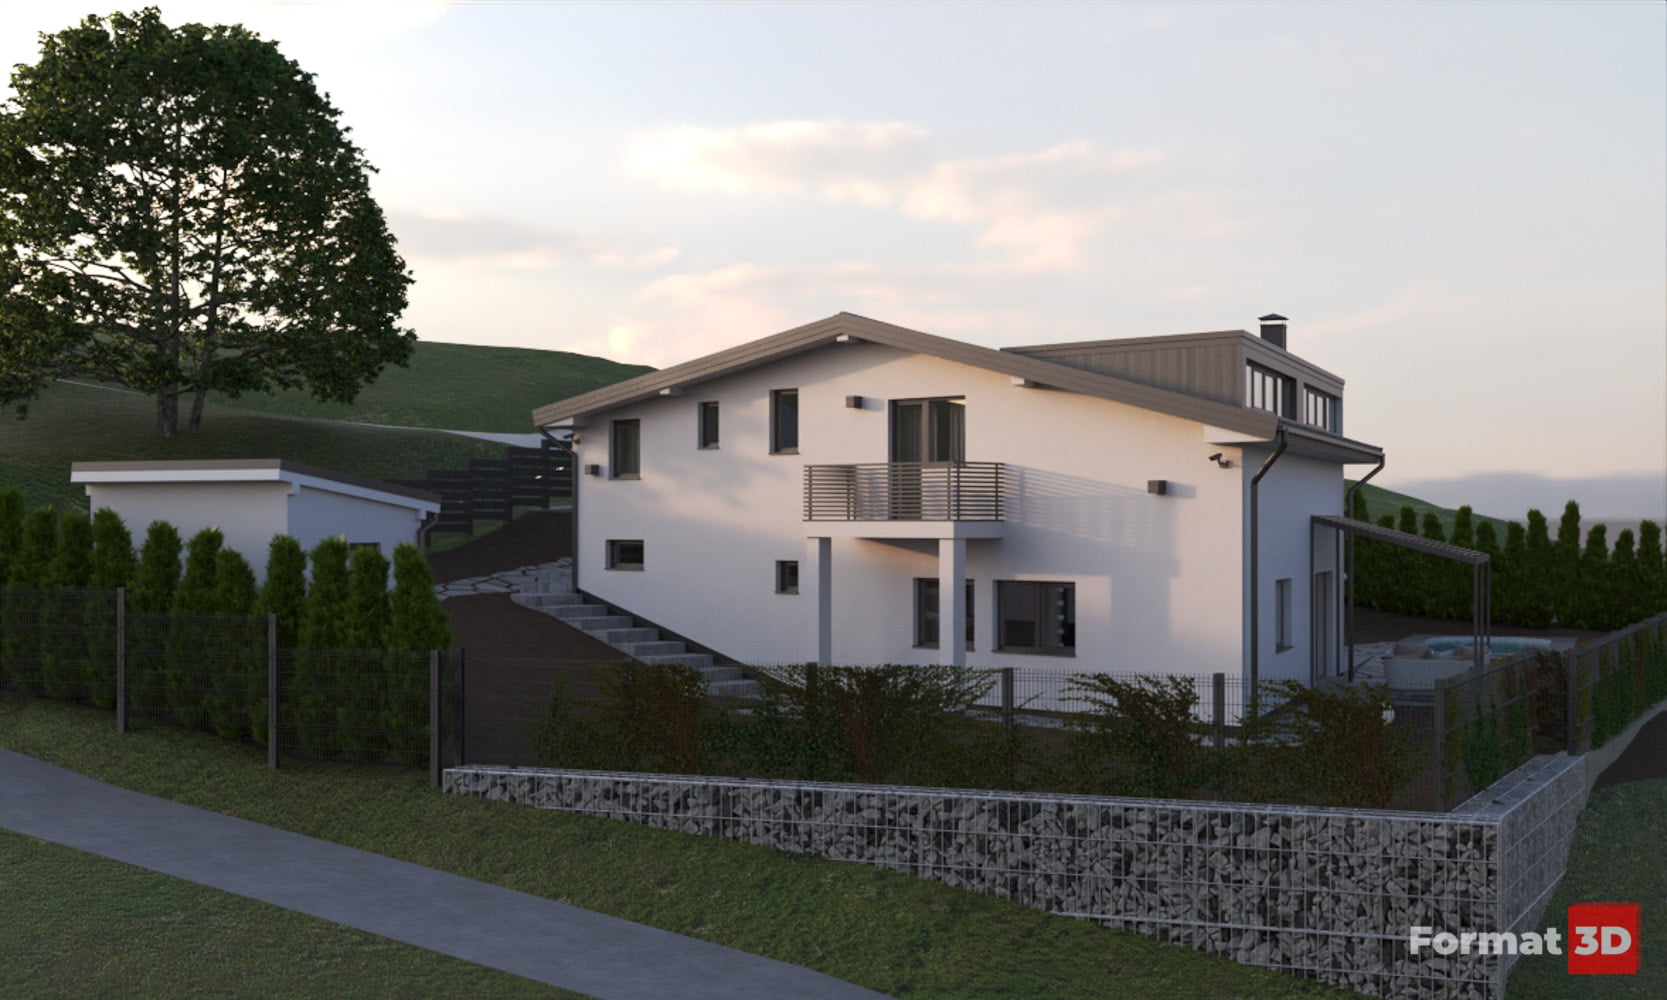
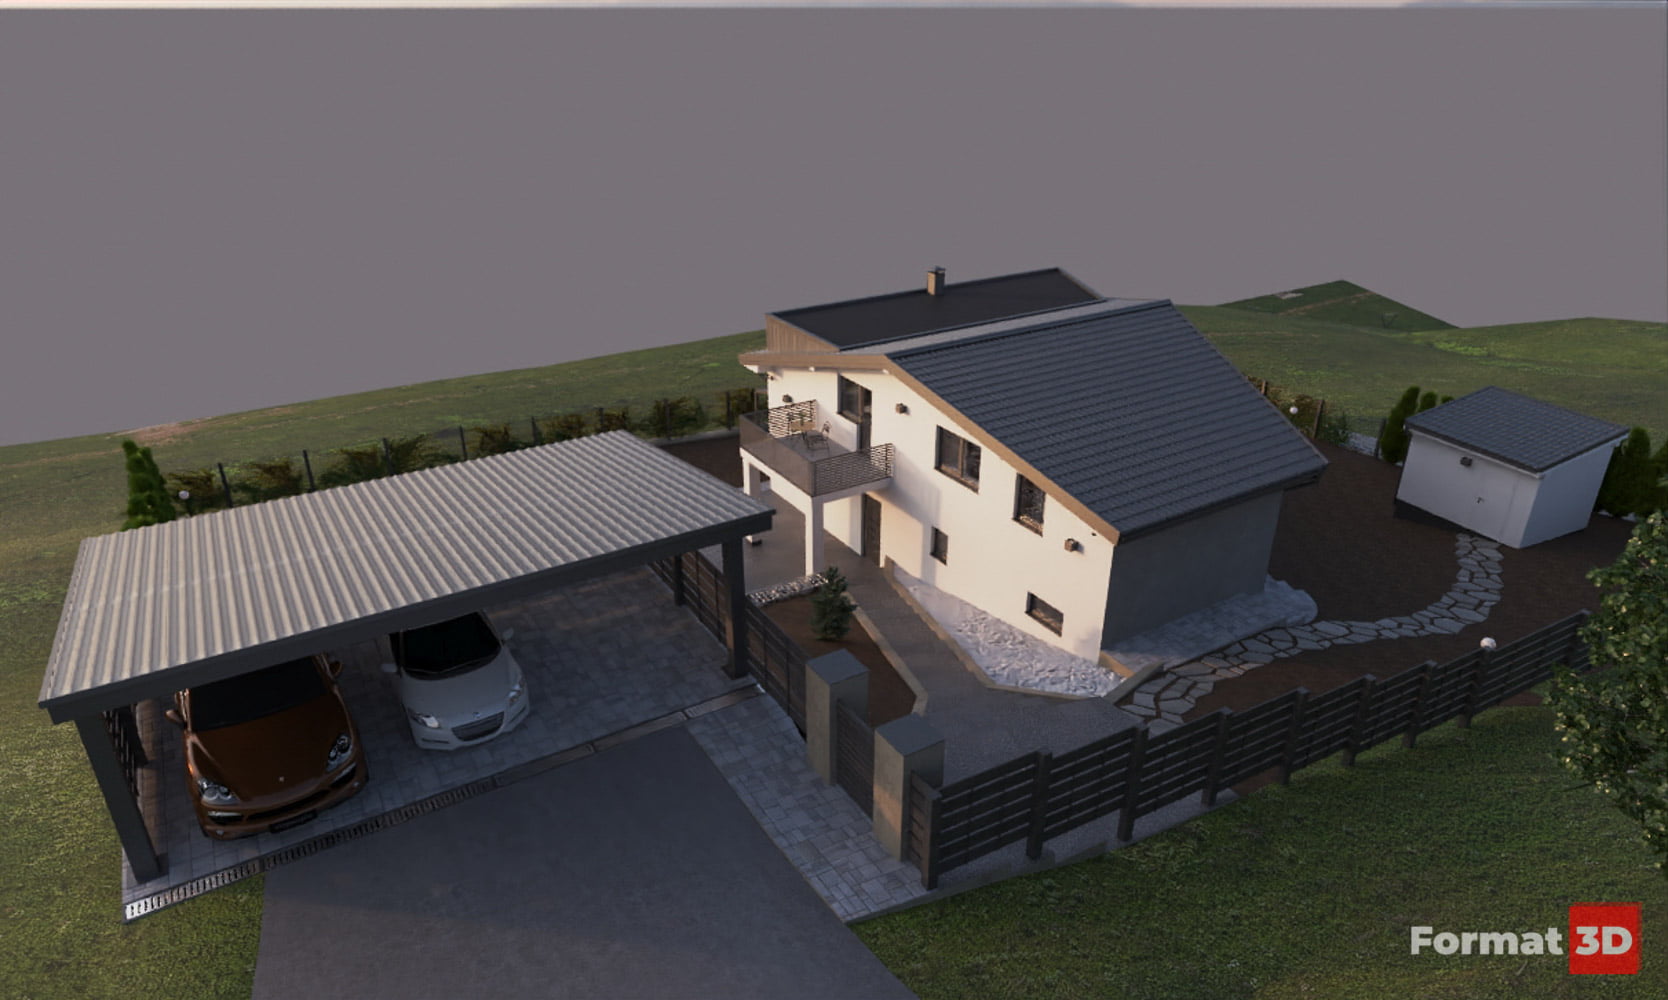
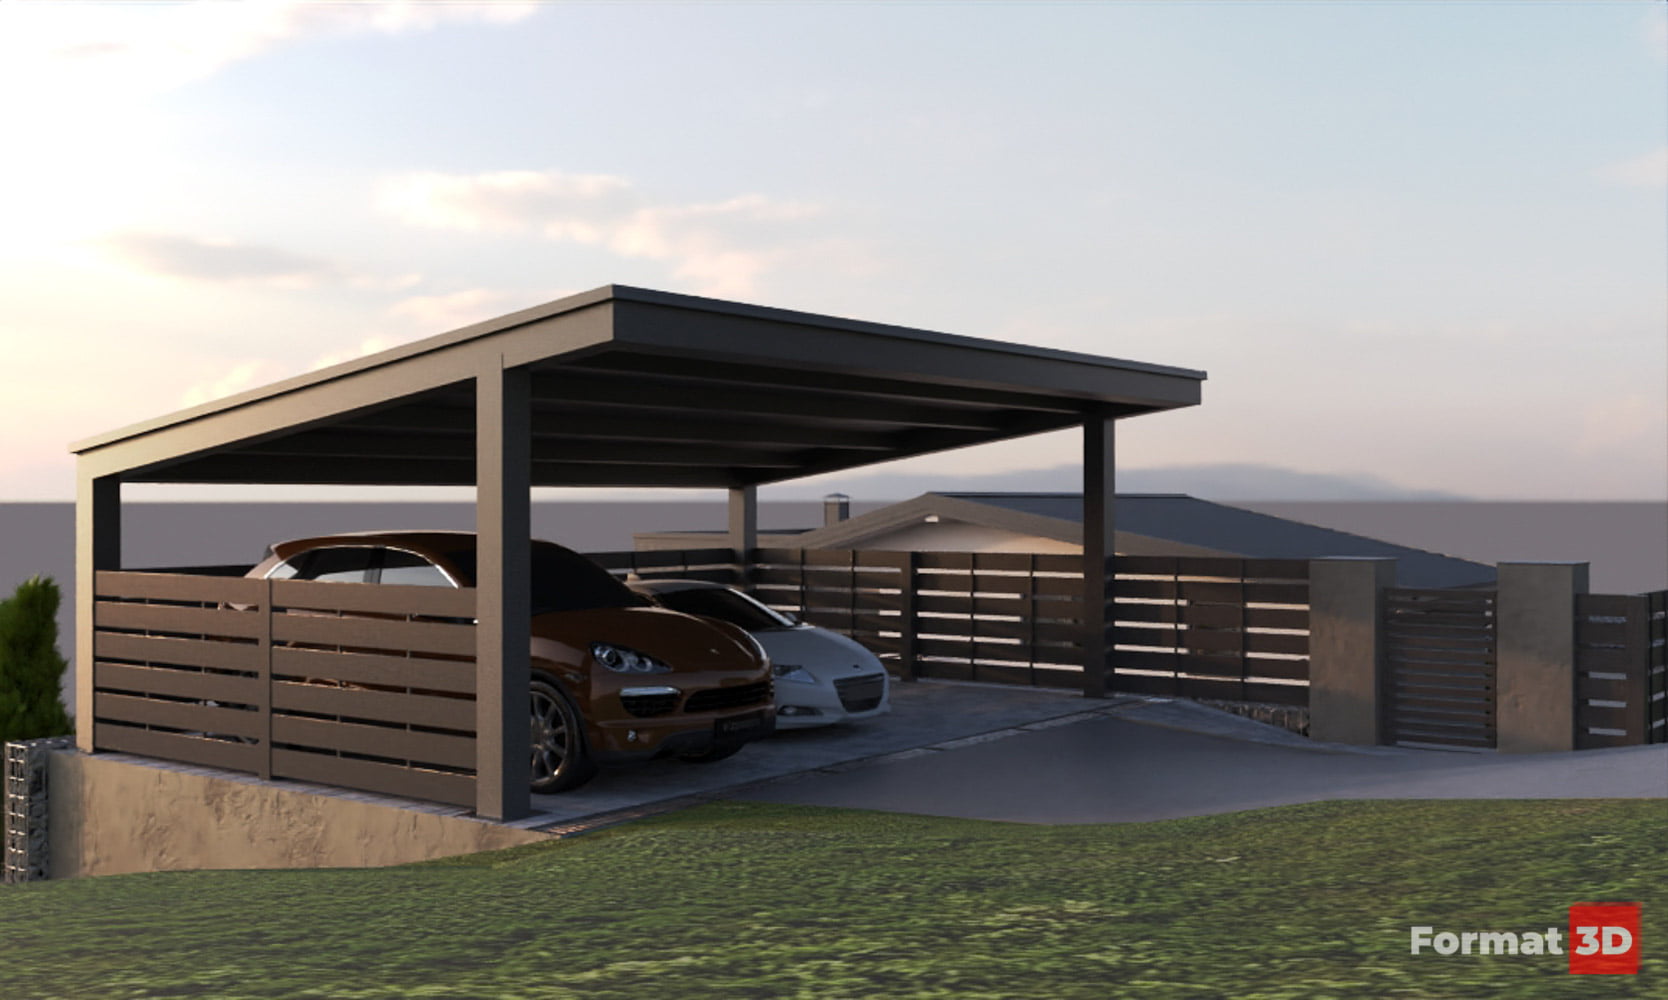
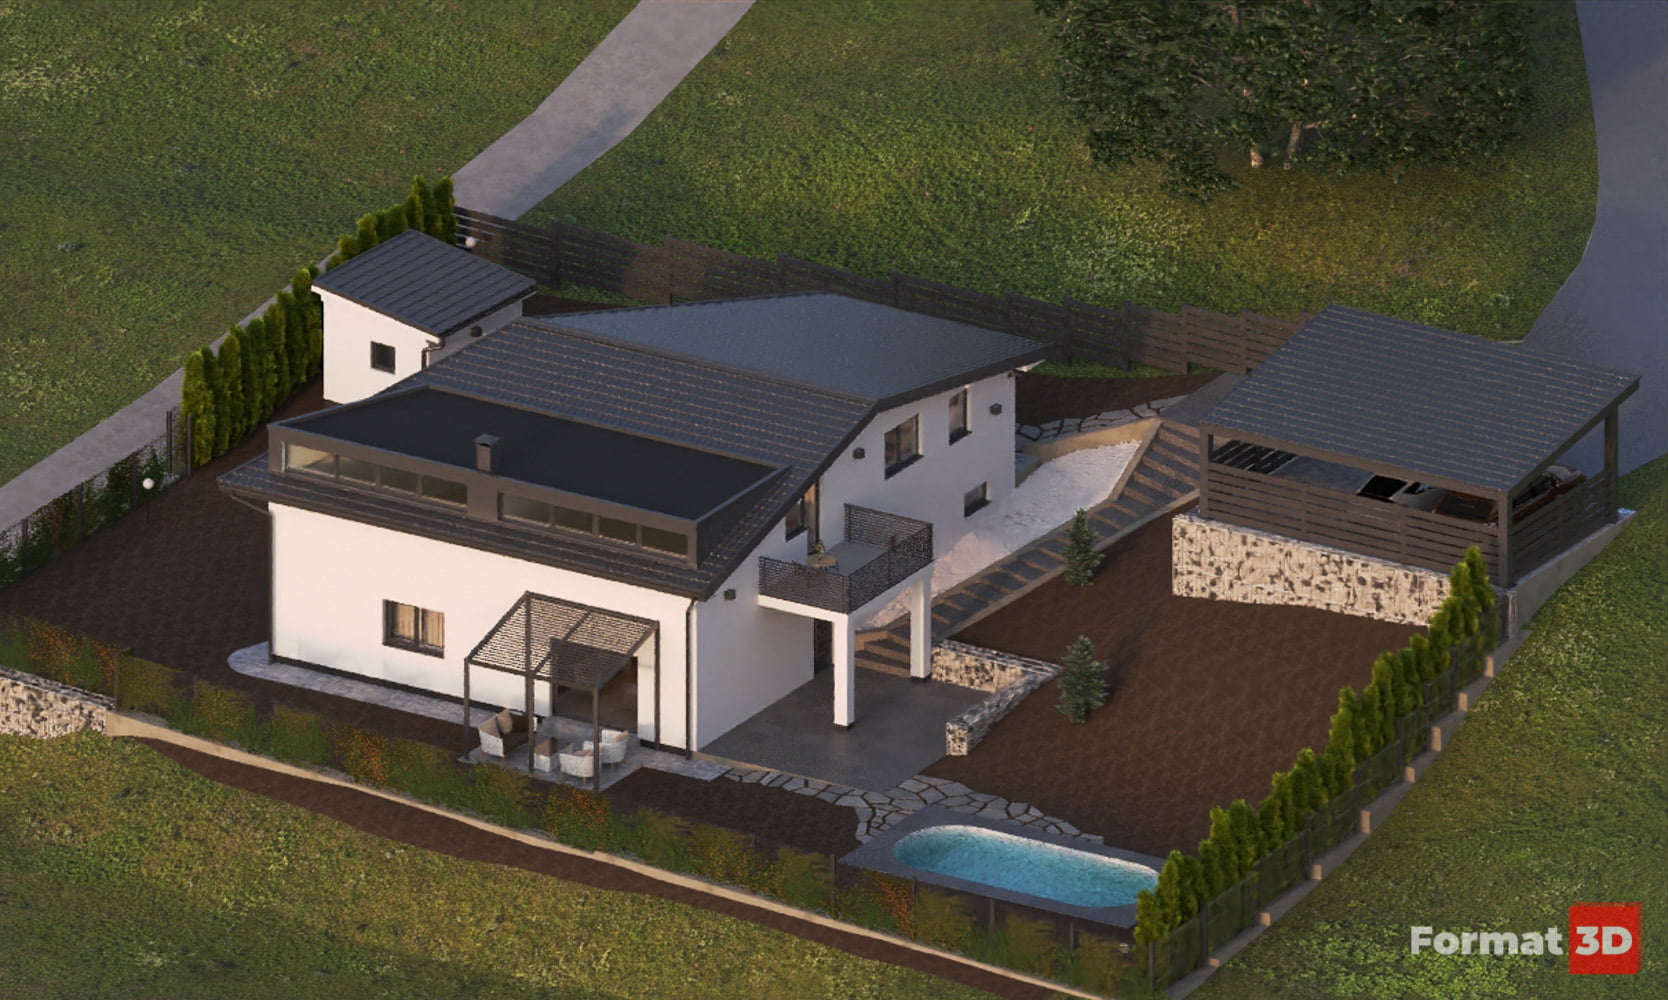
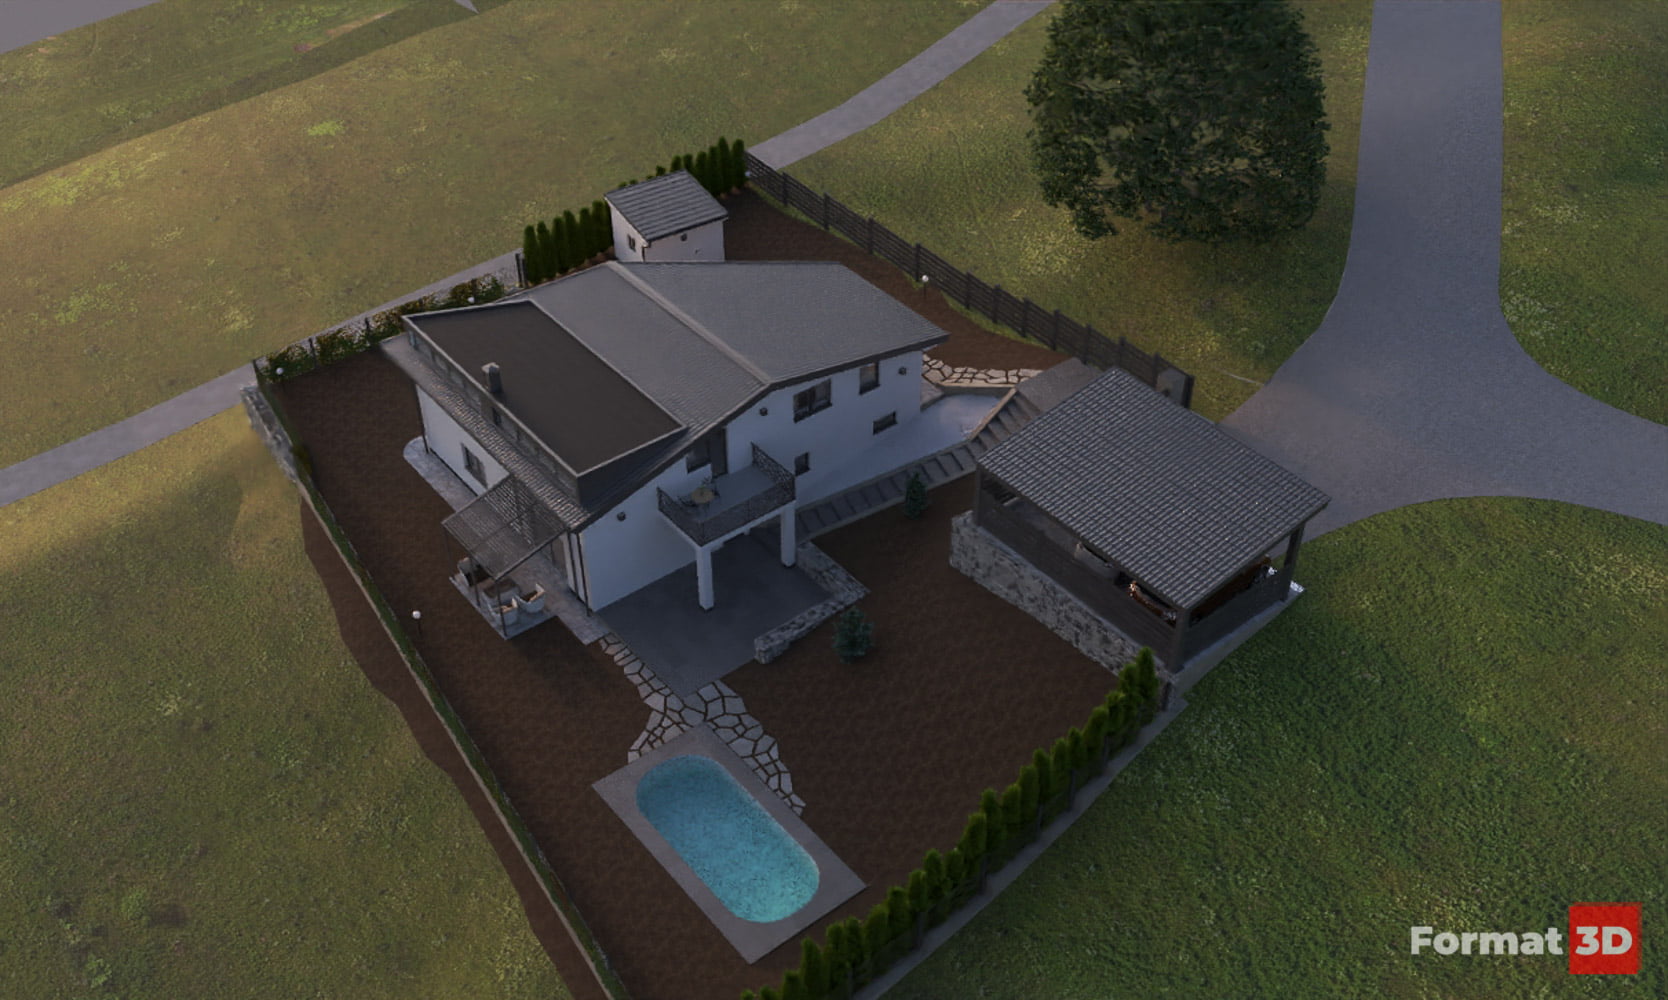
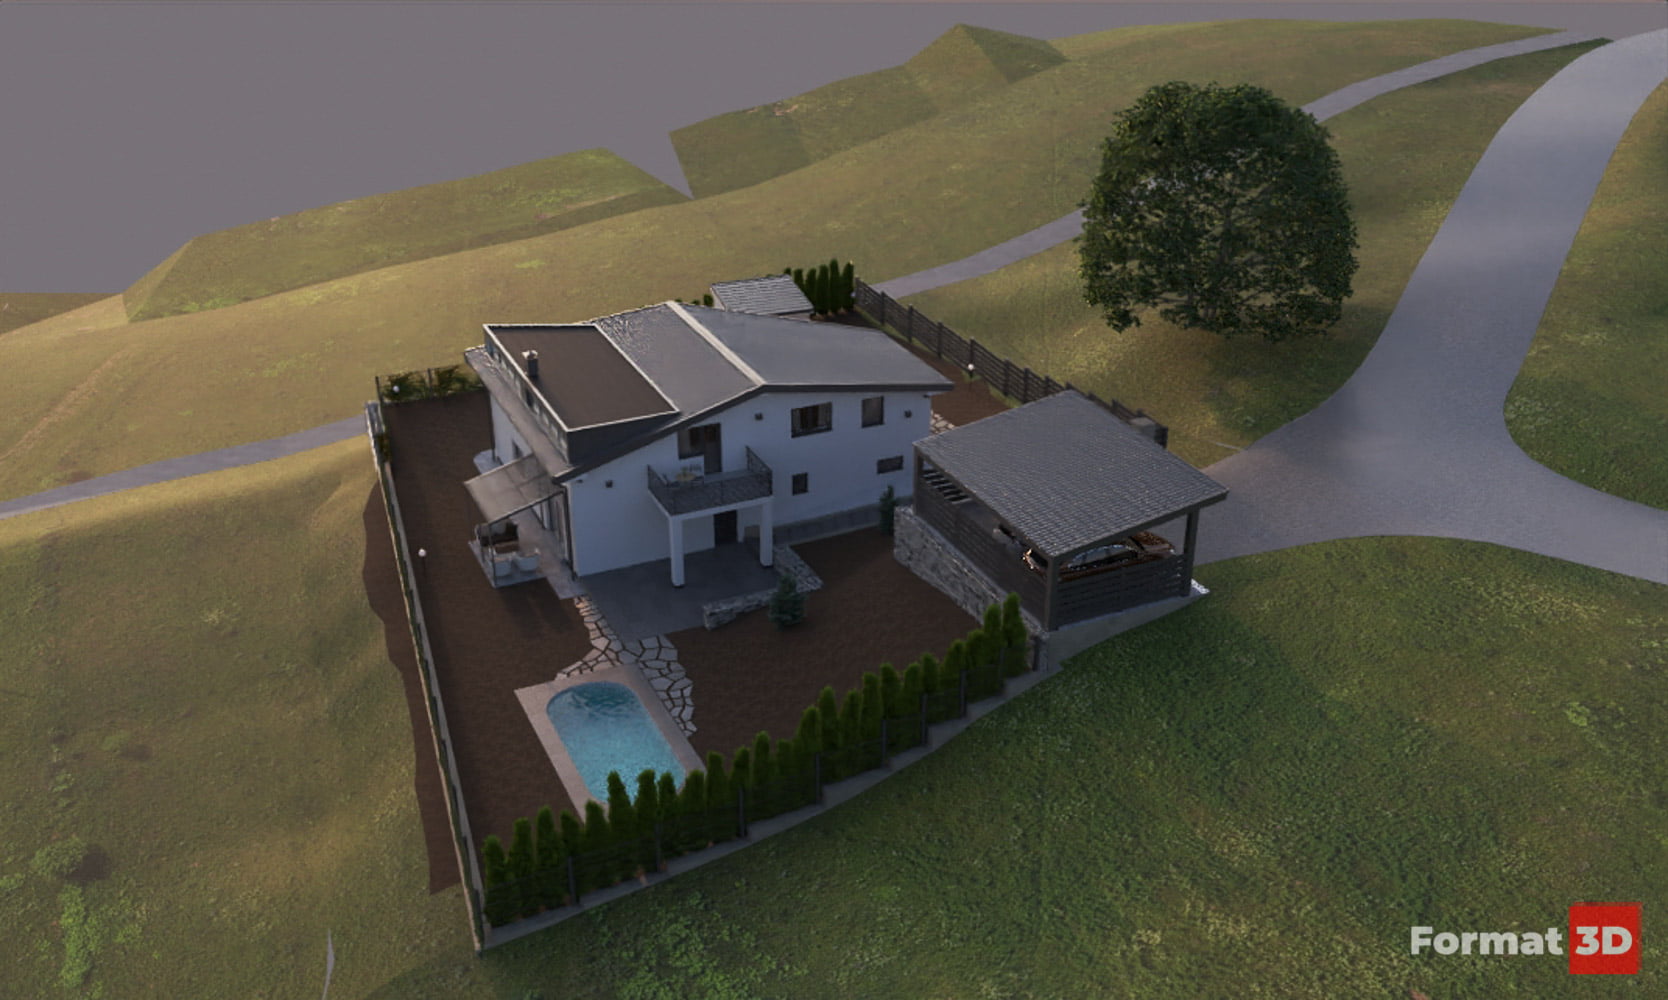
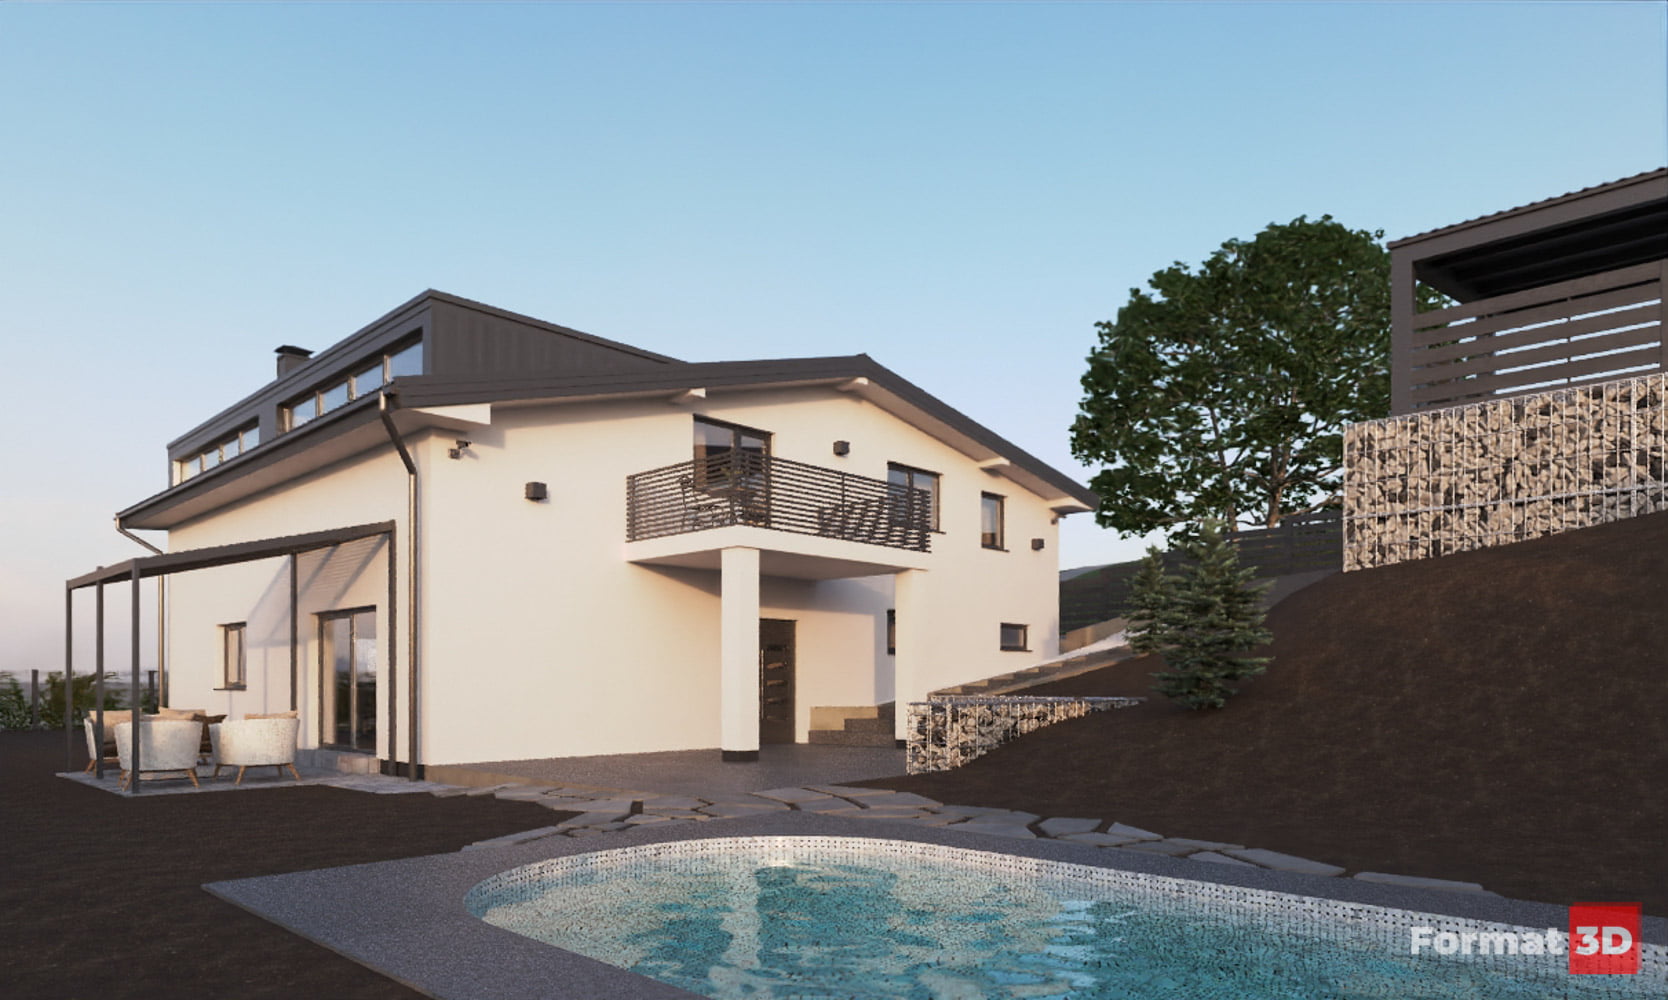
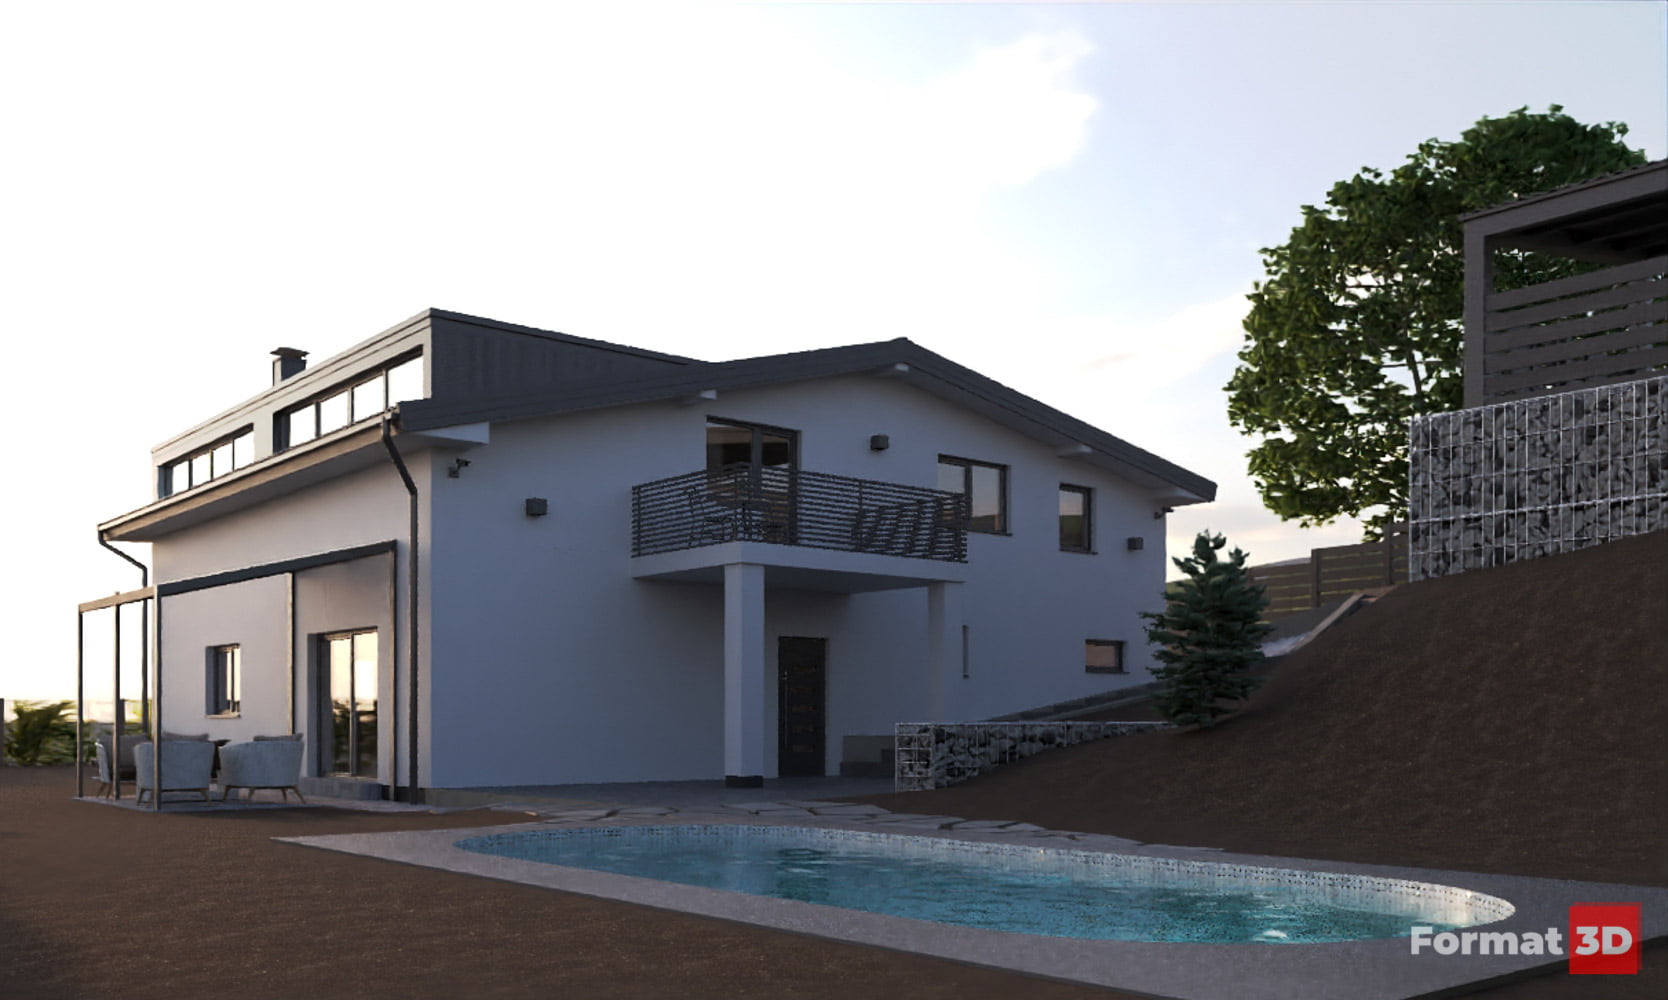
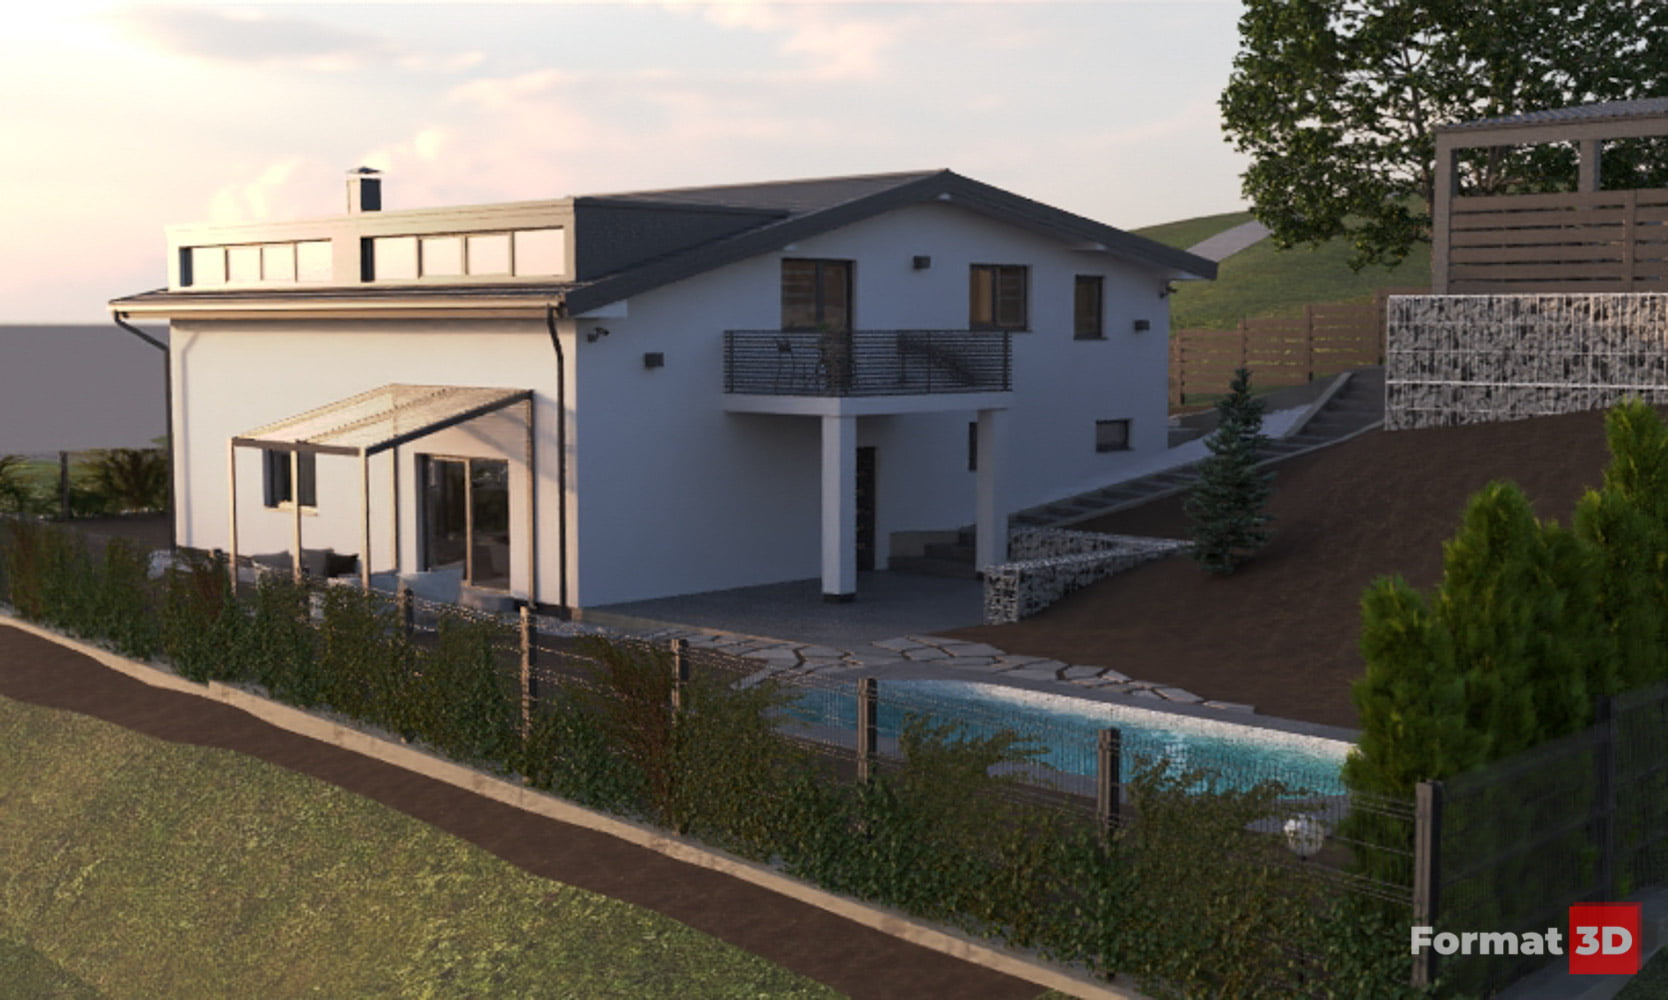
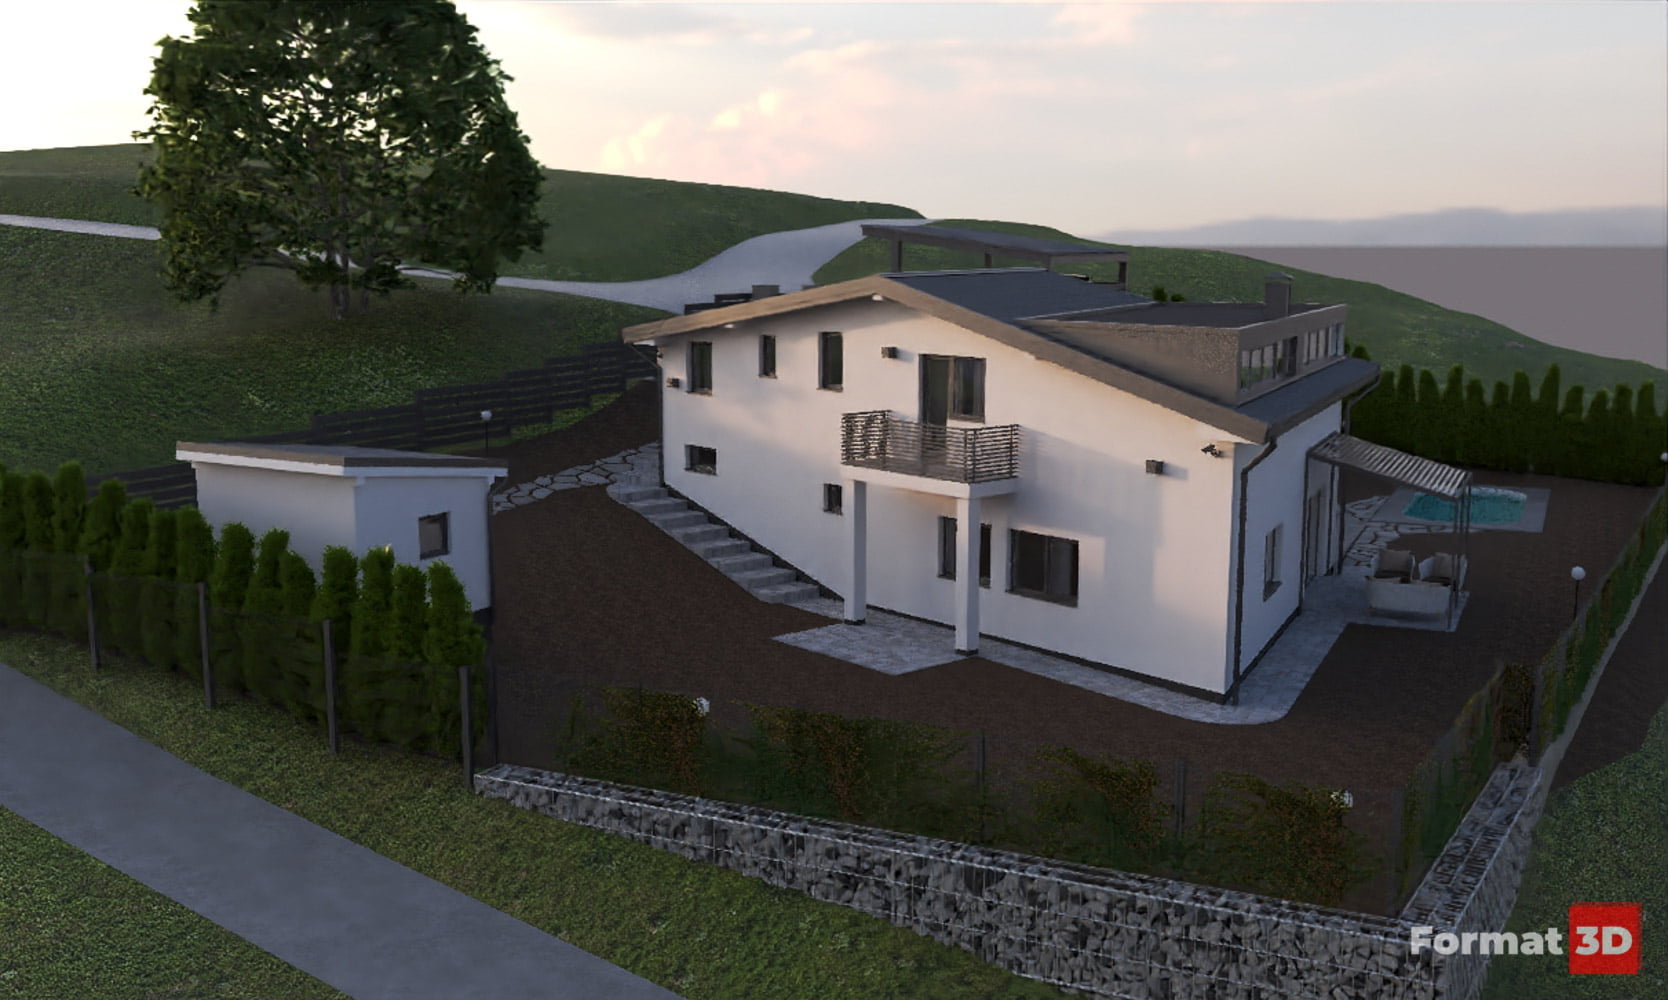
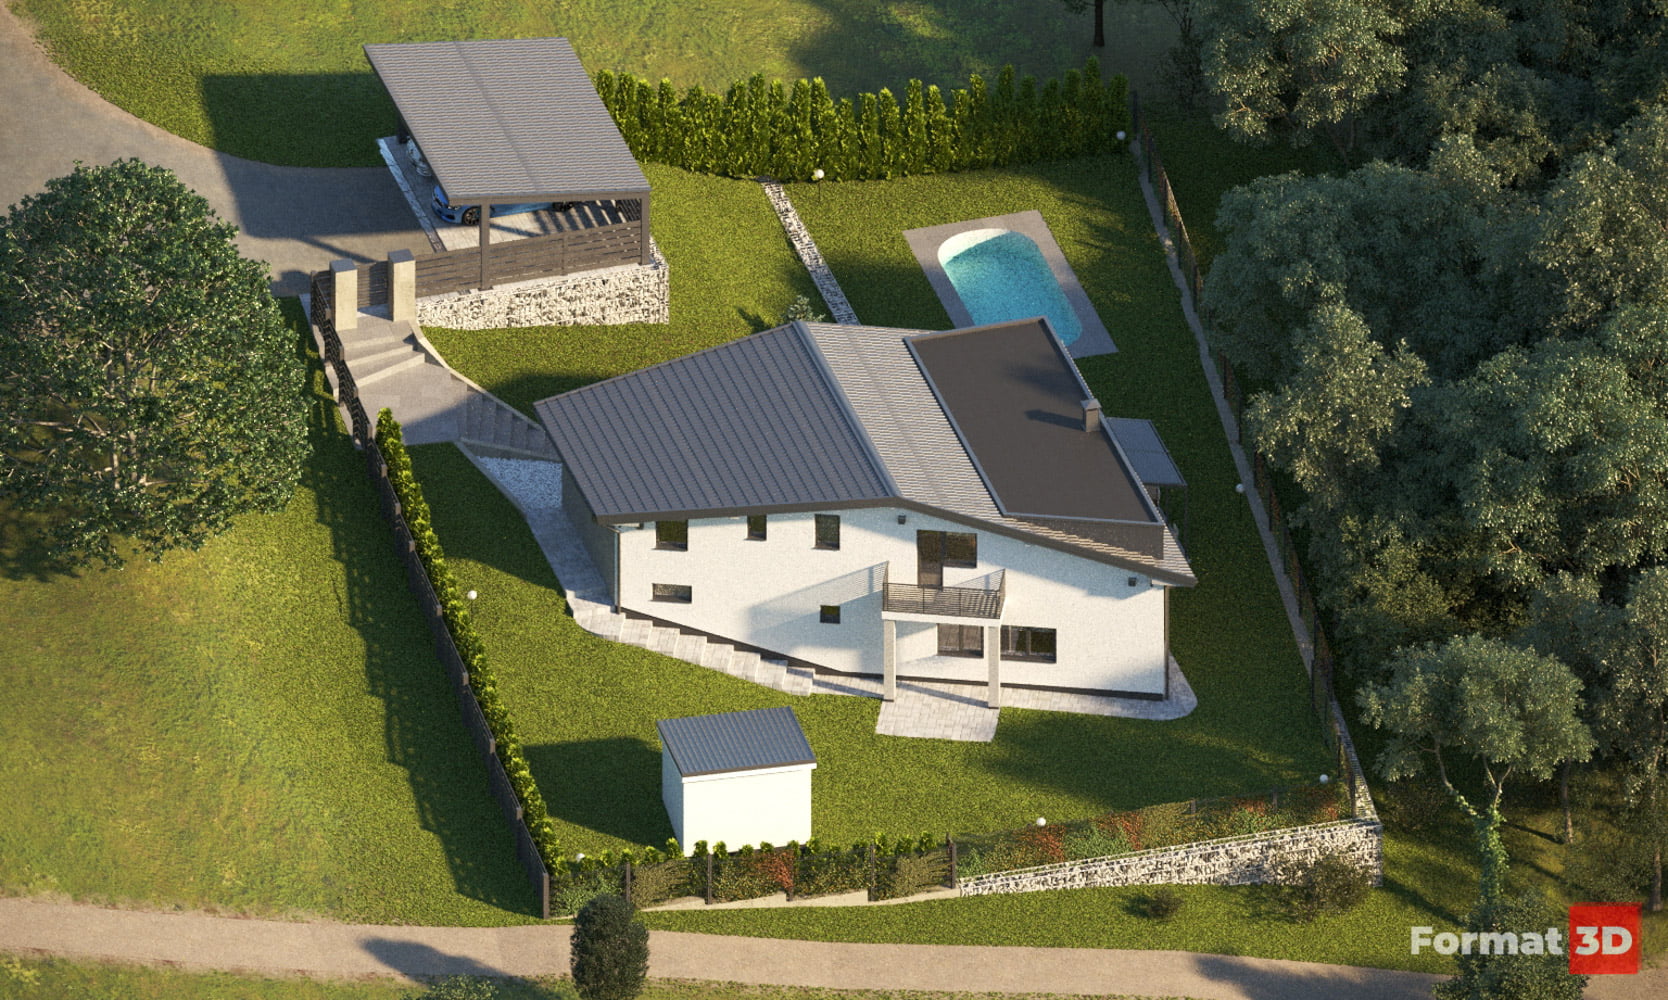
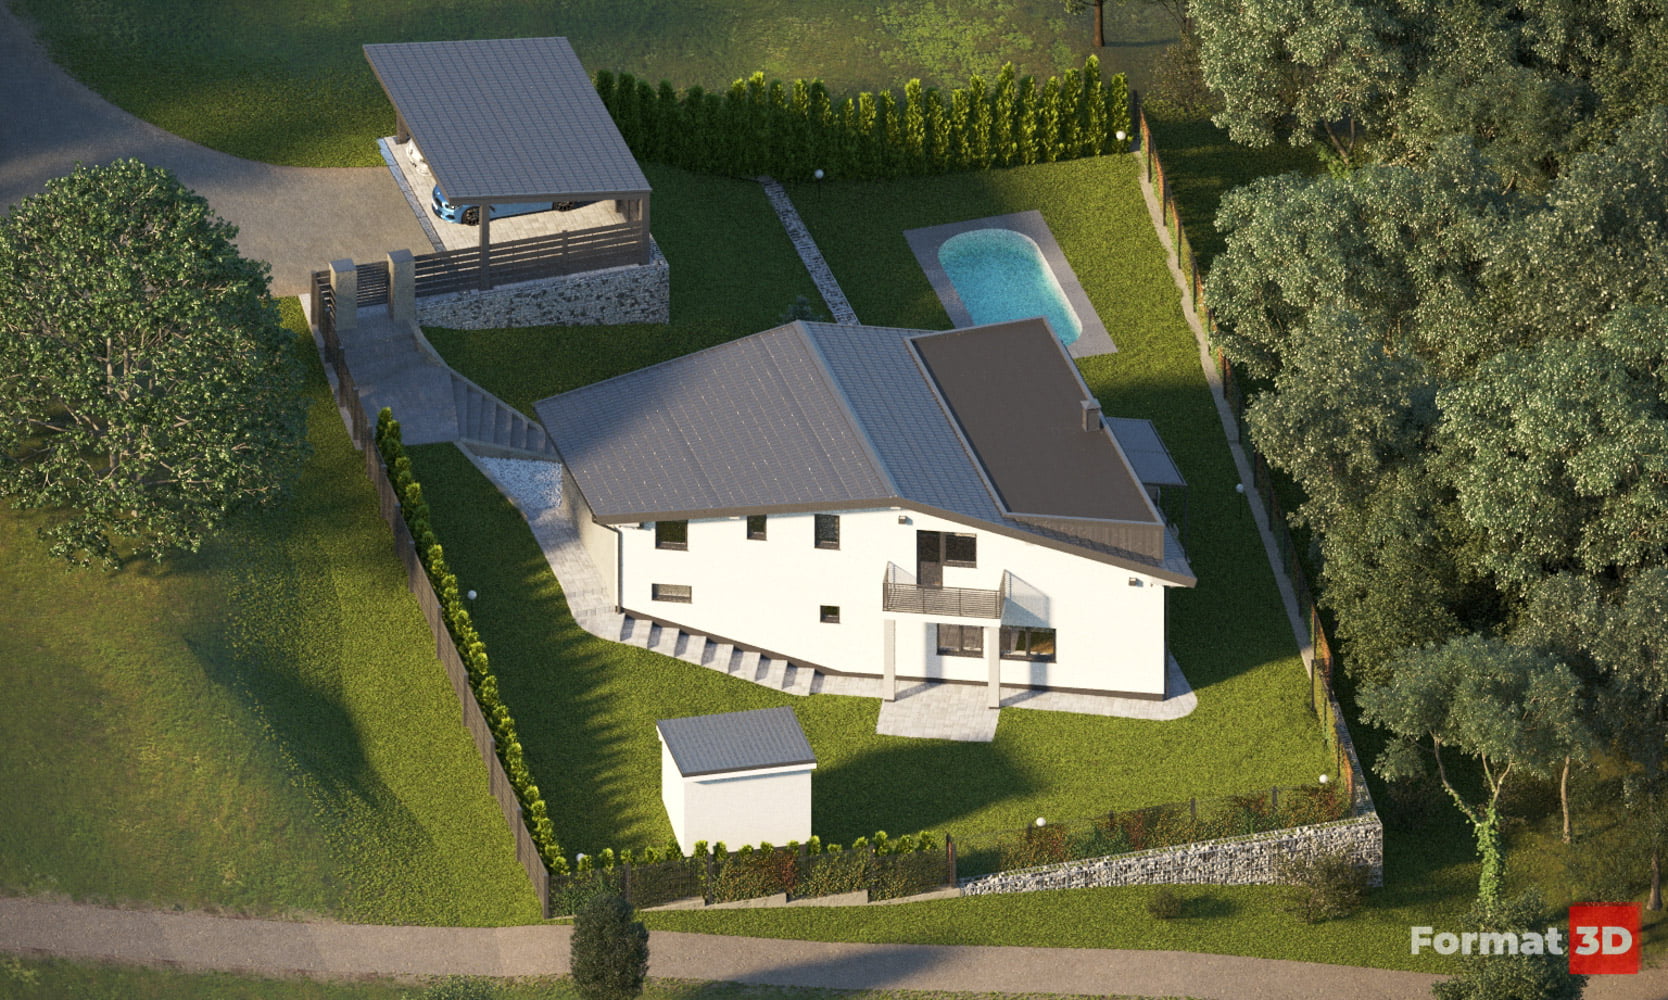
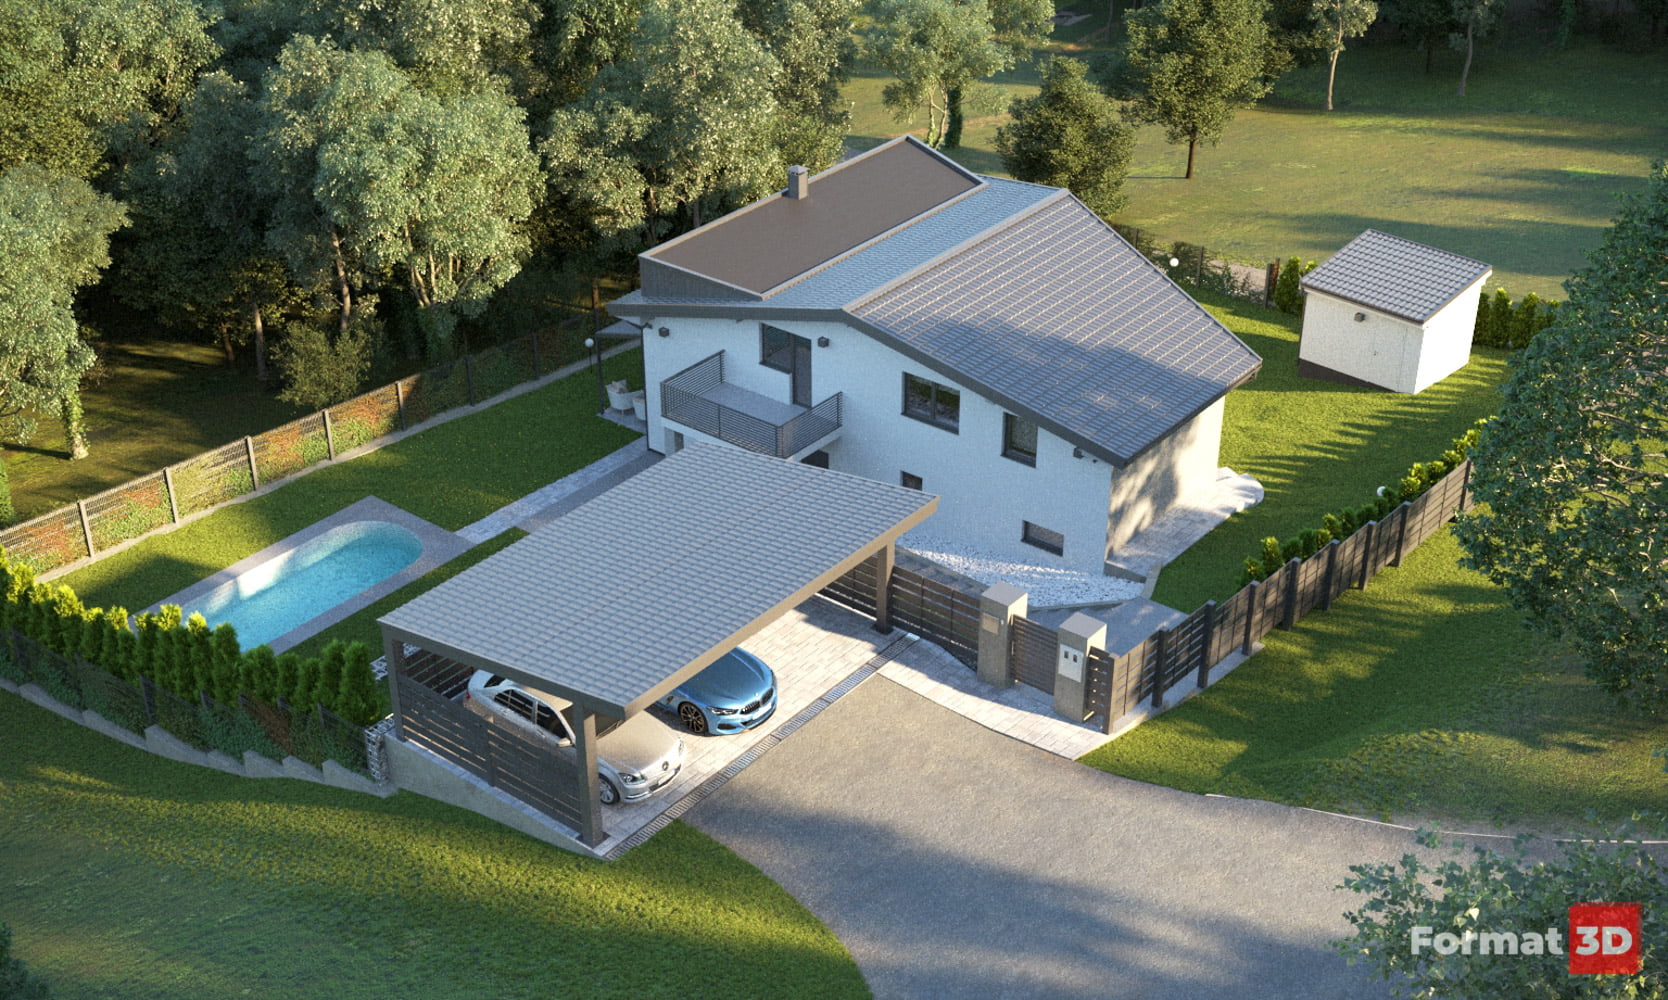
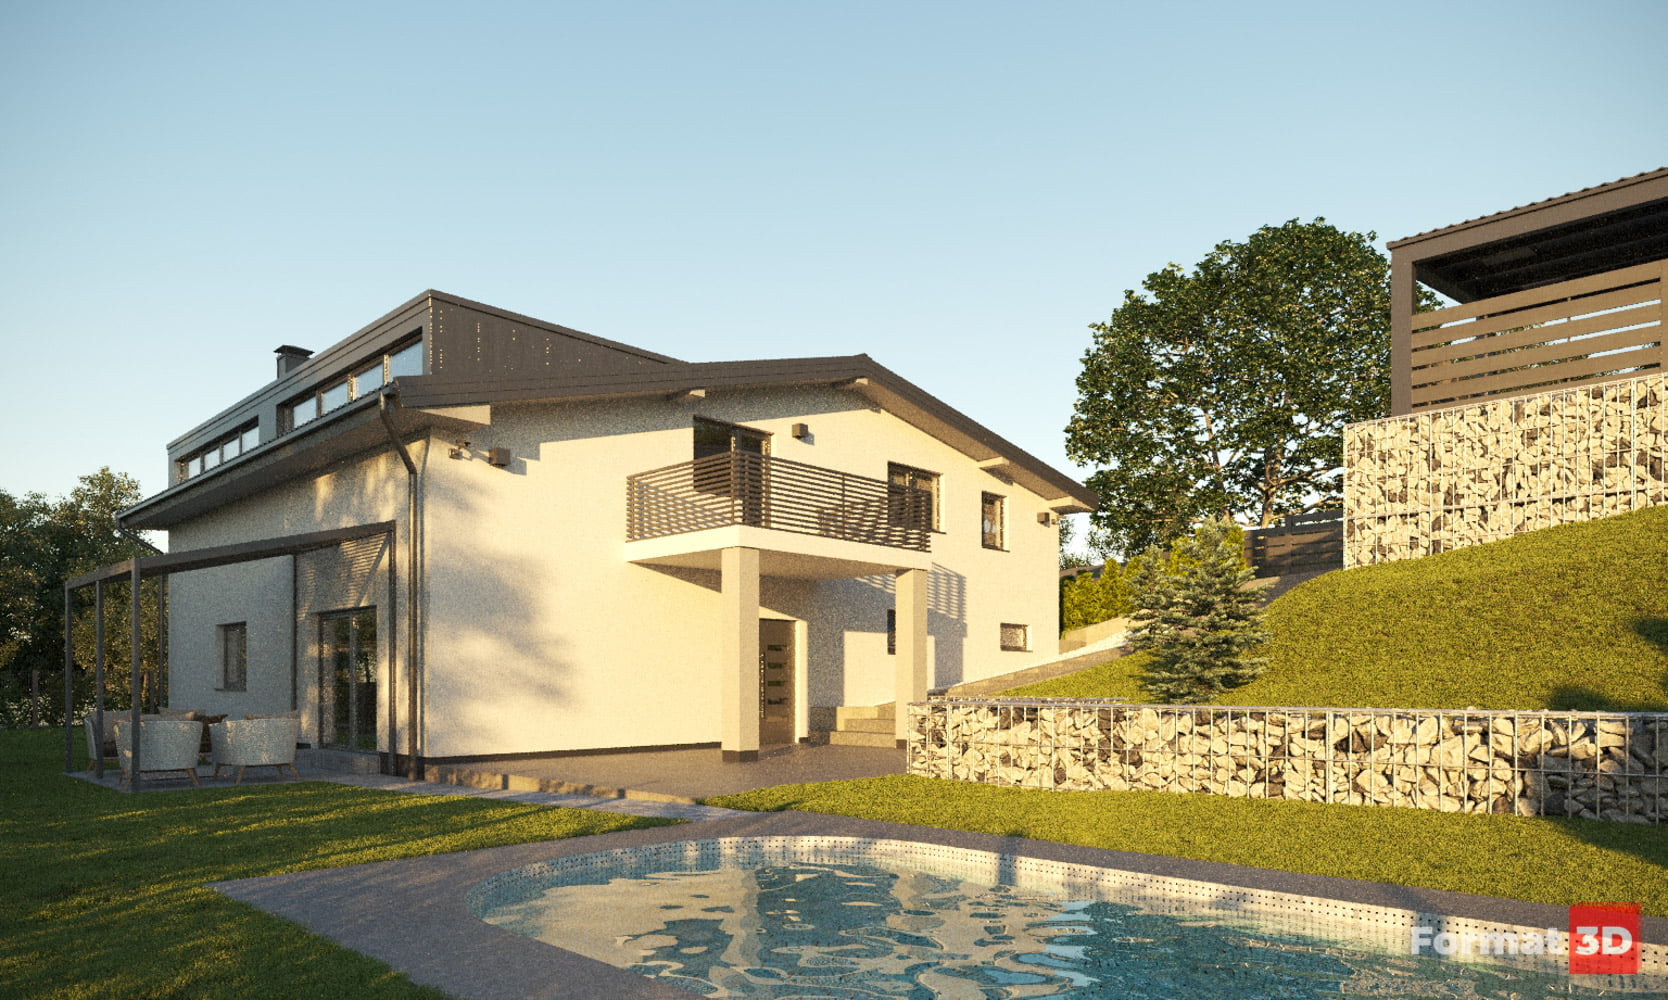
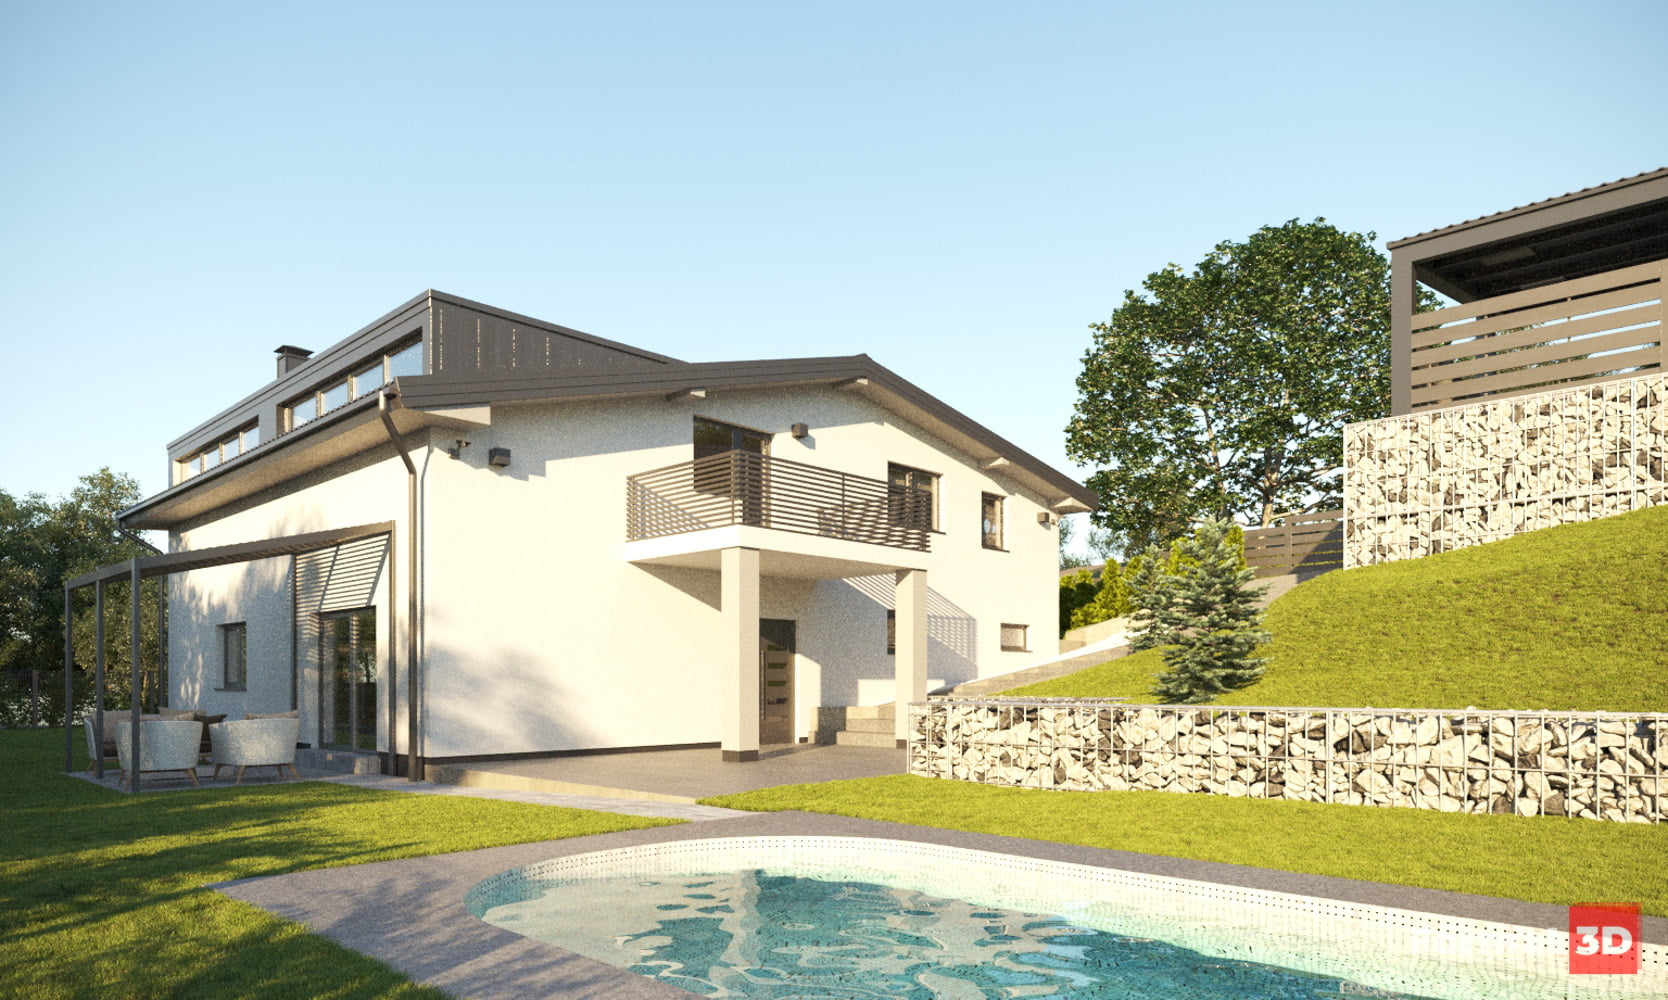
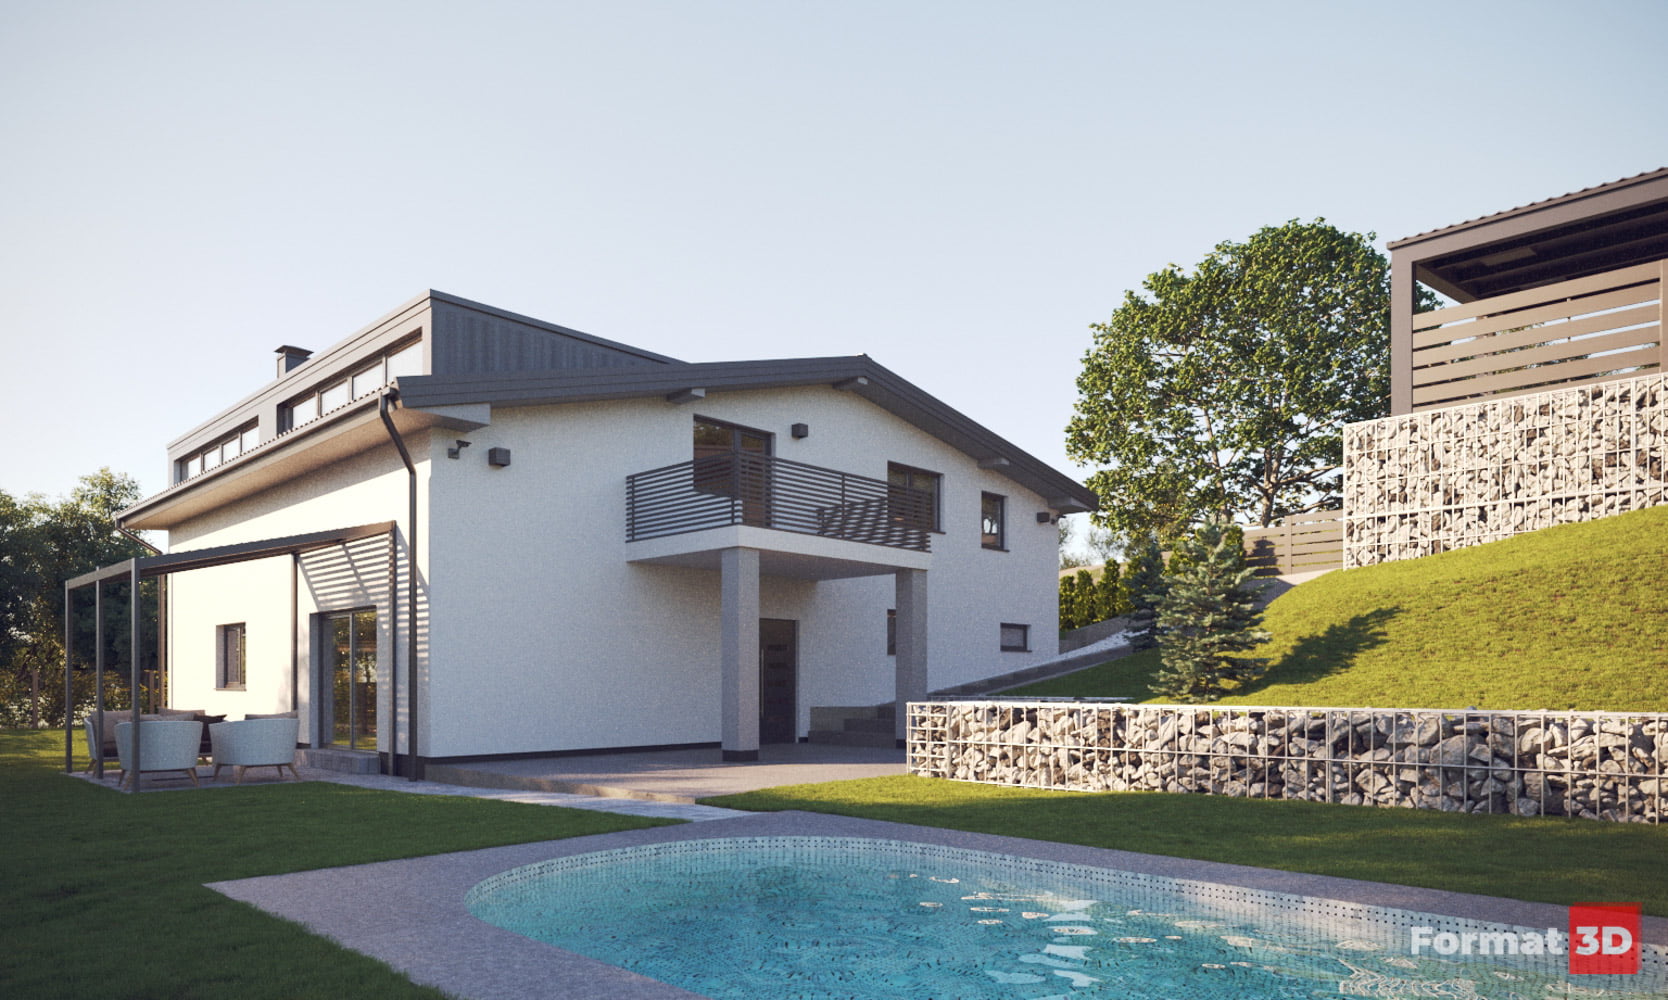
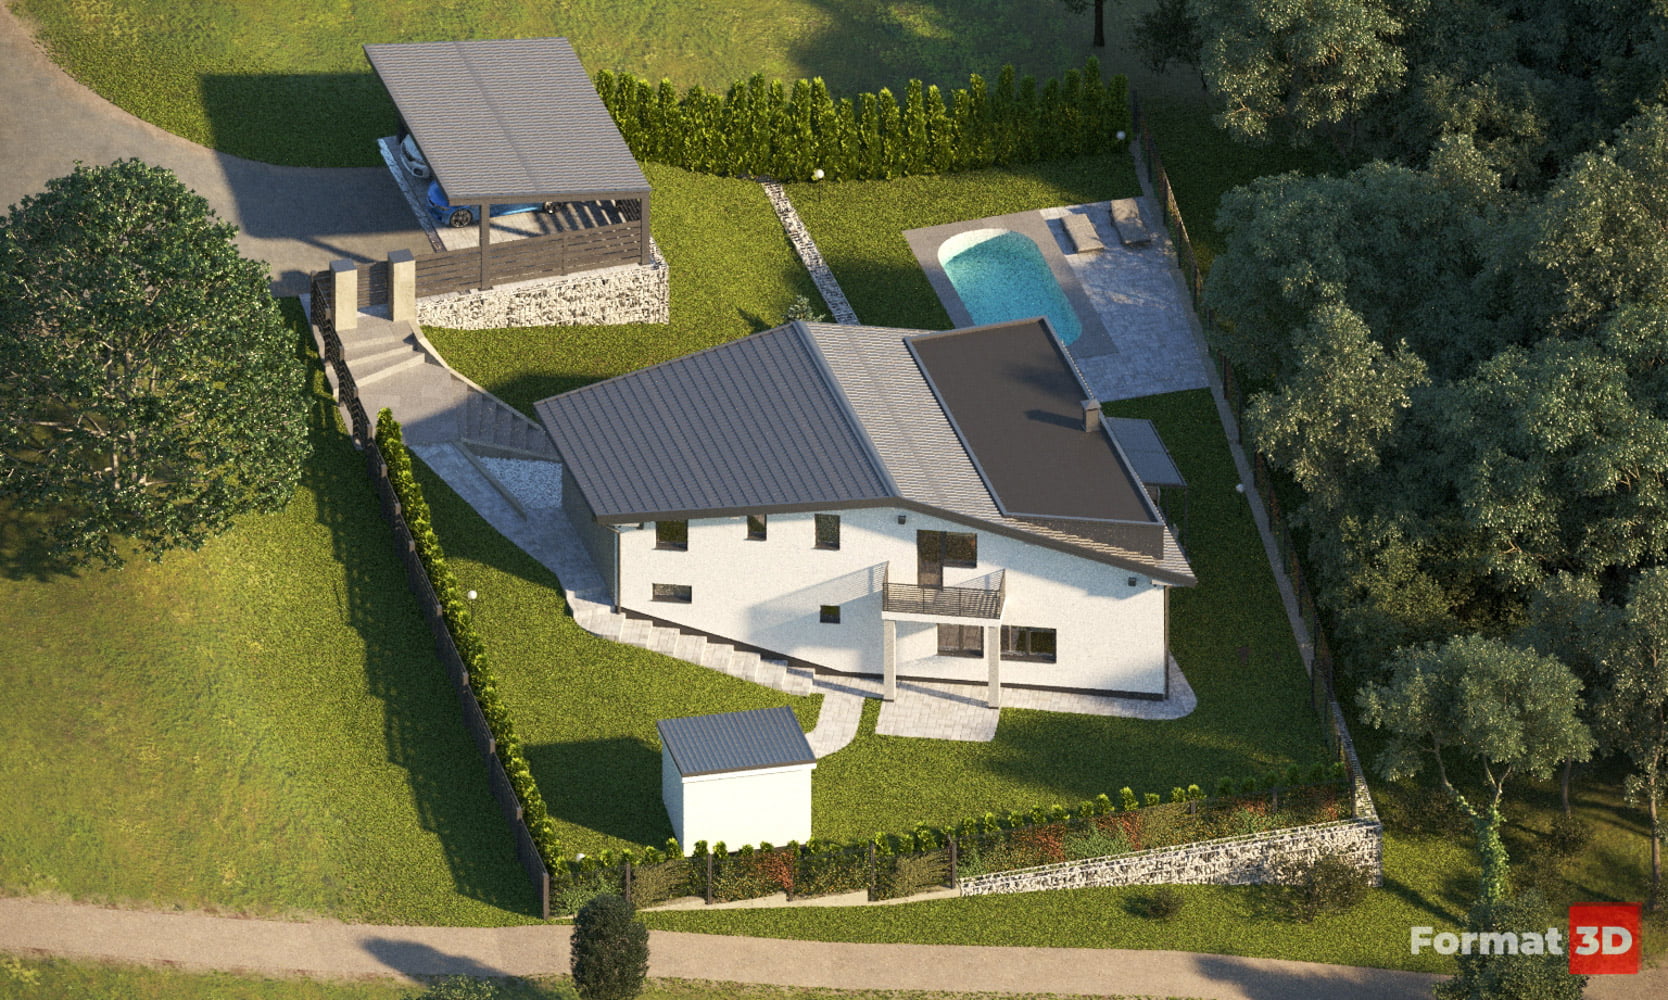
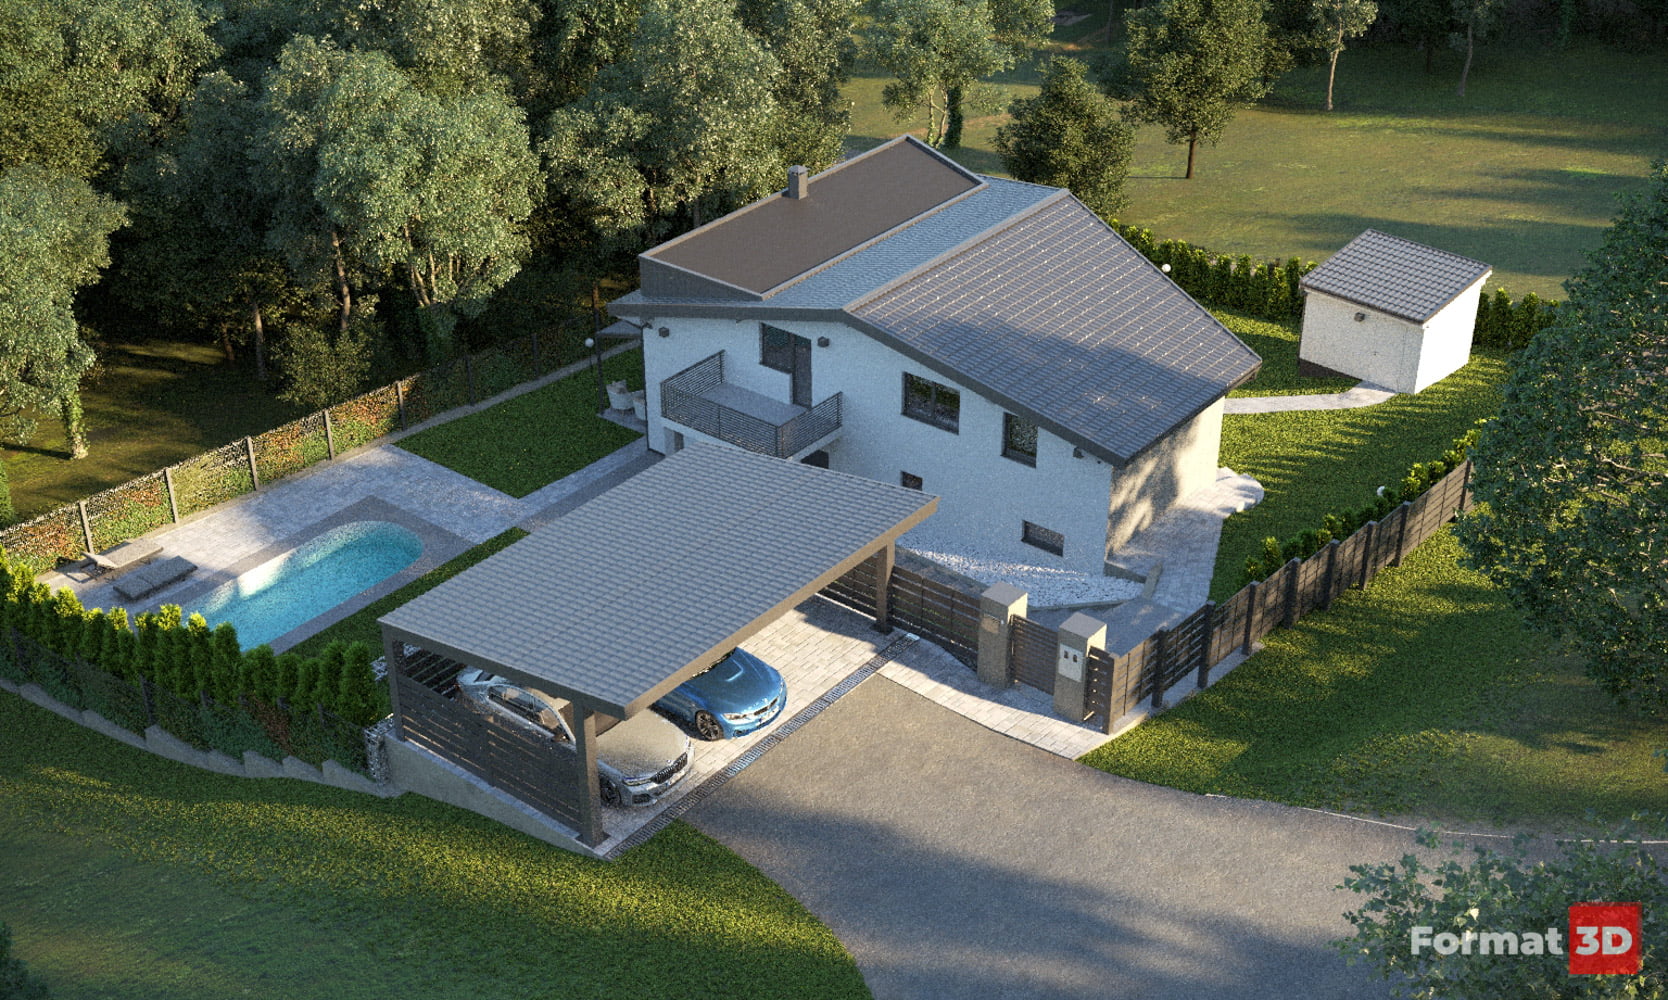
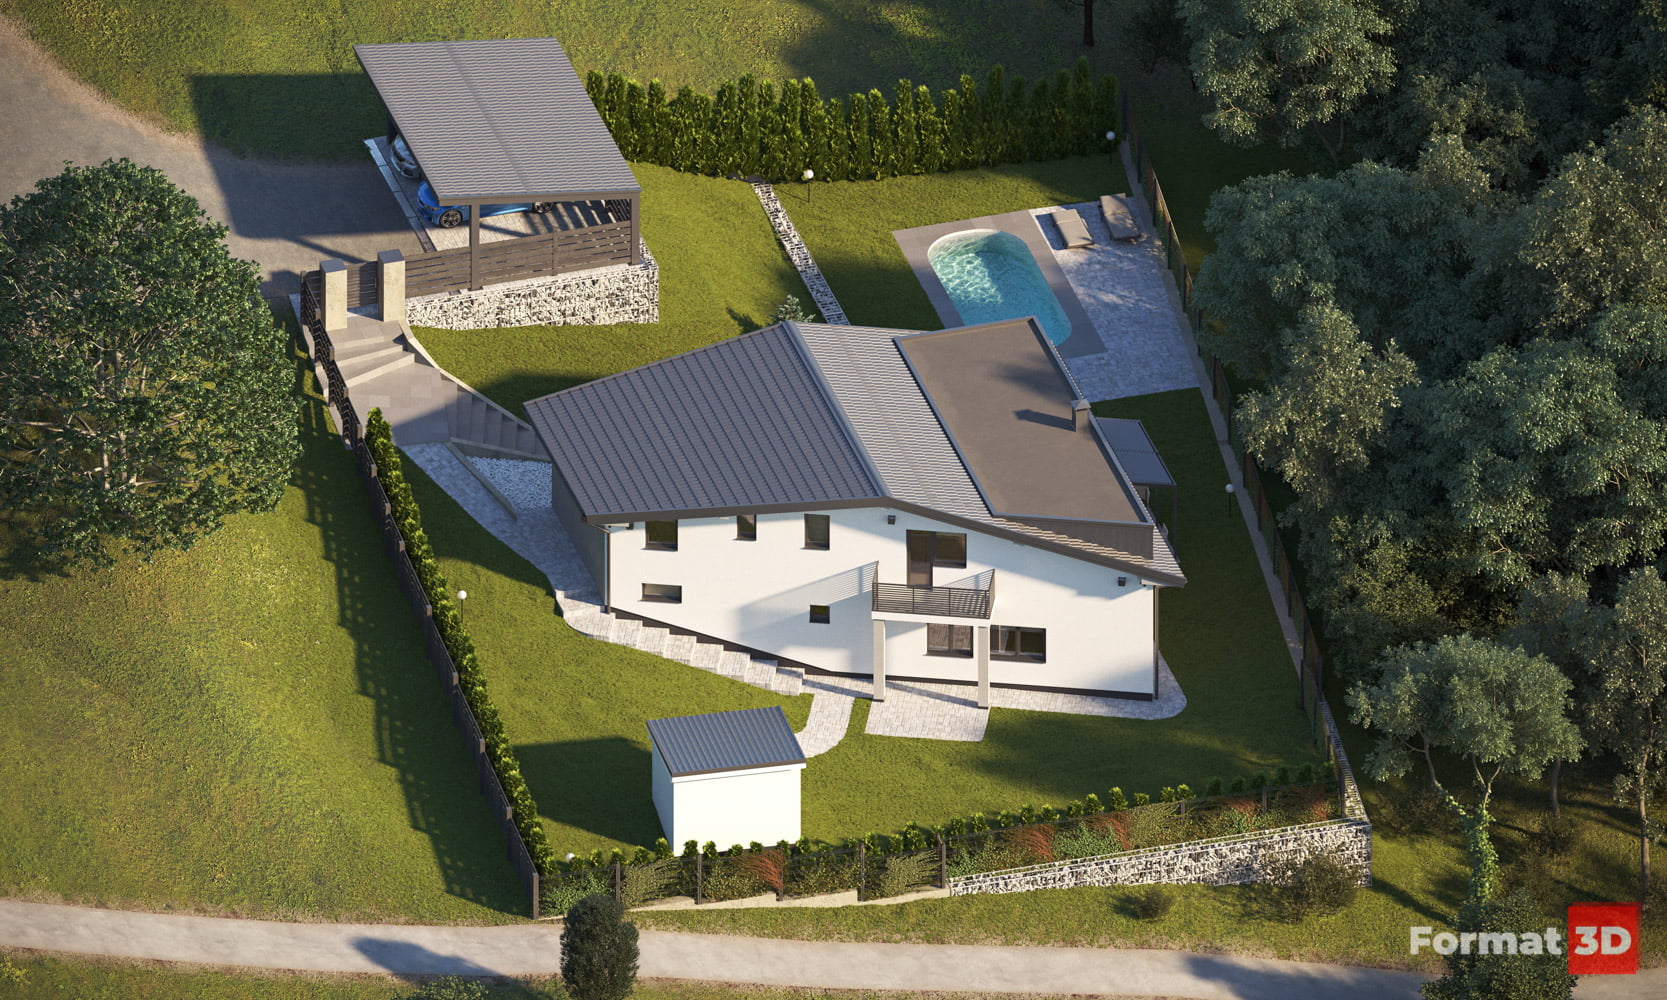
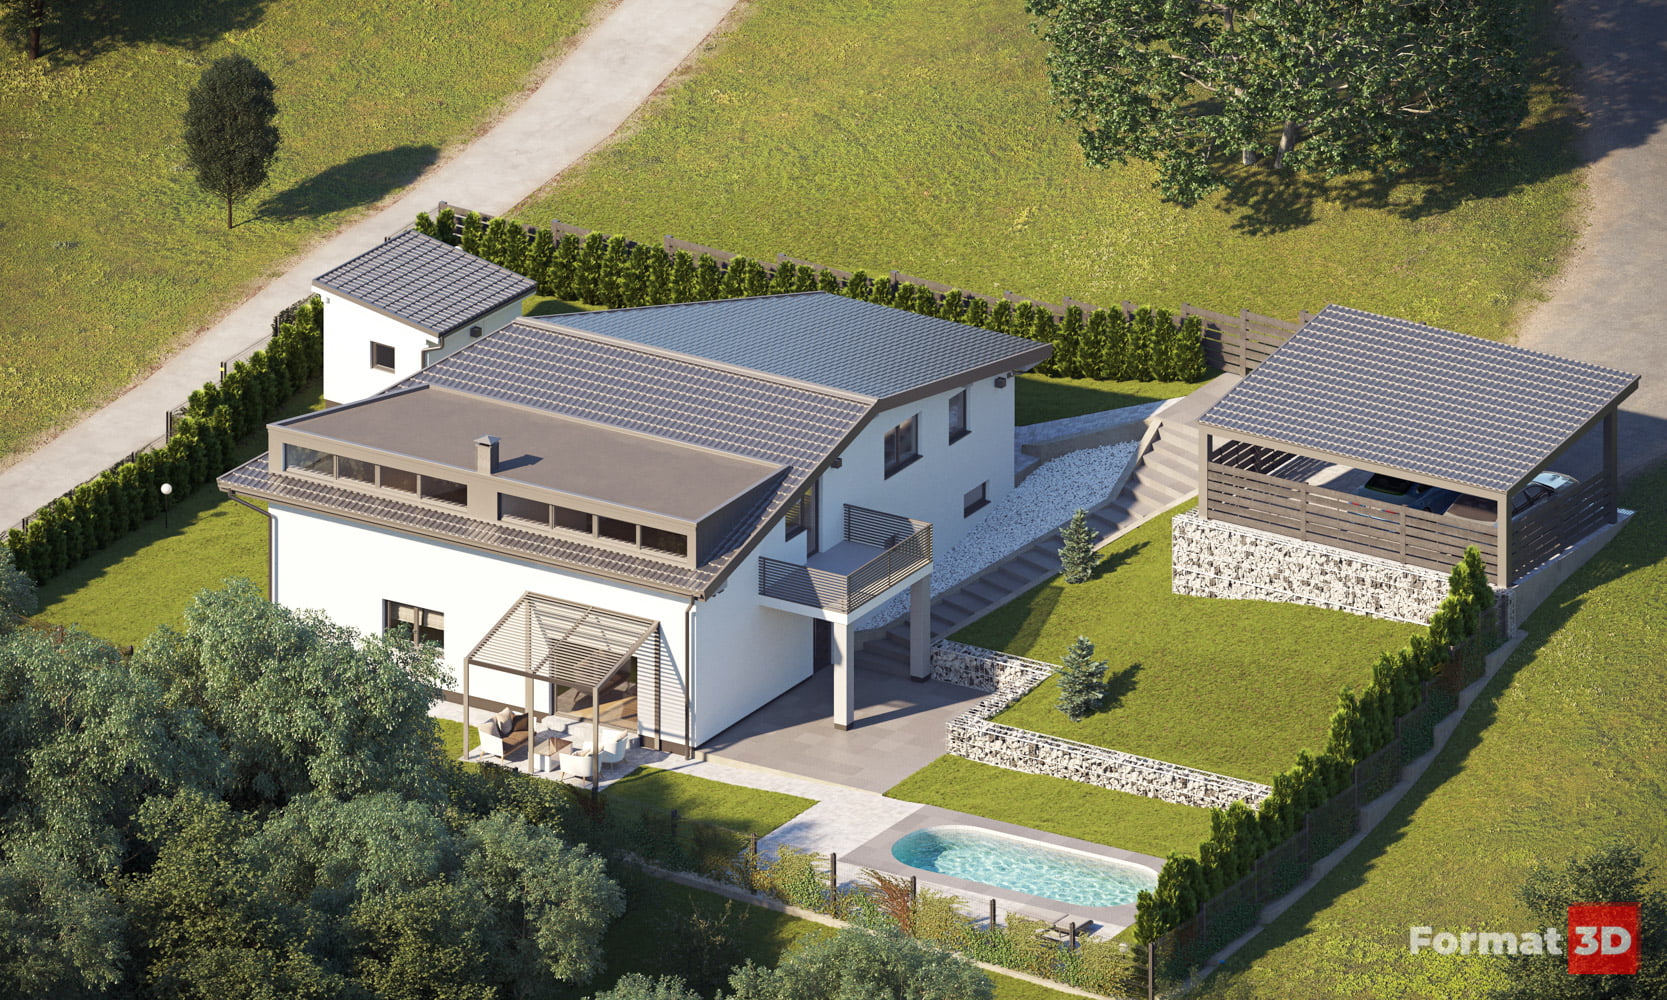
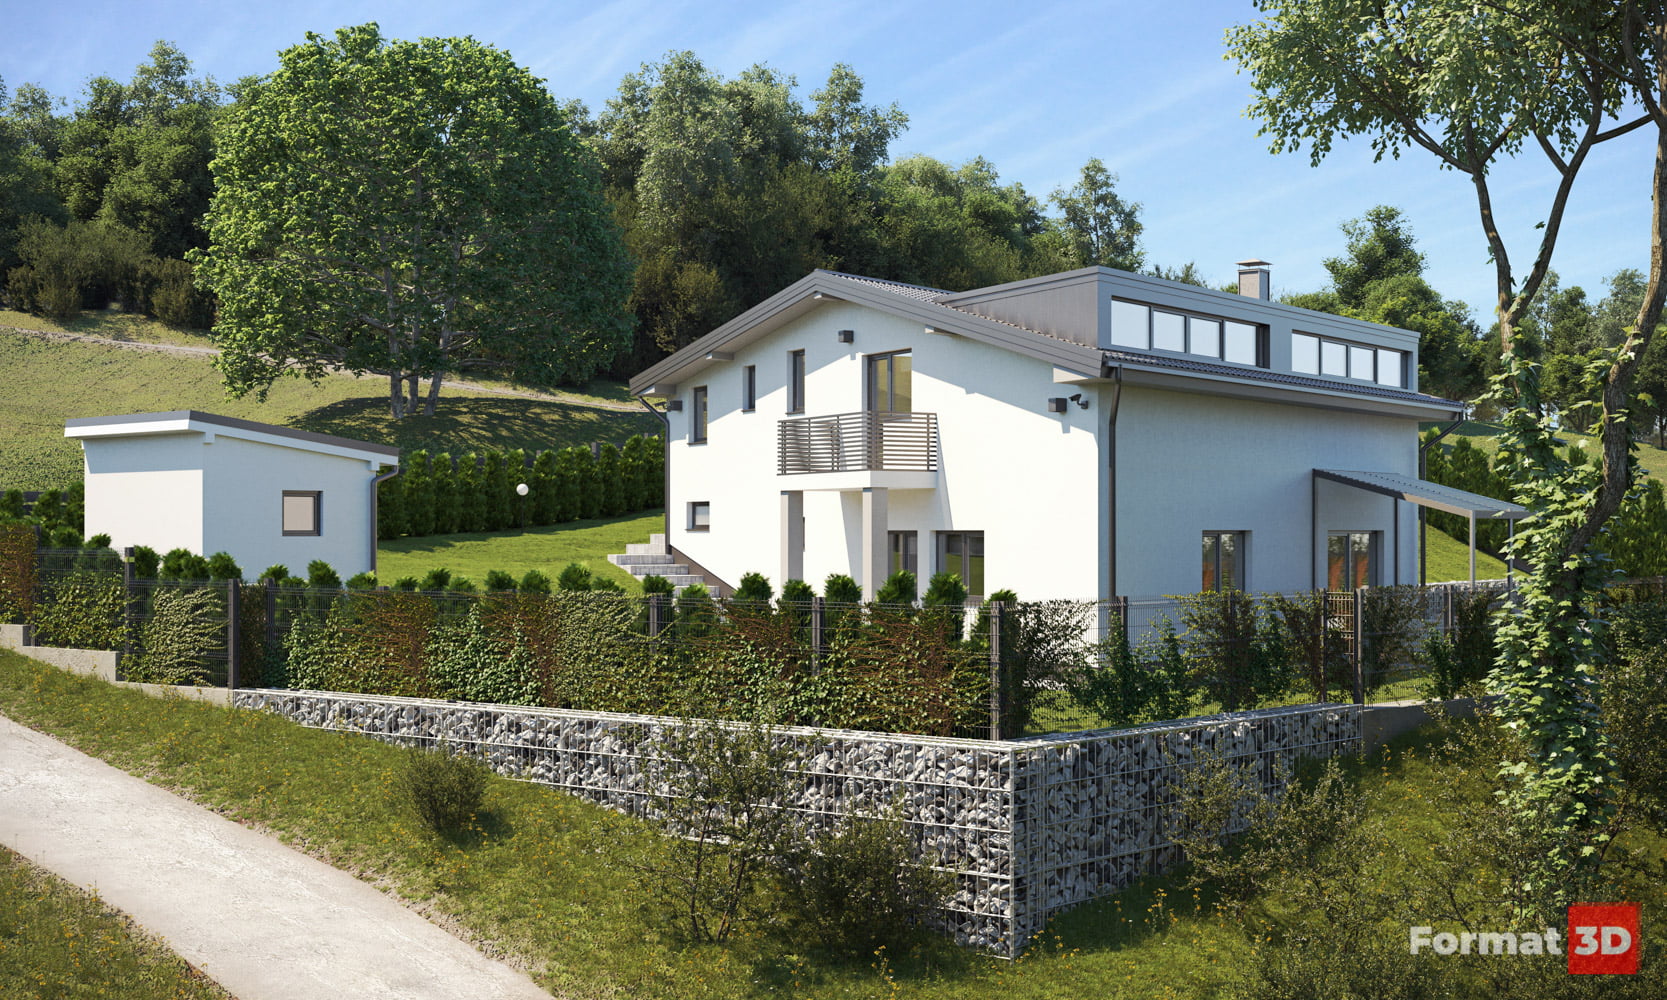
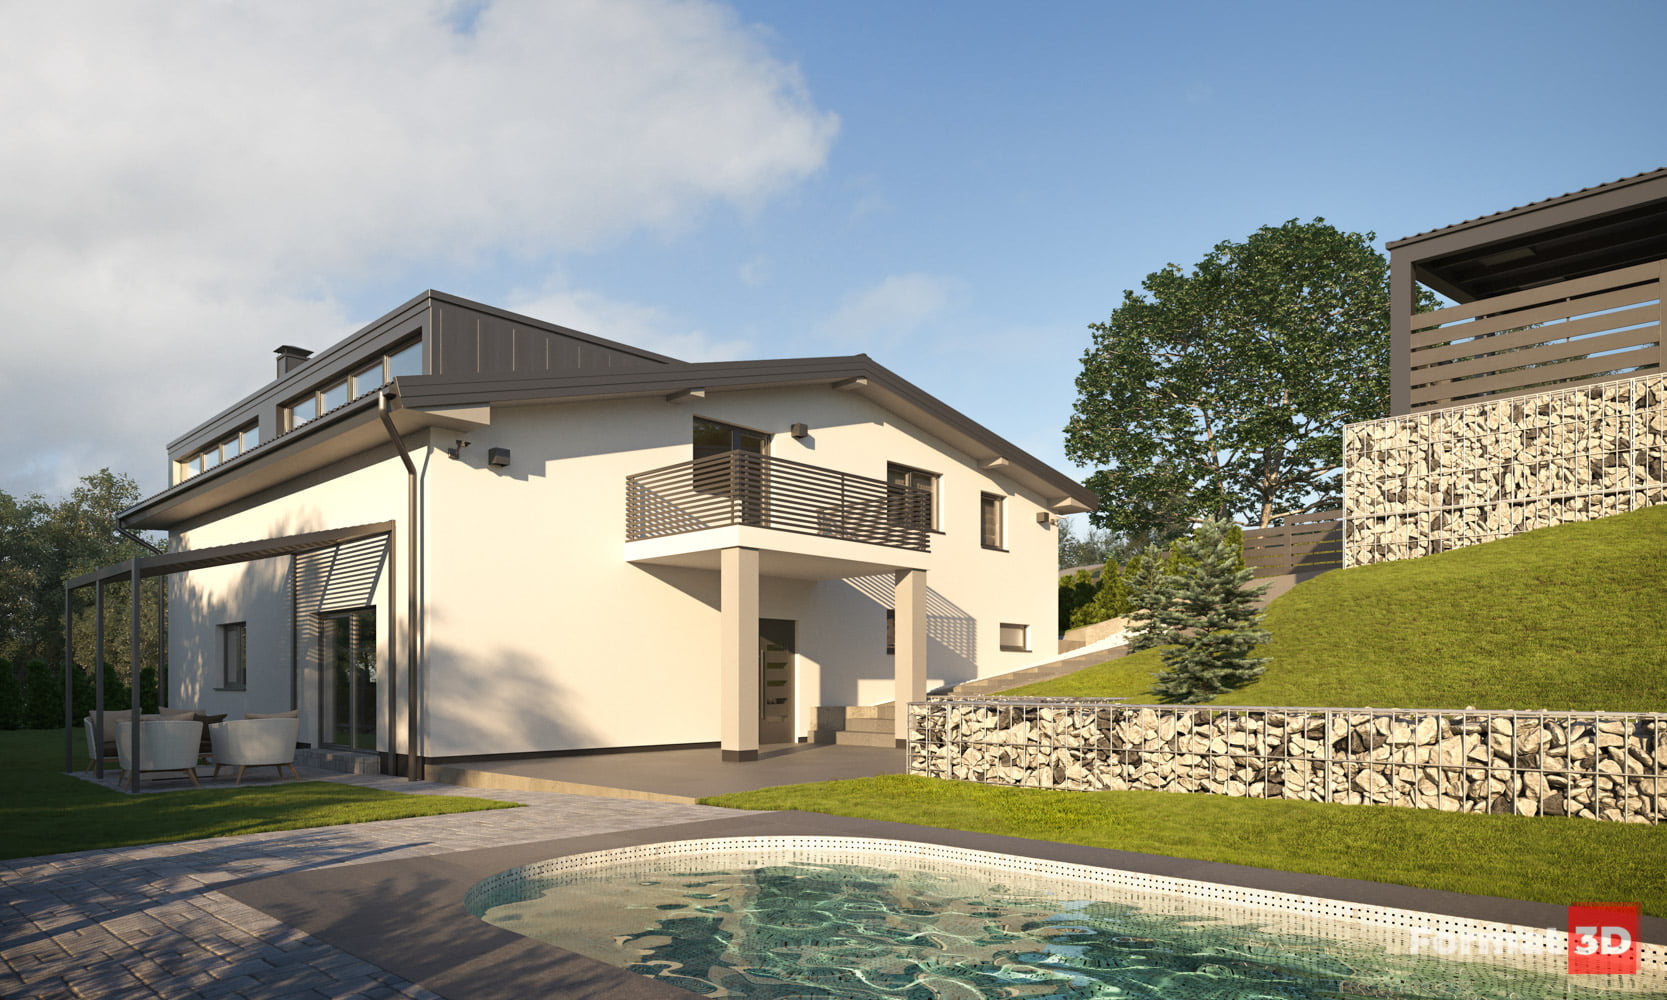
6. Final renderings
The final renderings were done in Corona, and we imported the topographic rendering into AutoCAD, where we scaled it to exact dimensions. This allowed us to easily calculate specific areas and distances outside of 3ds Max, which came in handy for further planning of the work.