In this case study we present the process of creating a 3D visualization for one of the most exclusive projects on the Adriatic. It is the Dolabella Heights project, which includes 7 luxury villas in Cavtat near Dubrovnik on a plot of 27,000 m2. Each villa has more than 800 m2 of interior space connected by large glass walls with more than 300 m2 of terraces on several levels. The center is dominated by an infinity pool of more than 100 m2, which visually merges with the blue sea. The architecture was penned by the “2. ured” architectural office of renowned Croatian architect Otto Barić, while the 3D visualizations and interior design were created by our team.
Model making
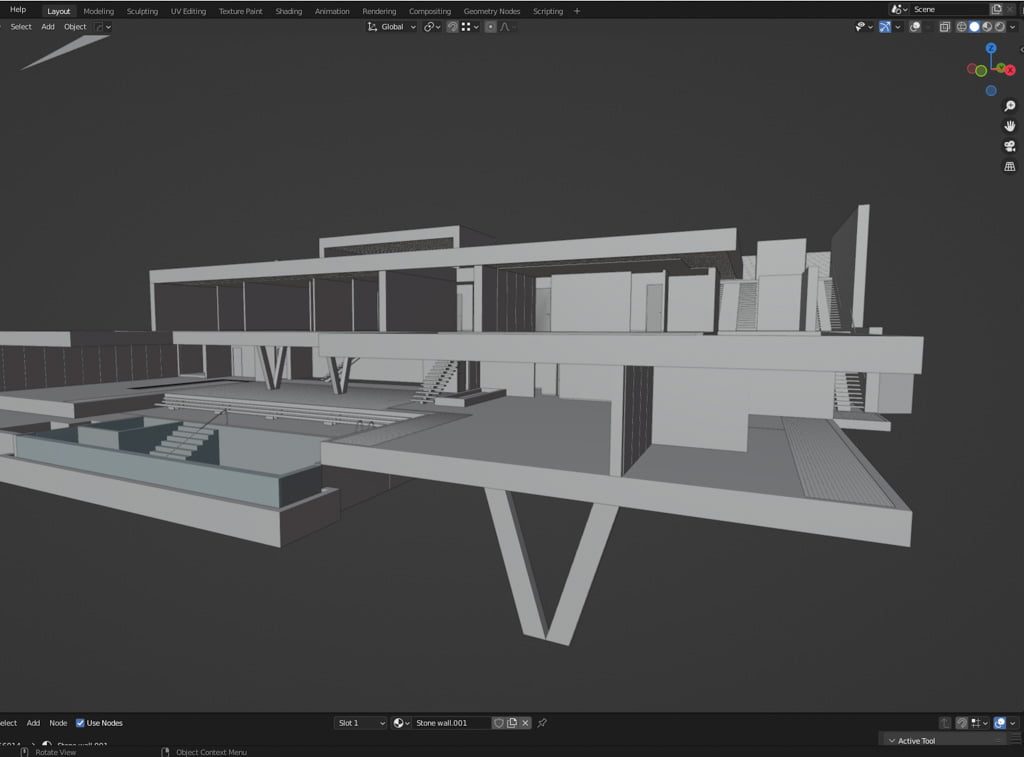
After formulating the project task in detail and receiving all the necessary designs and basics from Mr. Barić’s architectural office, we started creating the basic 3D model of the reference villa in Blender. In the last projects for 3D visualizations we used Blender because of its many features, fluidity, UV mapping, possibility to export to many different formats, but also because of the possibility to render via GPU, which speeds up the rendering process by more than 5 times.
But let us not get too much into Blender right now, we will leave that for one of our future blogs.
After creating the basic model, we came to the conclusion that we have some questions and suggestions towards the completion of the design, which we successfully communicated with the architectural firm.
In all our projects, we try to actively participate in the development of the project and propose solutions, which sometimes involve the architecture itself. Of course, it is up to the client’s discretion whether to accept our proposals.
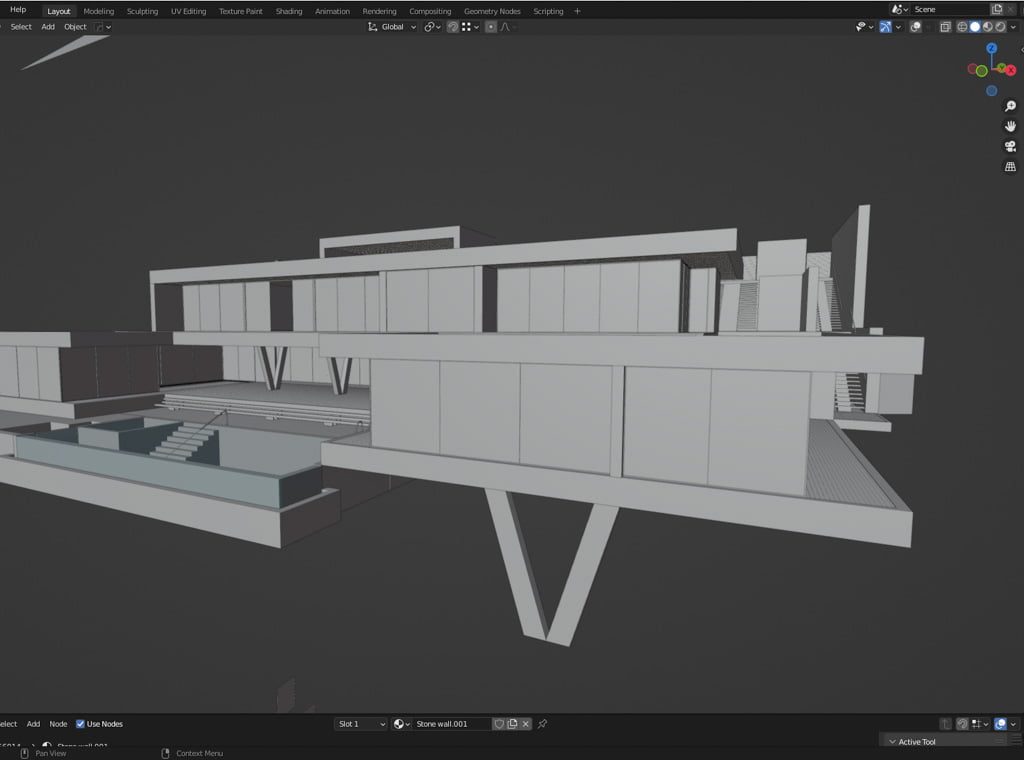
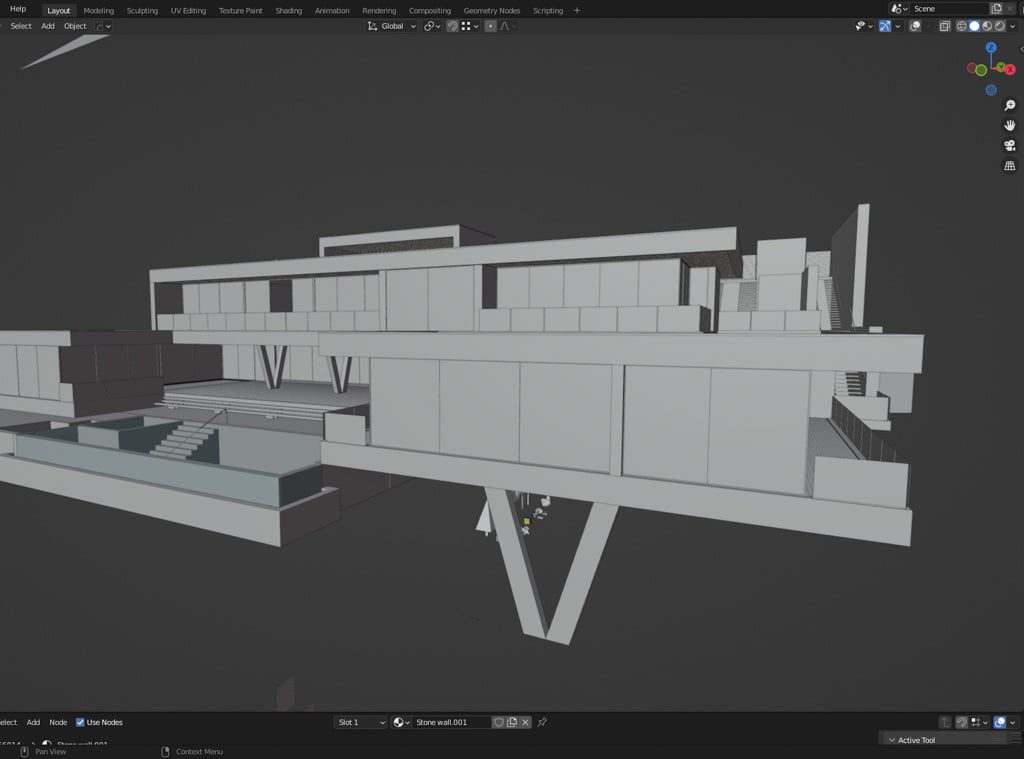
We have paid special attention to the production of carpentry and glass fences.
Carpentry is very important in projects for modern buildings like these, i.e. glass walls, windows and doors can account for up to 17% of the total investment.
After defining the exterior carpentry and glass railings, we set about texturing the exterior. We tried to be as faithful as possible to the texture of the stone that will be used as wall cladding on many exterior and interior walls. It is important to us to use as much as possible the materials that are present in the local environment, so as to preserve the authenticity of the place itself. We used Poliigon textures, which you can adapt to your needs with a free converter. Unfortunately, the add-on was not developed for Blender, but for 3ds Max, so it requires a bit more customization skills, of course, if you want to adapt the textures in this way and use them outside of 3ds Max.
For the exterior furniture, we tried to select furniture from our database of more than 35,000 models. Our goal was to provide a solution that would give the future users of the villa a pleasant stay and a feeling of comfort that they will also have inside the villa.
In the next phase we dealt with the vegetation. Here, too, we proceeded with great care to preserve the vegetation characteristics of the property itself. Thus, on the green areas of the roofs we have authentic vegetation, which includes many rocky substrates as well as bushy Dalmatian scrub.
Interior design
We created the interior design concept based on the moodboard we presented to the client. The client had no objections to the guidelines offered, so we made full use of the mood board in the interior design.
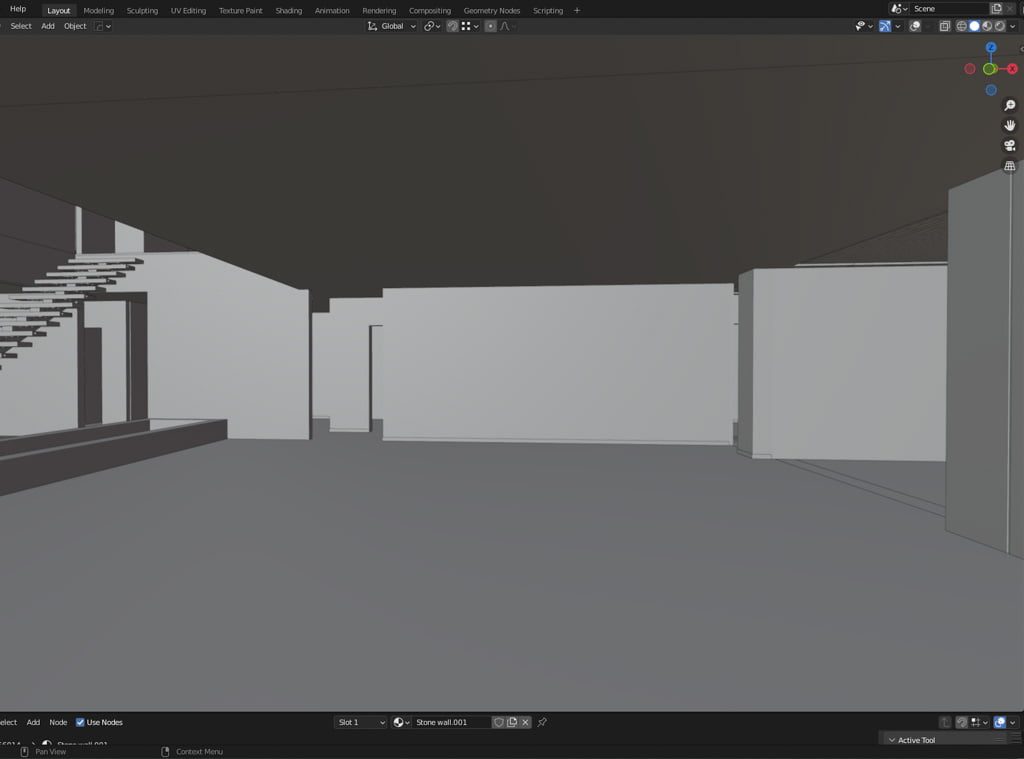
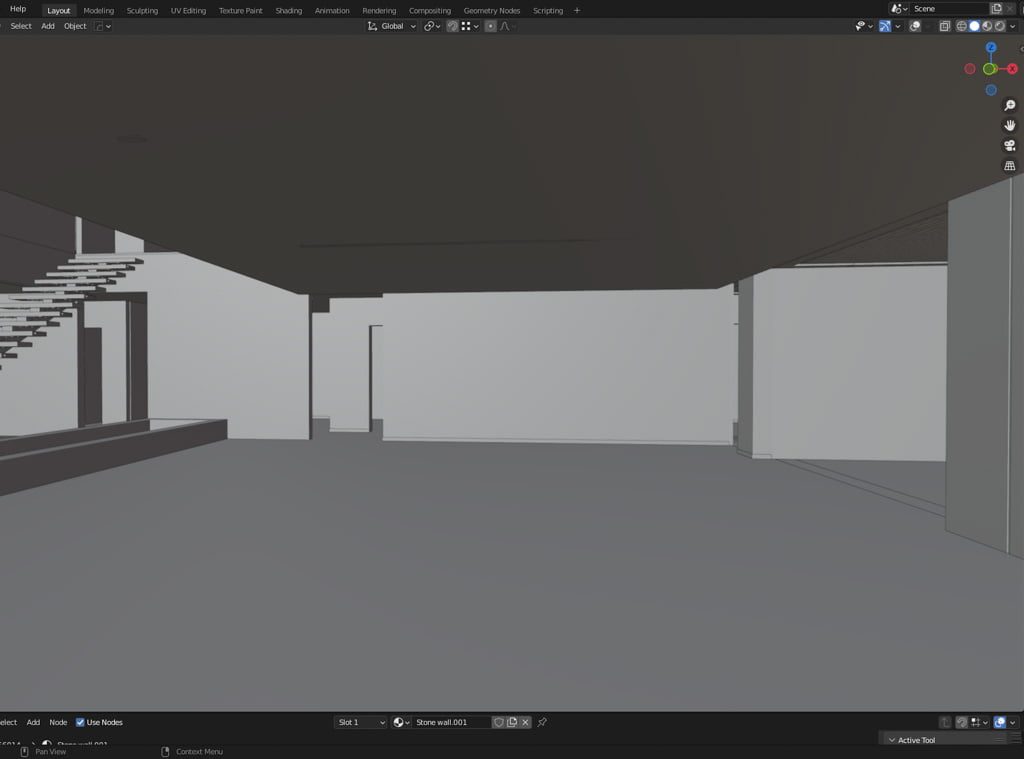
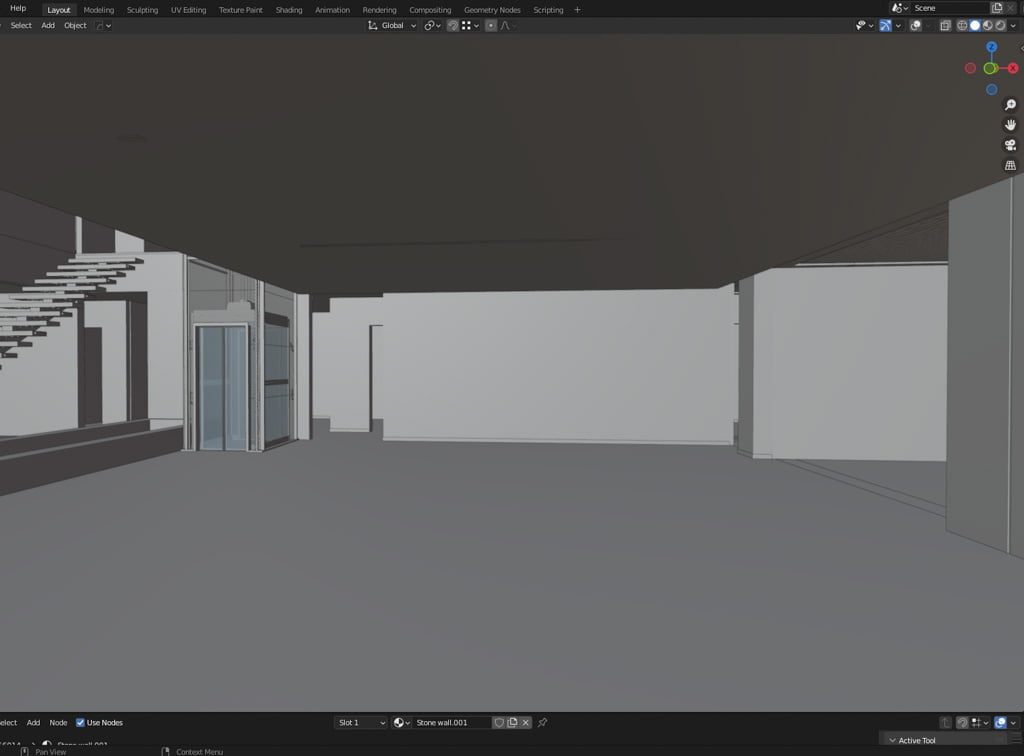
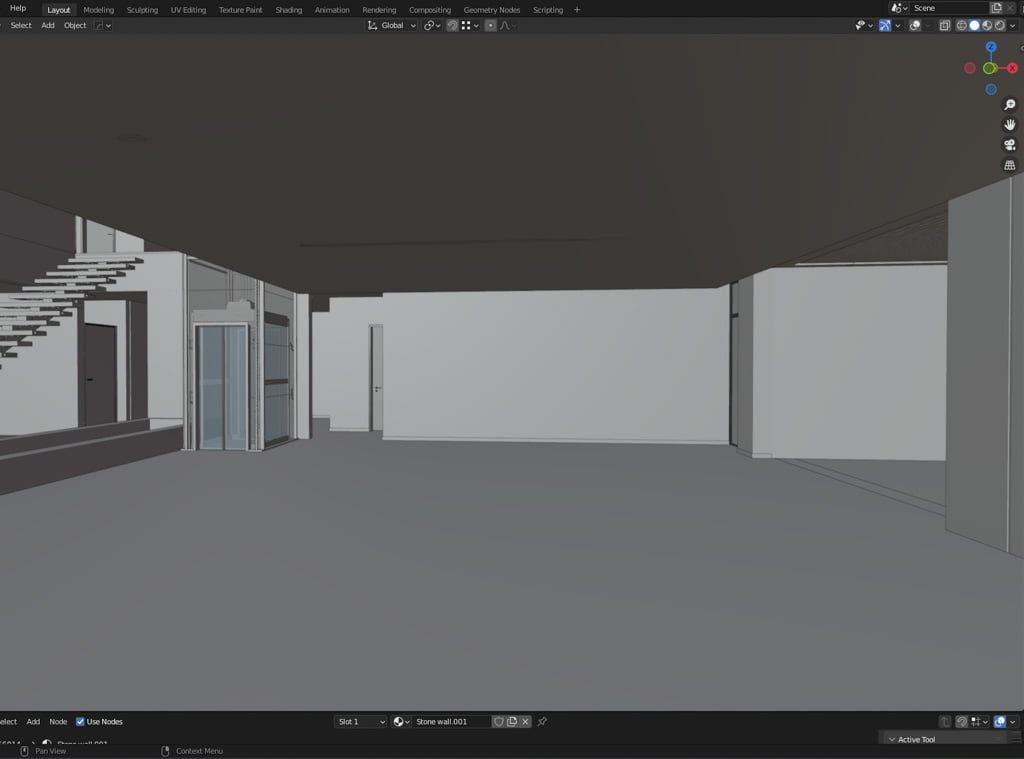
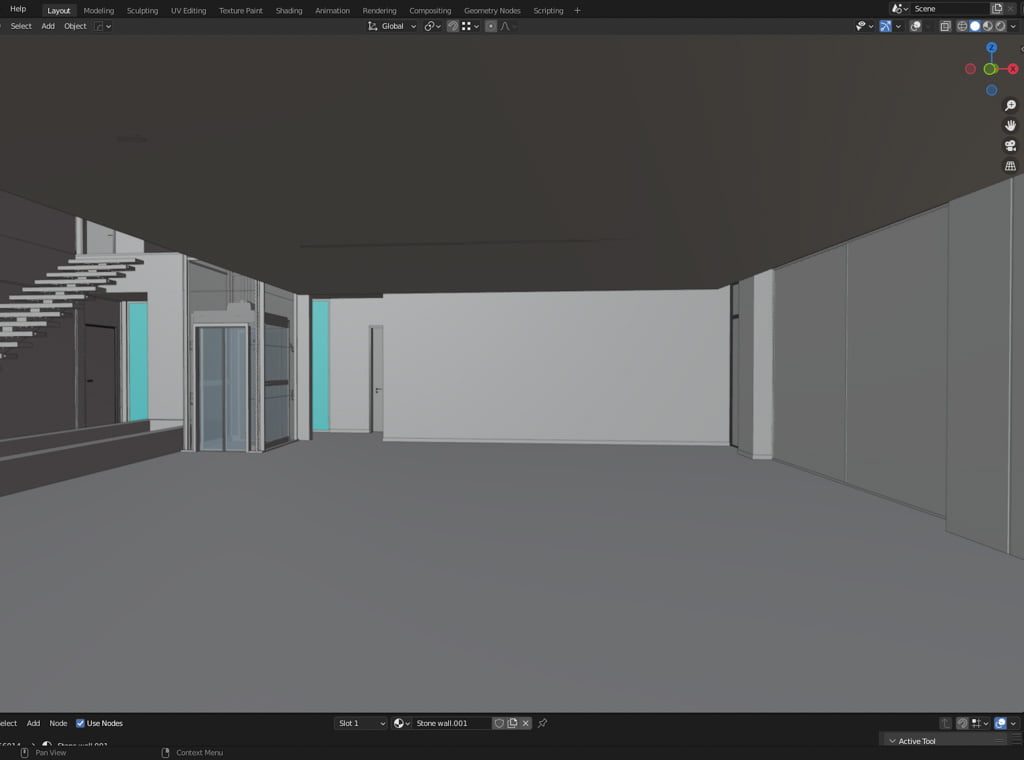
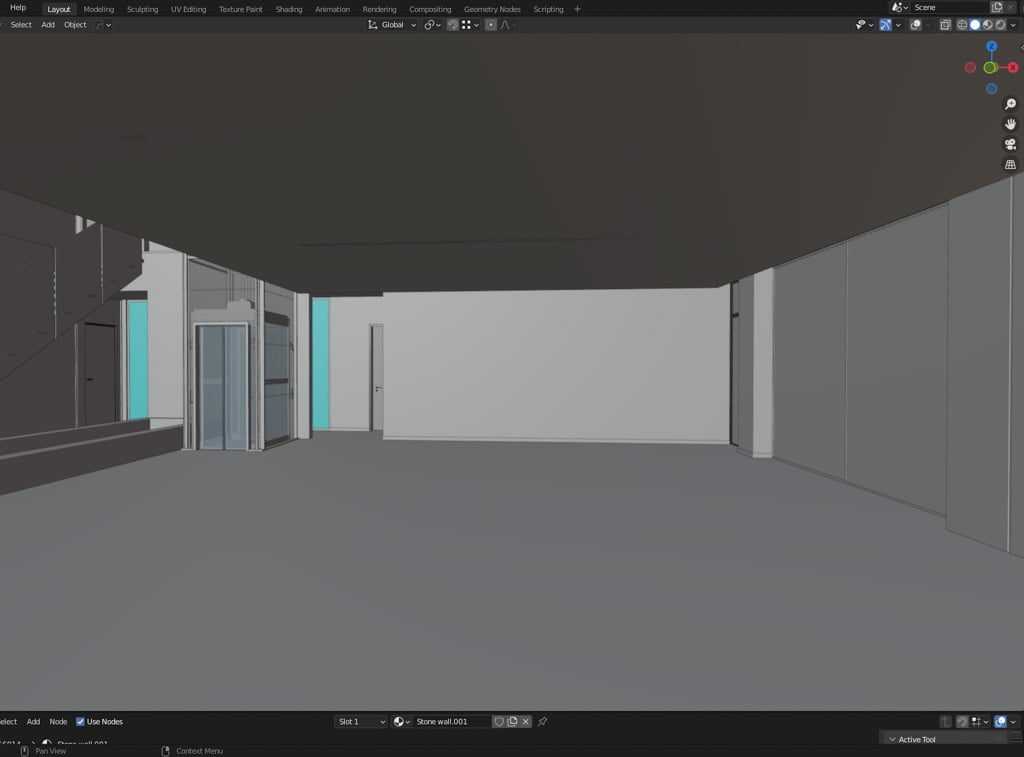
After creating the basic model of the interior, in consultation with the client, we installed a suspended ceiling, on which we installed a modern lighting solution, as well as hidden guides for curtains. We defined the look of the panoramic glass elevator, which is located in the central part of the building, right next to the main staircase connecting the upper and lower floor.
The next step was the design and placement of interior doors, interior glass walls and glass railings. Since this is a very modern space, we used a lot of glass surfaces in its design, which additionally contributes to its exclusivity, but also to its visual continuity.
We turned the furniture in the interior of the dining room and the living room towards the sea and the outside of the building. So we can enjoy one of the greatest assets of these beautiful villas – the view.
The kitchen was a special task and is completely our conceptual solution. An important part of the kitchen is the huge central island, for the cladding of which we used “Nero Marquina” marble, which exudes elegance and glamor with its black color and irregular white patterns. The same marble we have used for some other decorative parts inside the villa.
On the central island we installed a sink and a cooktop with a large hood. The reason for this was the idea to place the person who uses the kitchen to the guests in the living room and the open sea view.
For planting the interior, we chose the Monstera (lat. Monstera Deliciosa), which, with good watering, can thrive in a light-filled room and does not require much care.
The next step was to determine the materials and textures for the interior. We decided on extremely large granite ceramics, as well as dark wall coverings.
We also used the aforementioned “Nero Marquina” marble as a detail.
Prerenderings
Photogrammetry
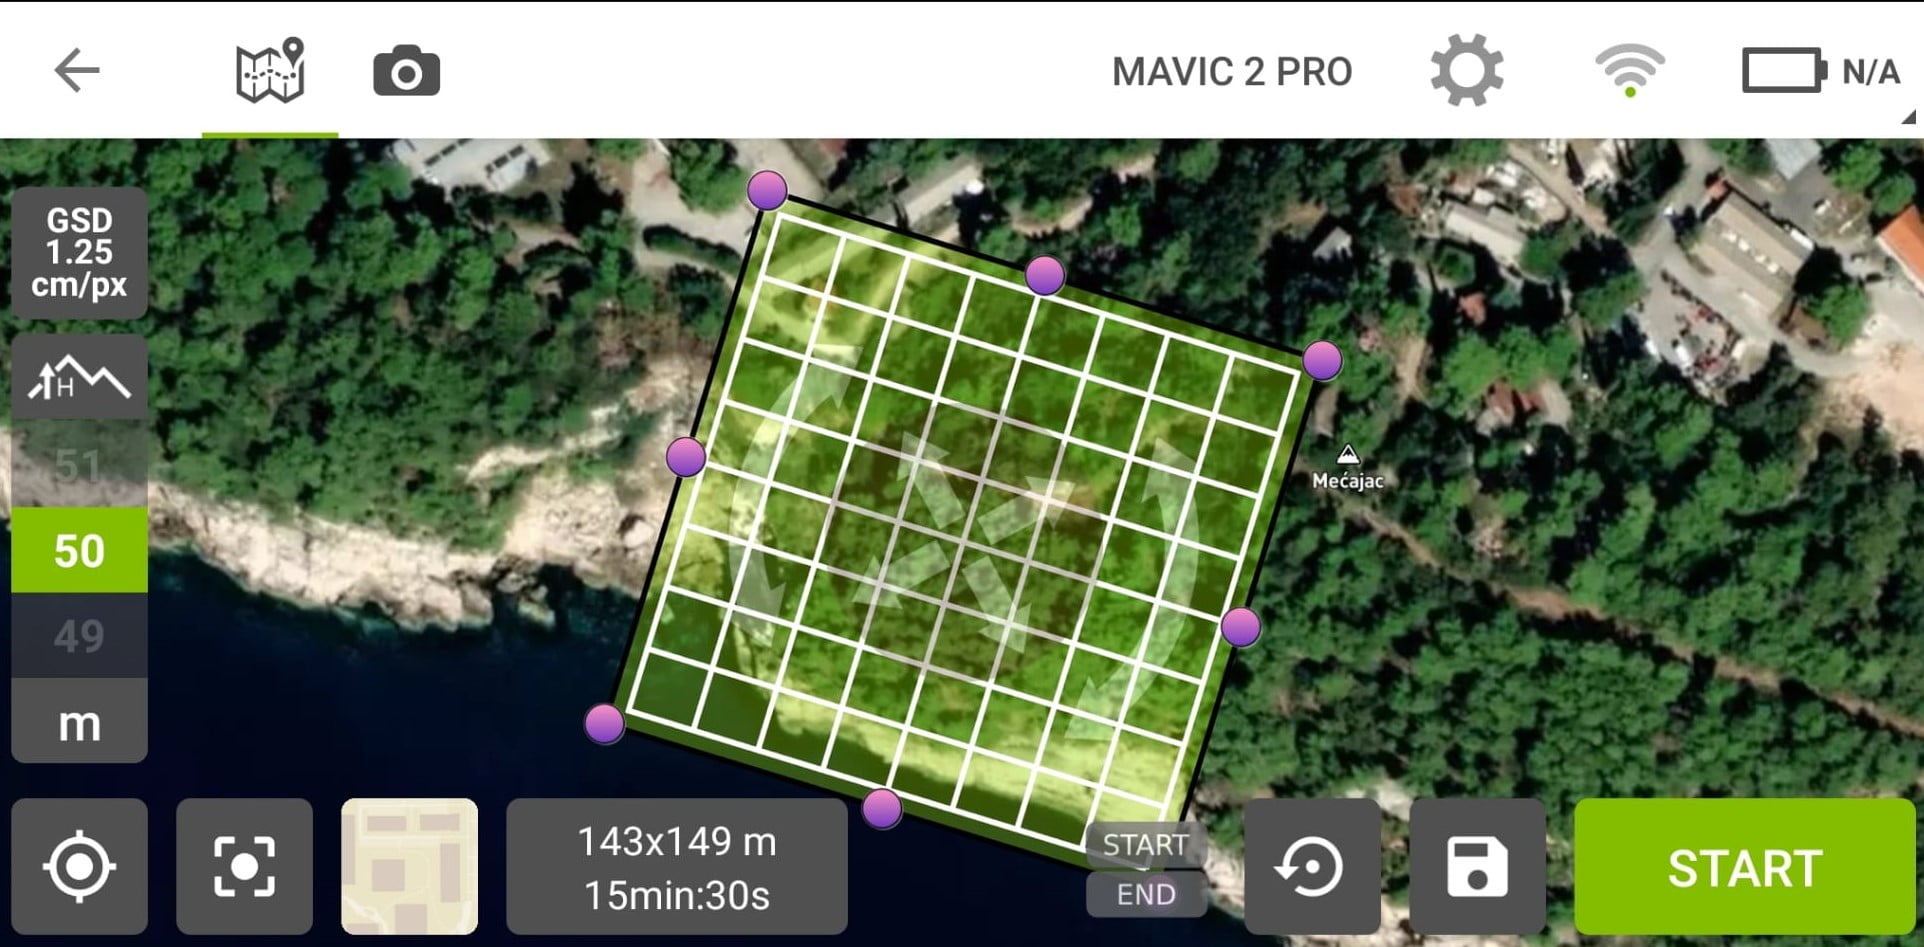
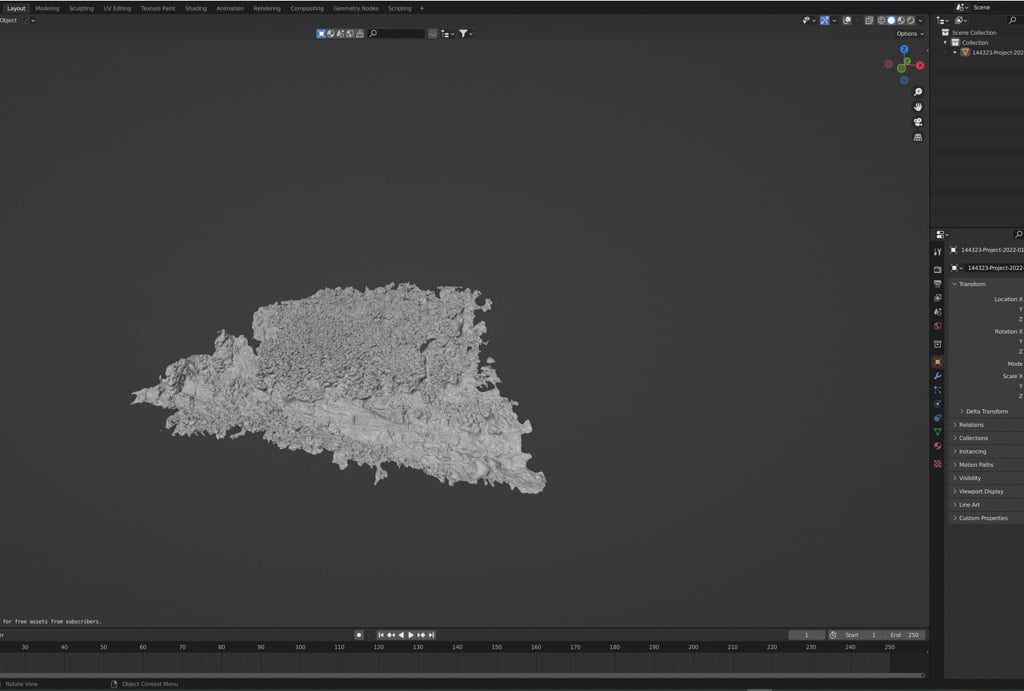
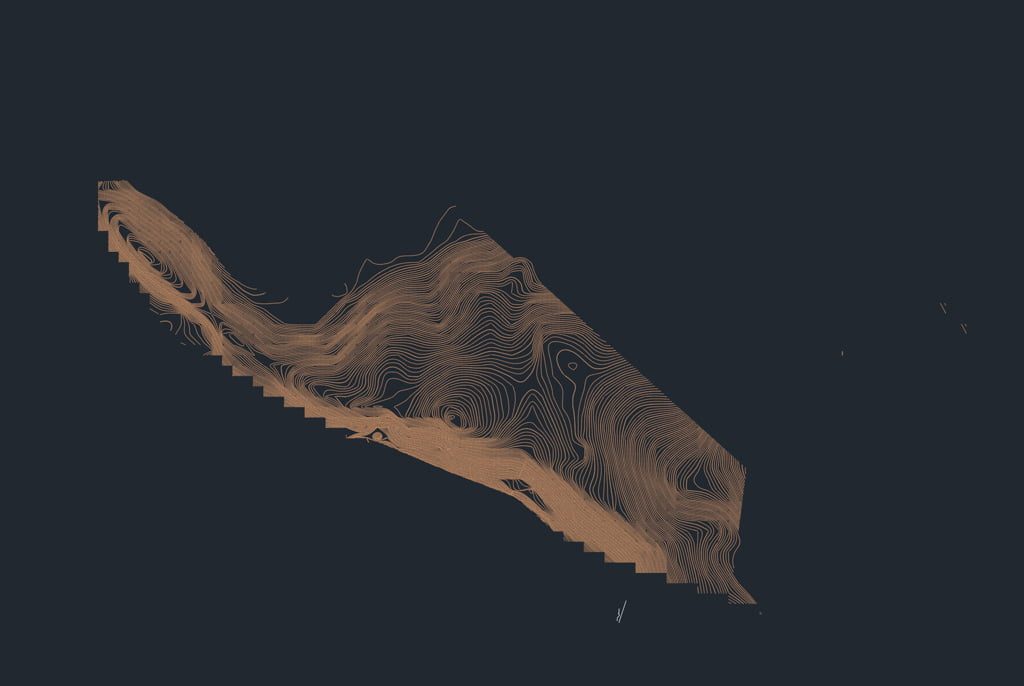
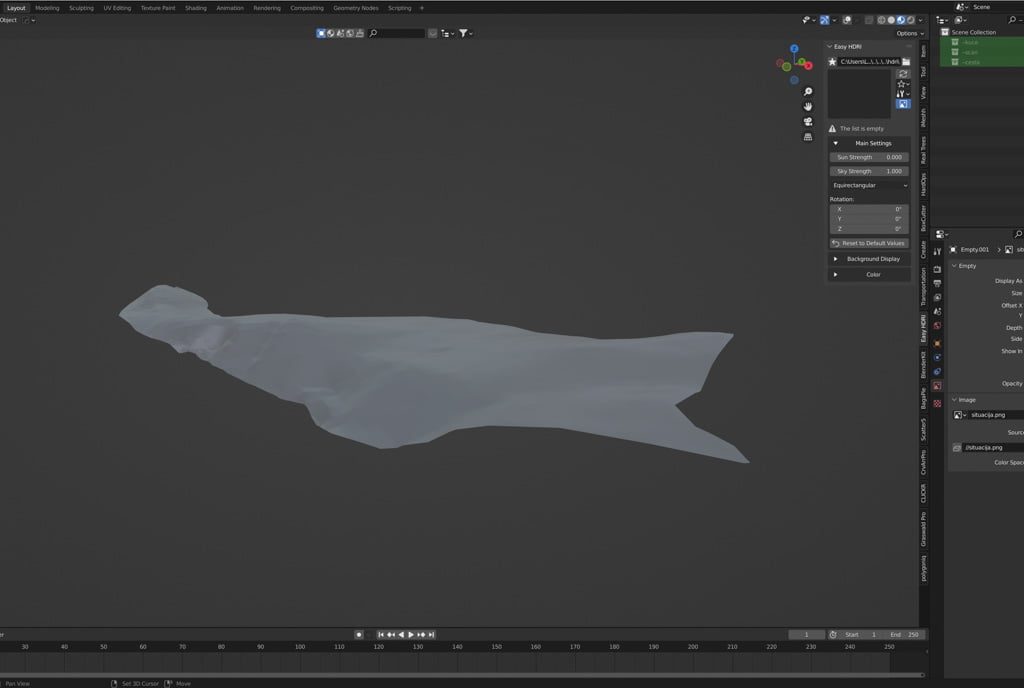
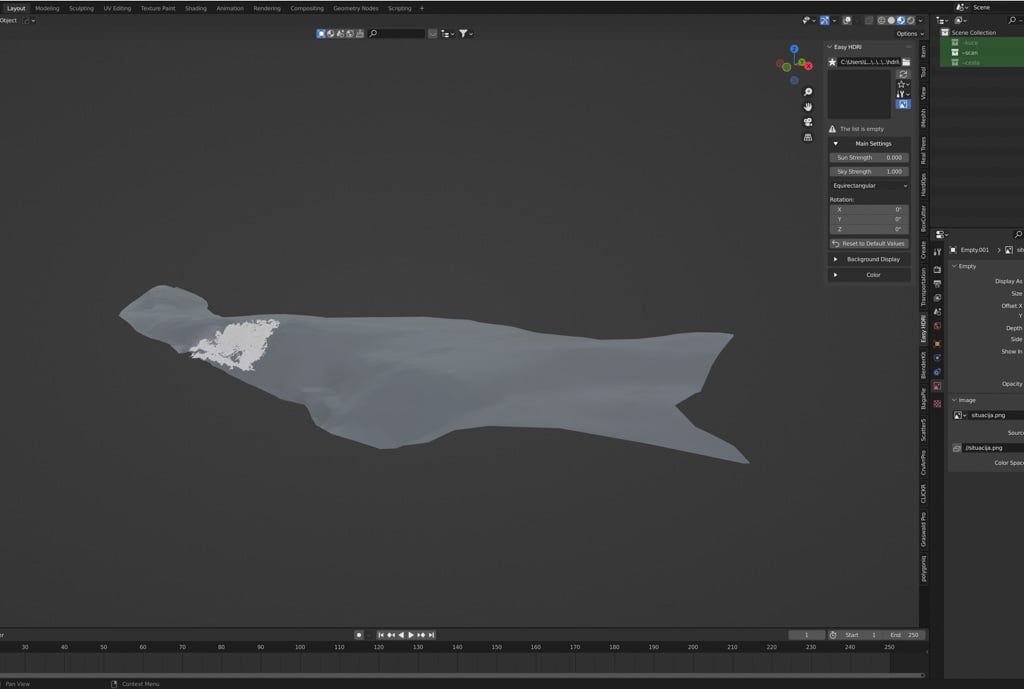
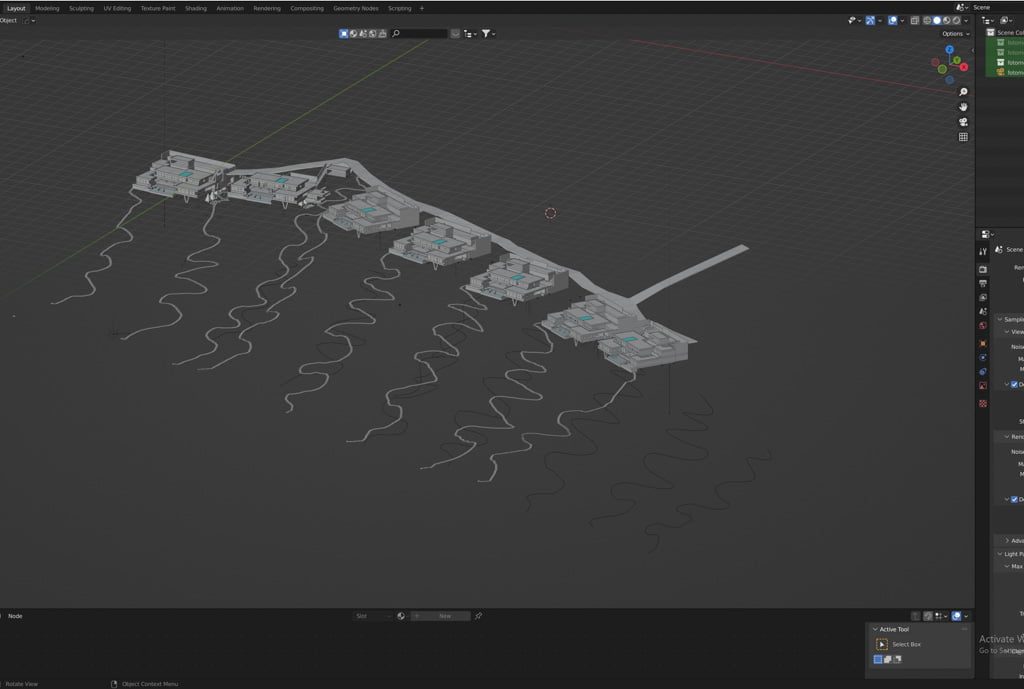
We photogrammetrized a part of the site in the area that was questionable for the construction of one of the villas. The configuration of this part of the site is very challenging due to the large depression that is located on its edge, but also in terms of the possibility of connecting and building the access road. A 143 x 149 meter position was taken from a height of 50 meters. This resulted in about 300 photos, which we processed using the Pix4D Cloud solution to obtain a 3D surface. We compared the obtained 3D surface with a geodetic survey that naturally removed vegetation, and concluded that the geodetic survey was relatively accurate in the part of the plot that was questionable. In other words, the 3D terrain mapping allowed us to create its accurate 3D model, but also gave the investor information that from the perspective of the relief, it was possible to build on the area. In this step, we also gave some tips on how to adapt the concept of the building to the existing terrain and access road.
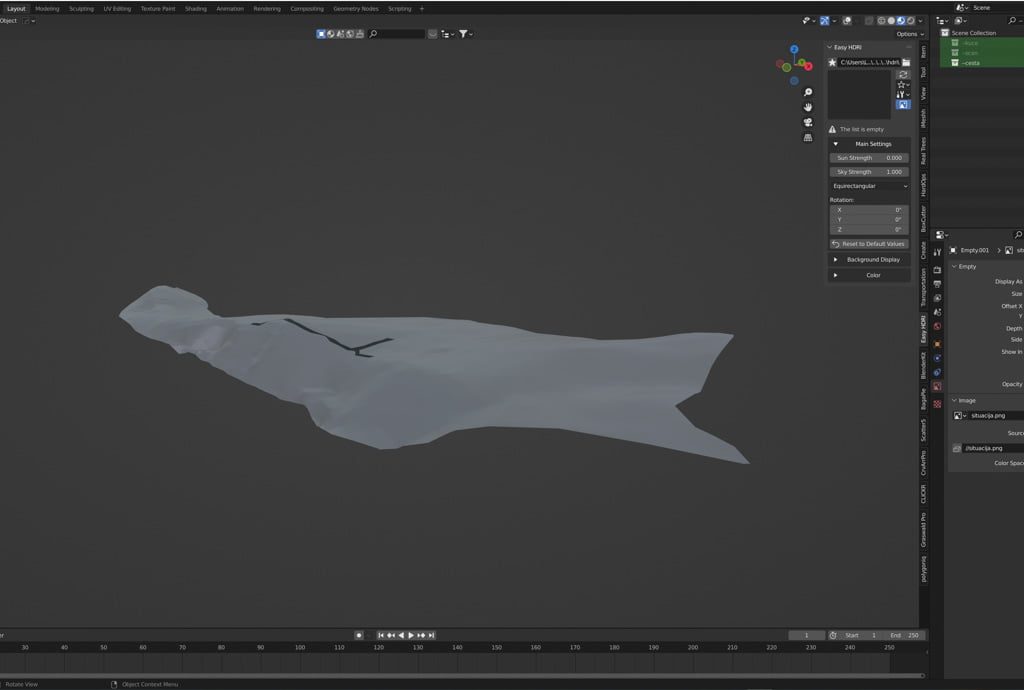
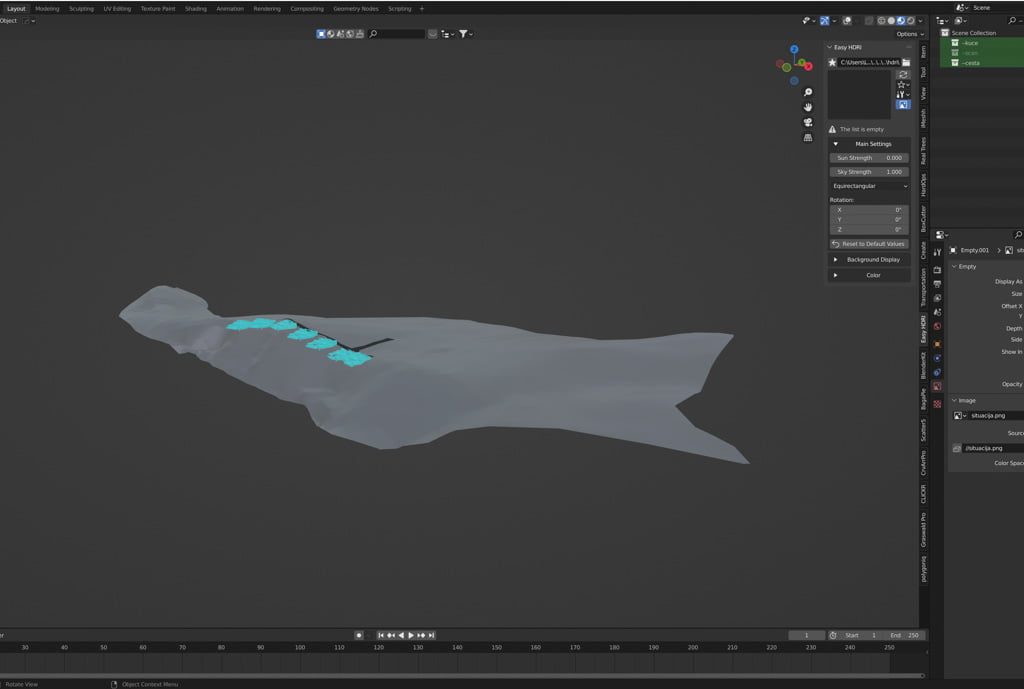
We compared the 3D scan of the terrain with the geodetic base. After comparing it we placed the access road and also the objects on the terrain.
Taking into account the configuration of the terrain, we made changes and adjustments to the buildings depending on the situation and modeled the staircase that connects the villas to the coast.
Postproduction
Interpolations
We interpolated 3D models and photos taken from the air by a drone using fSpy software. fSpy is a great open-source add-on for Blender that helps interpolate 3D models within the photo scene. It is a process that estimates camera parameters from specific data within an image. fSpy successfully calculates the approximate focal length, orientation and position of the camera in relation to the control point assignment.
At the site in Cavtat, we took quite a few aerial photos with drones (DJI Phantom 4 Pro and Mavic 2 Pro) at different times of the day. Due to the proximity of the airport, we had to ask permission beforehand to film the location, as it is a zone with increased air traffic. We were waiting a little more than a week for the permission, and it is important to announce the time when the flight mission will take place.
We shot in 5 exposures each (in RAW) and so later with Lightroom we made HDR photos of the place, the surroundings and the views.
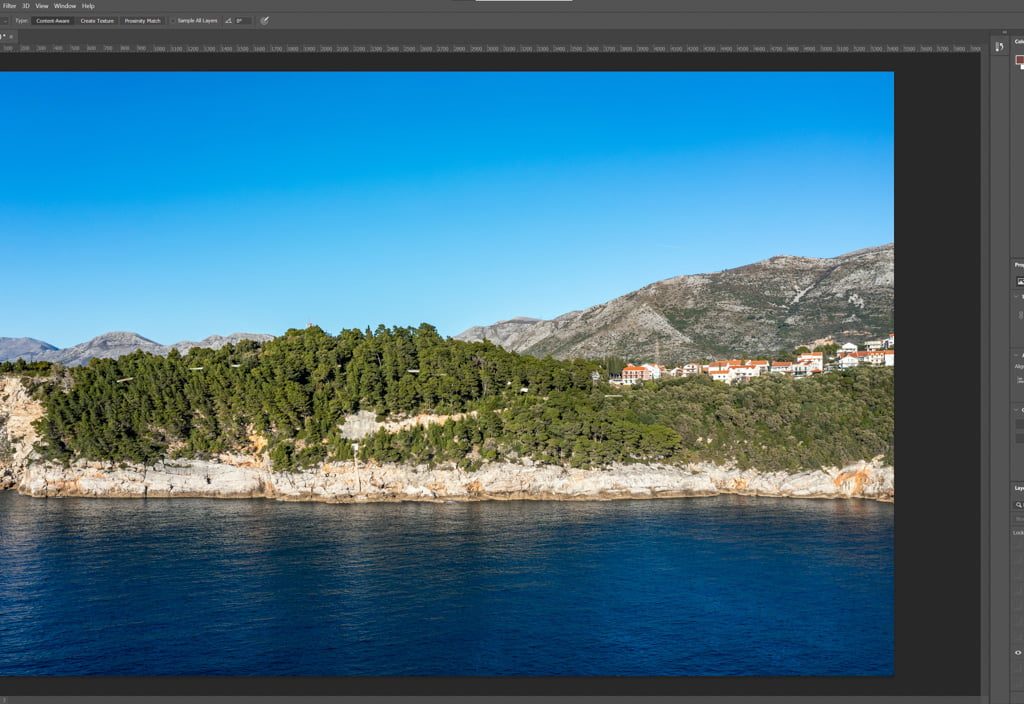
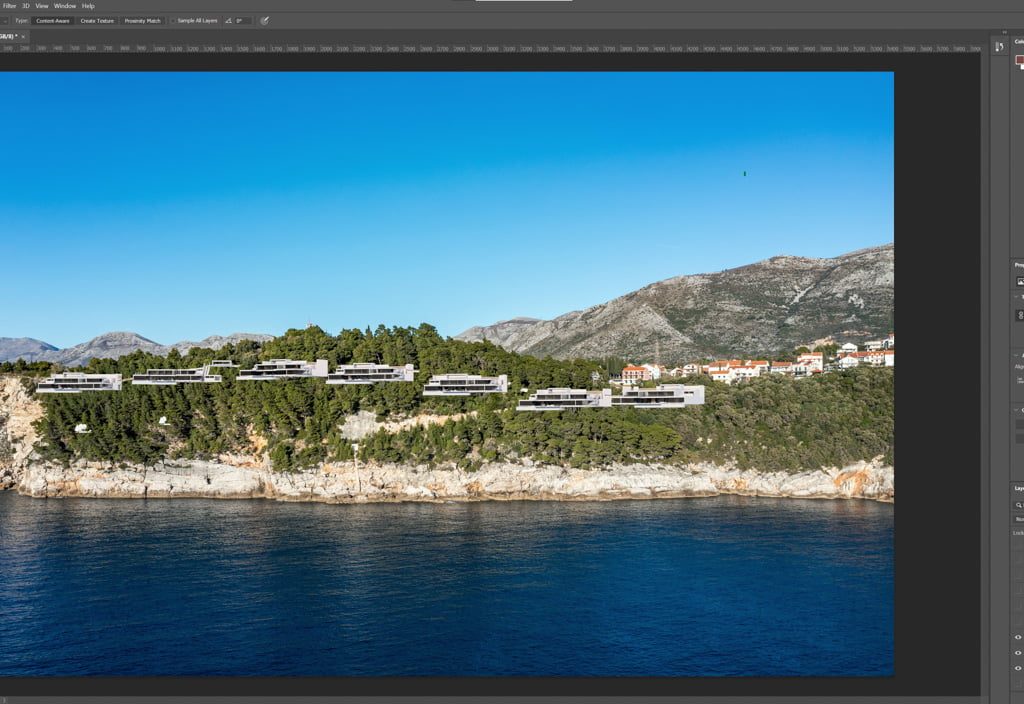
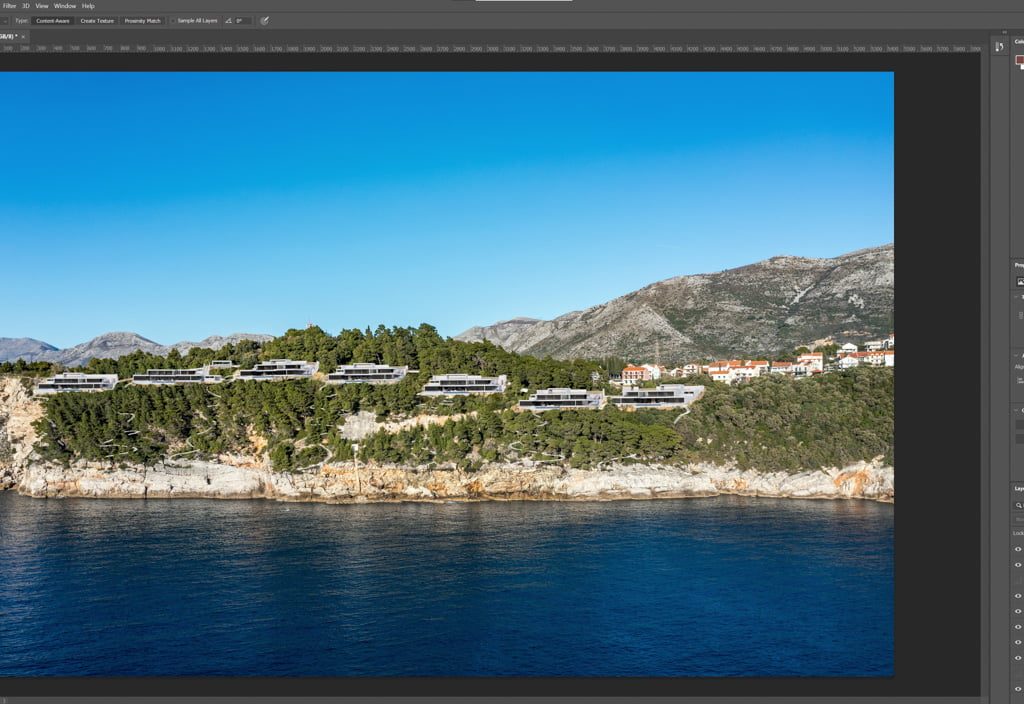
For the photo montage, we chose 4 photos that best showed the location of the project. Then we started with post-processing and adjusting the vegetation, placing the previously rendered models at the actual position in the space. To achieve the best possible result.
Photoshop - Exterior
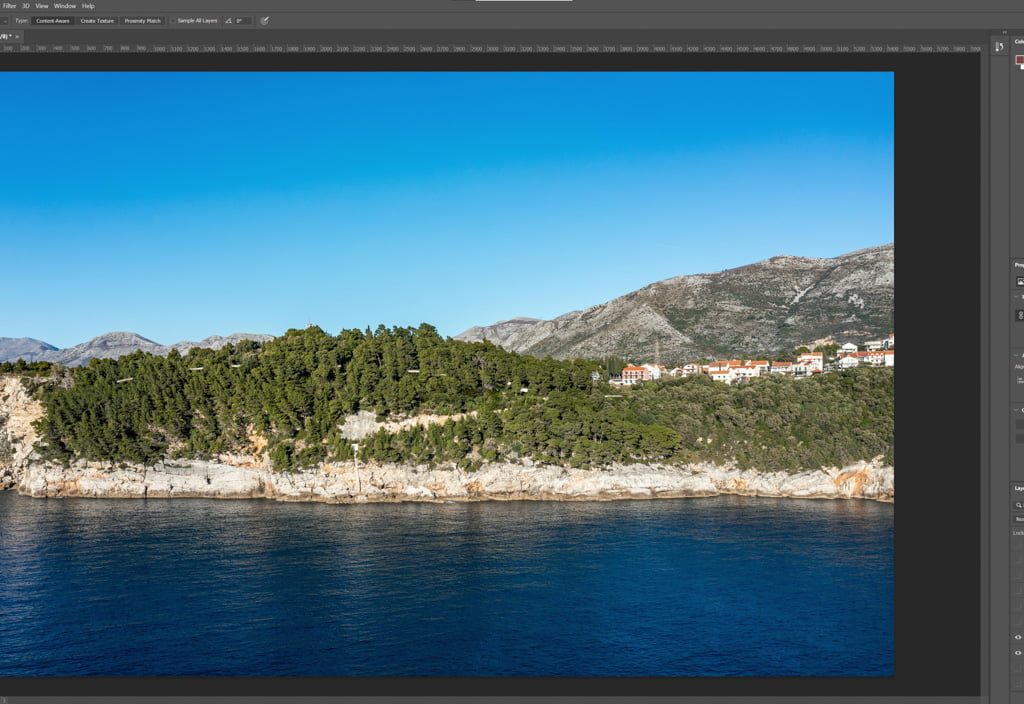
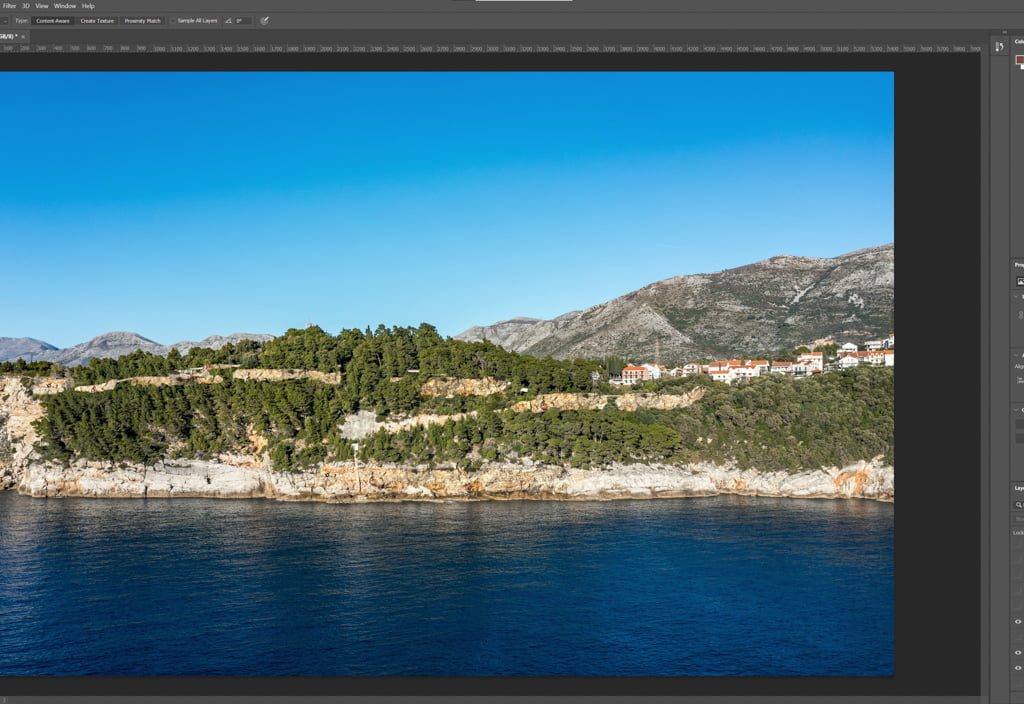
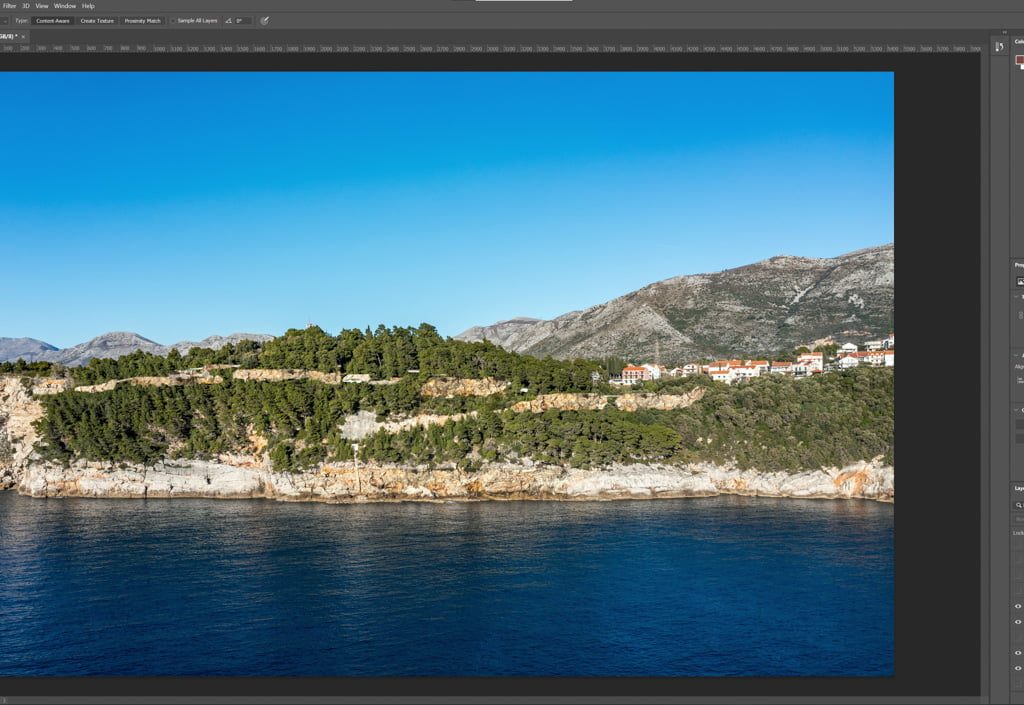
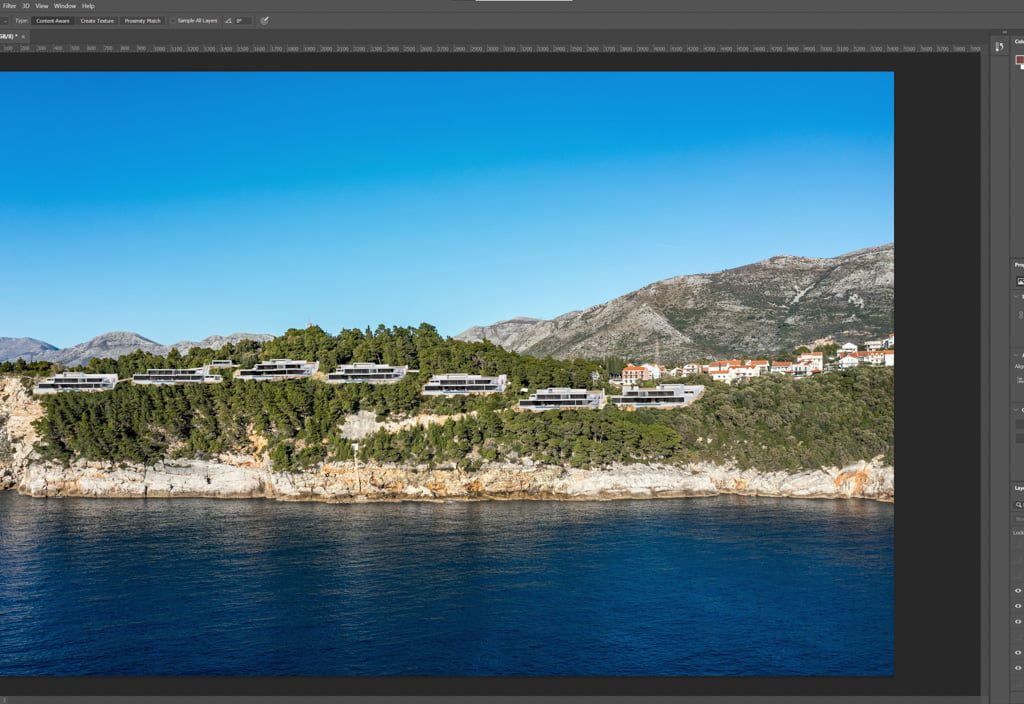
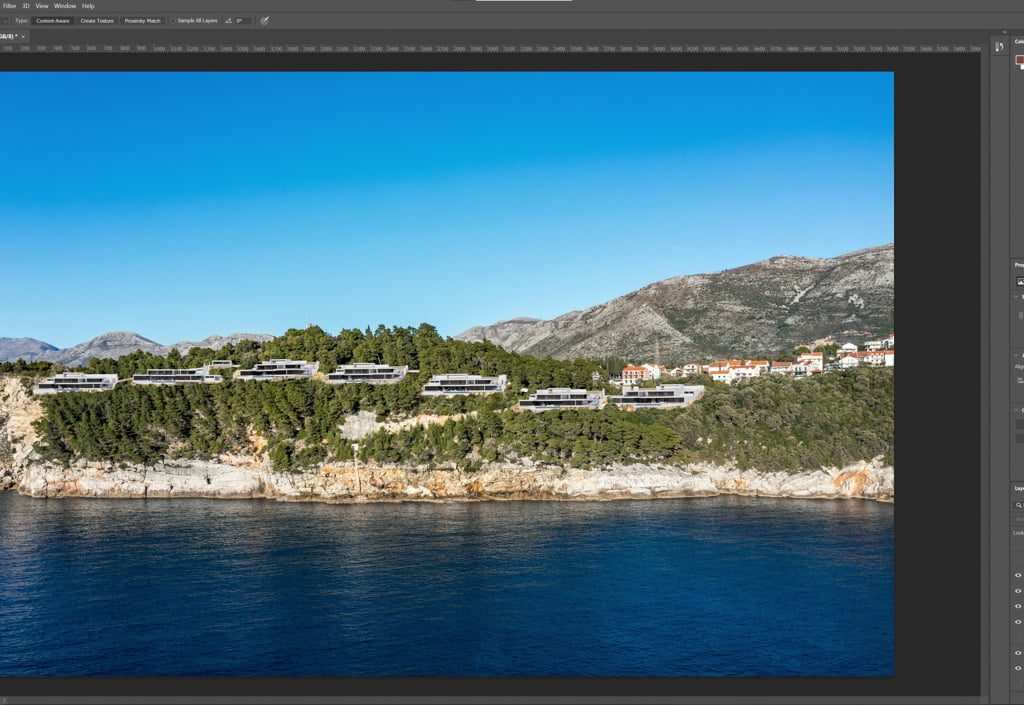
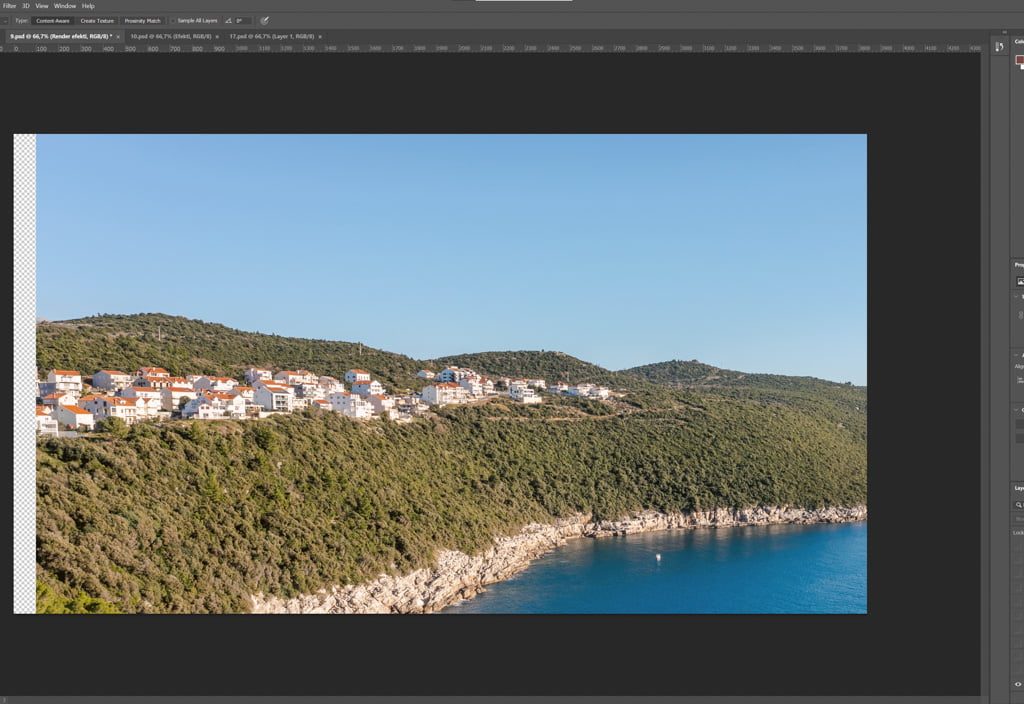
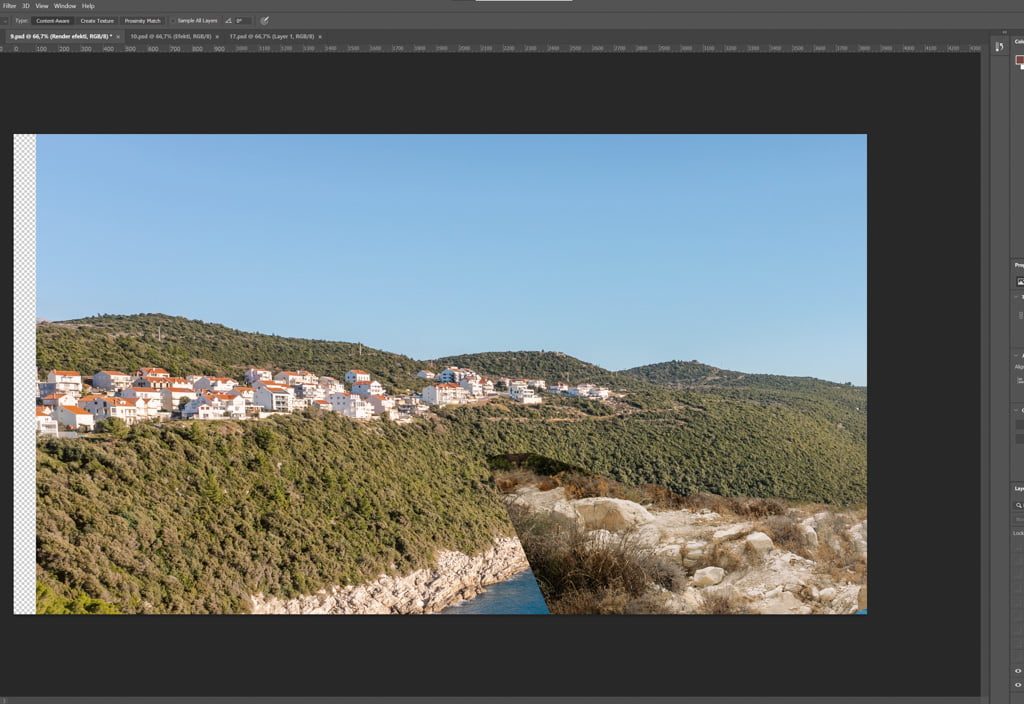
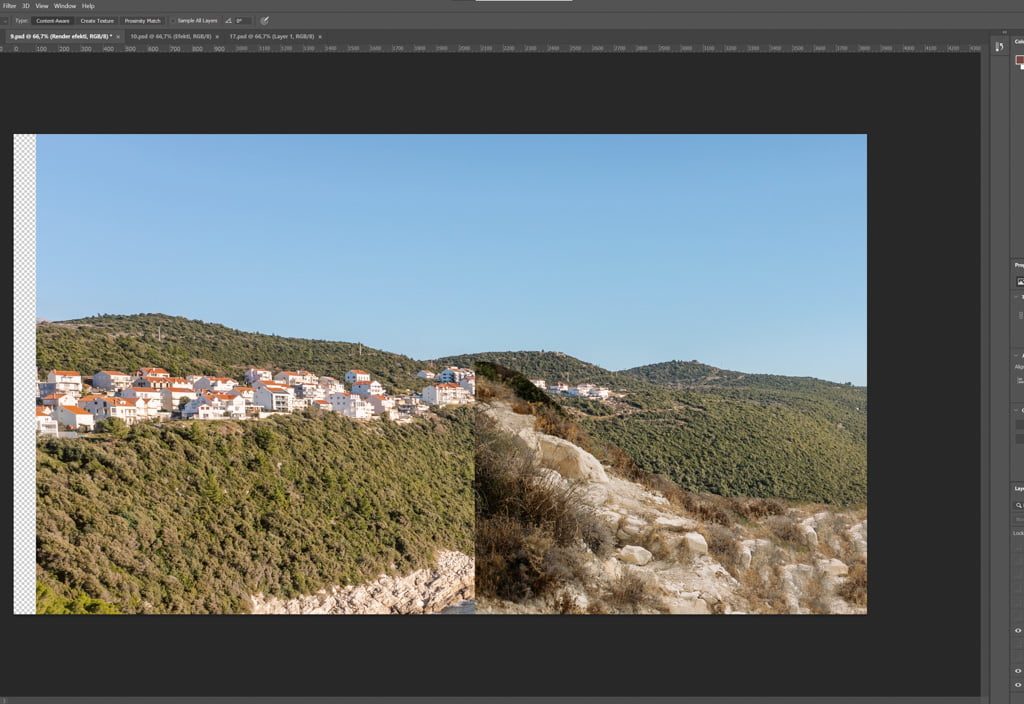
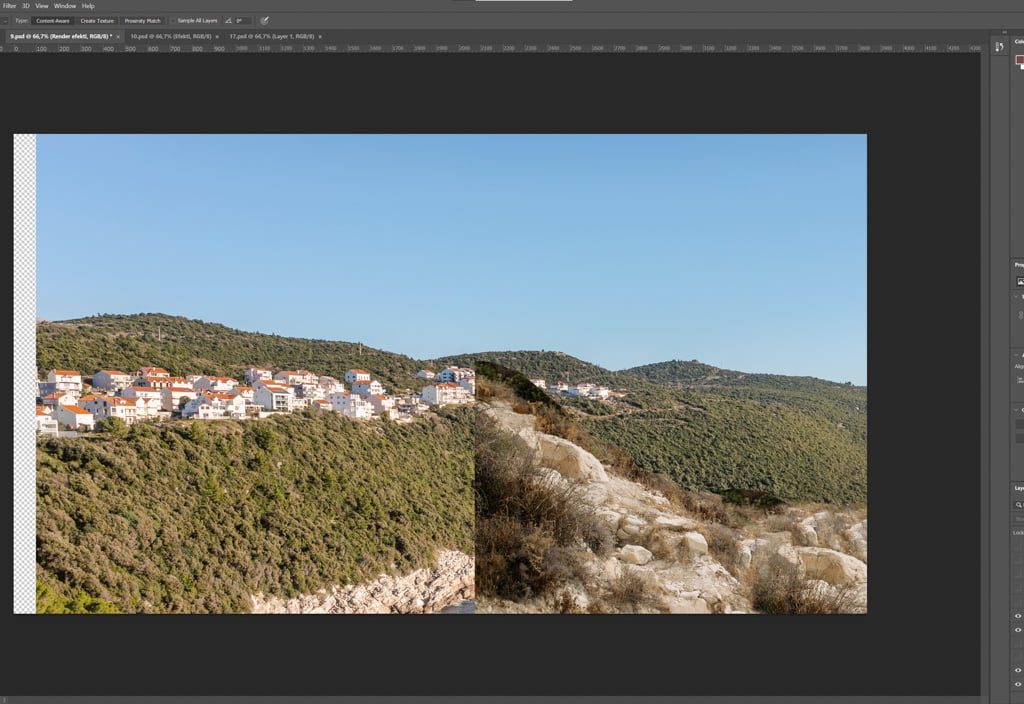
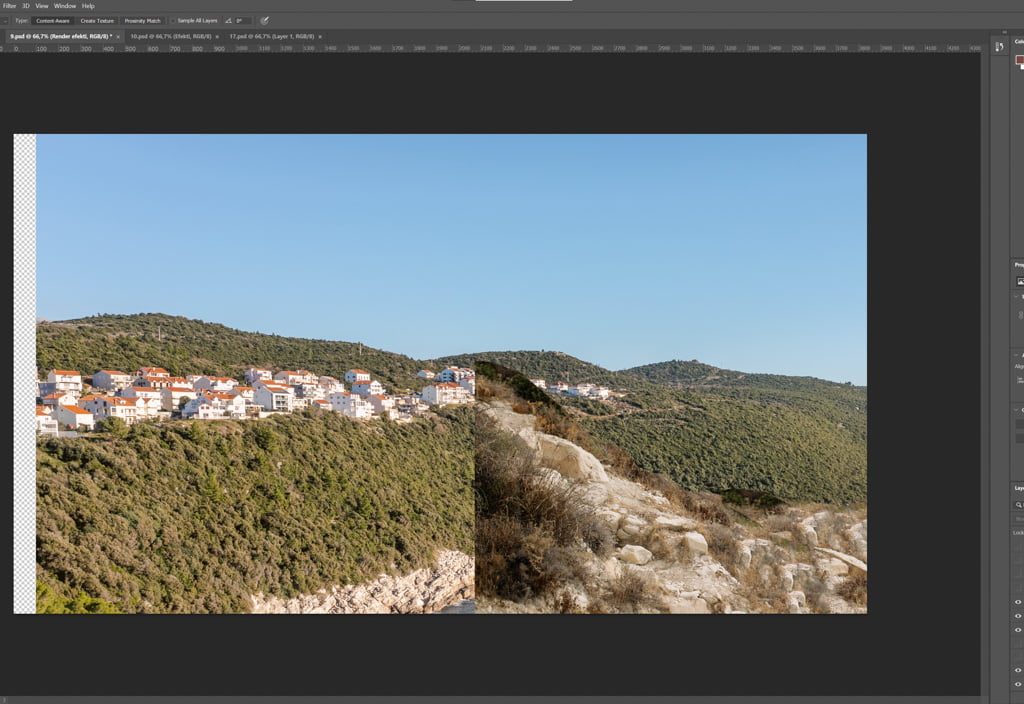
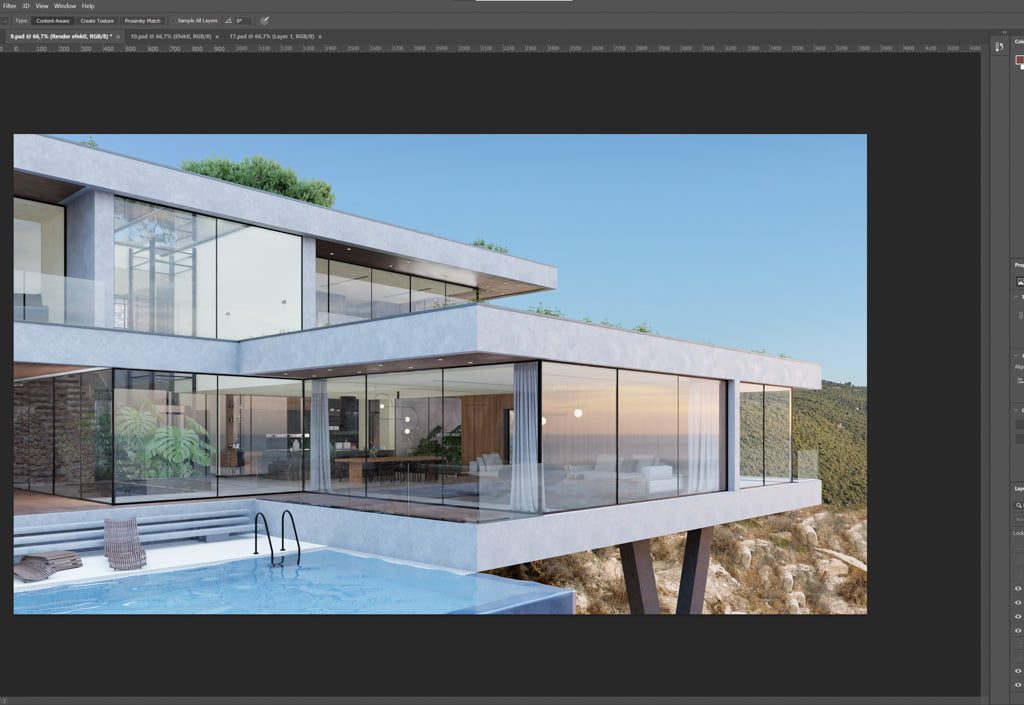
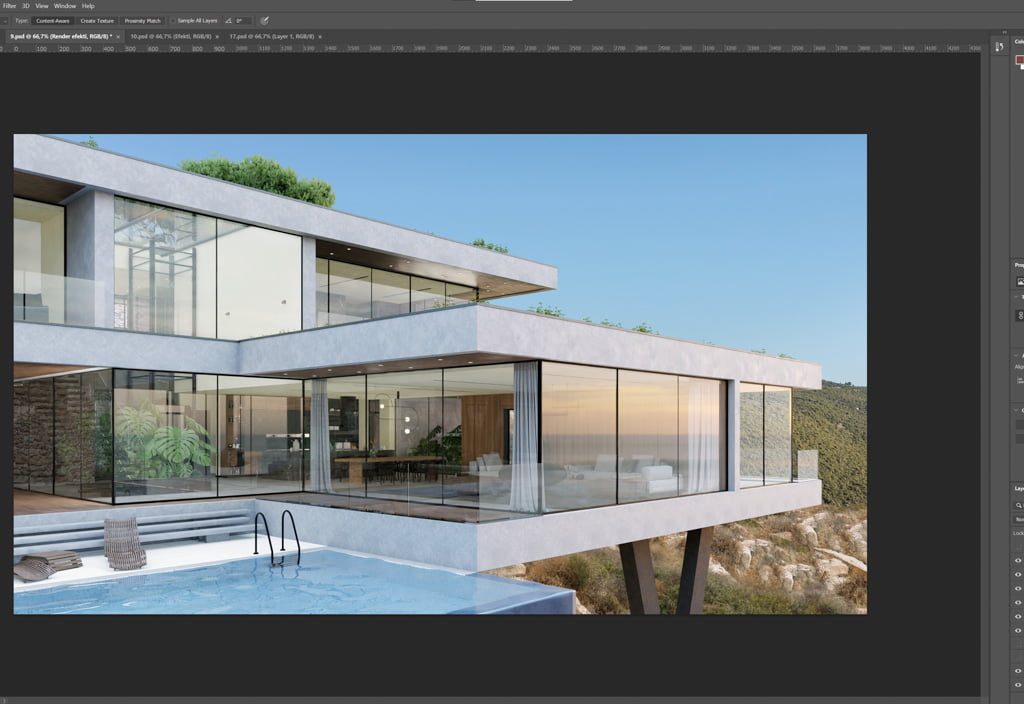
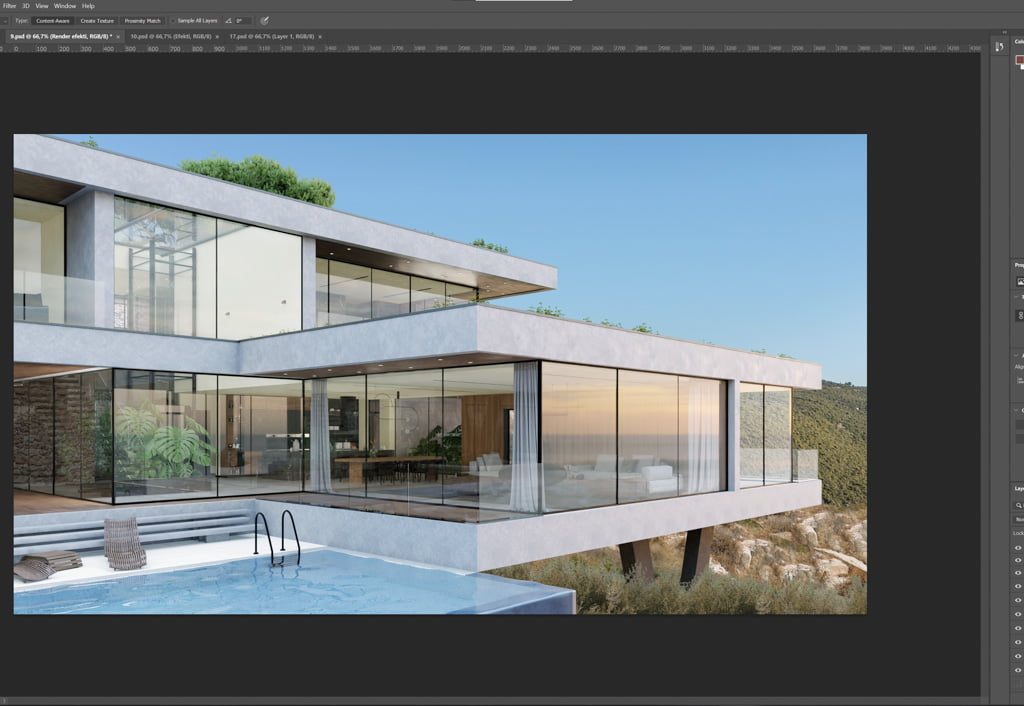
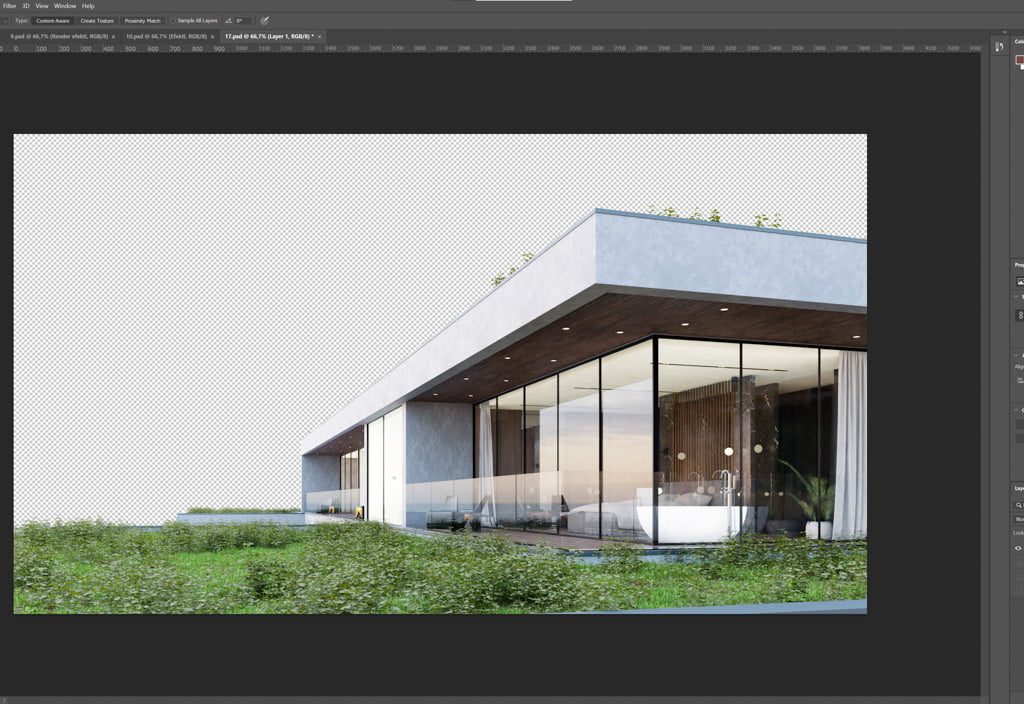
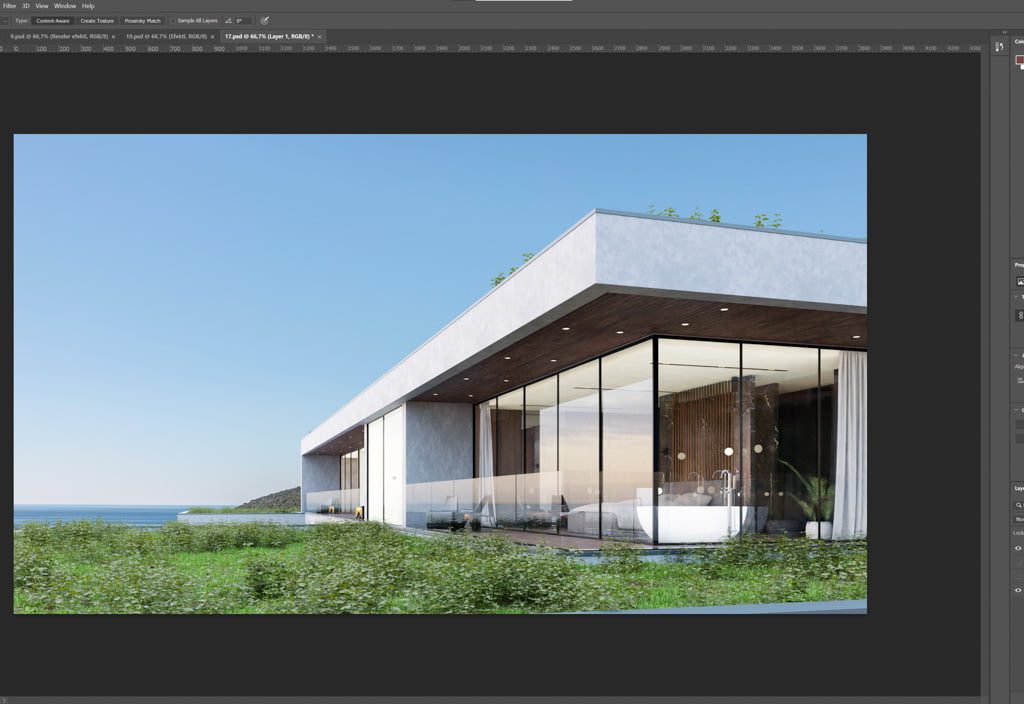
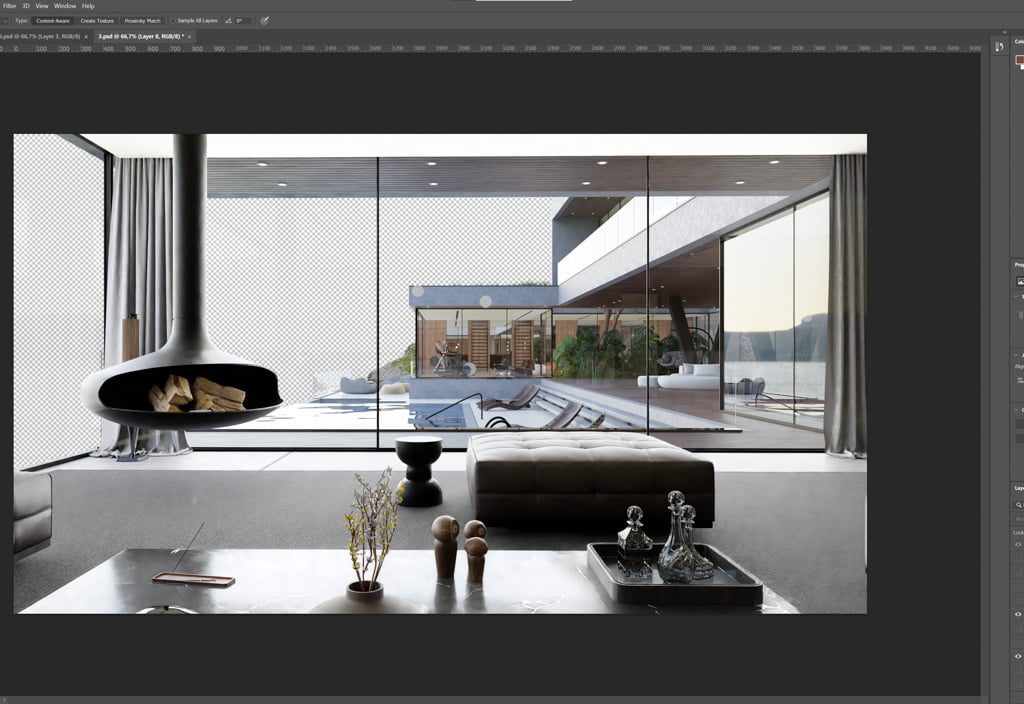
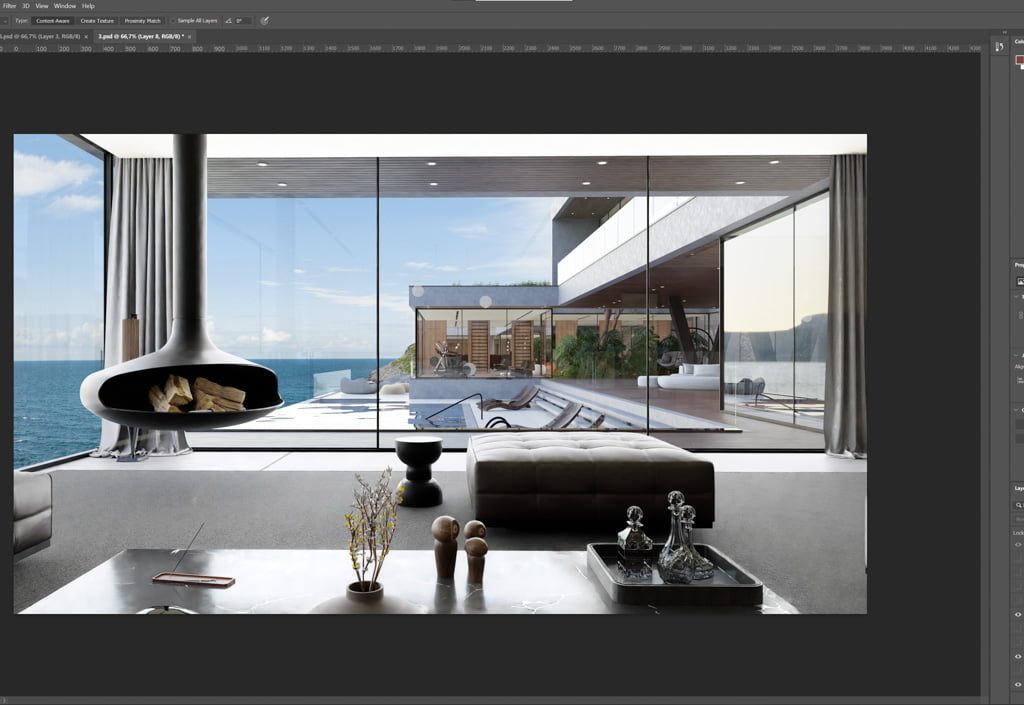
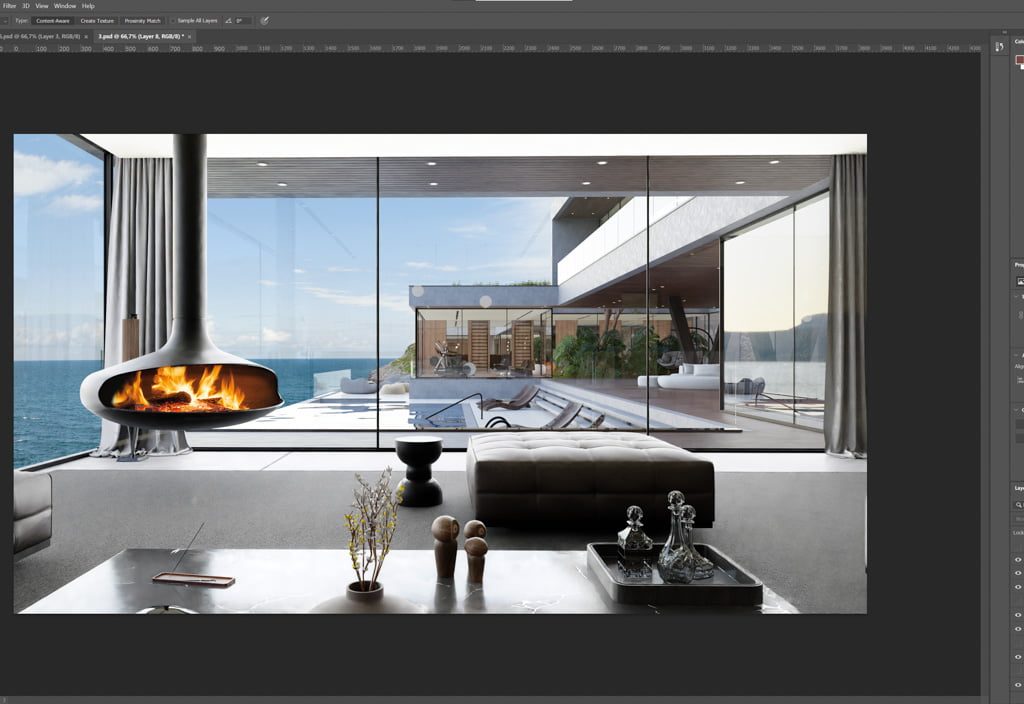
Post-processing is essential when creating 3D visualizations. Sometimes projects are just about the final correction of colors, sky and adding some details, but sometimes it is responsible for a significant part of the scene. This is quite subjective and depends on the style of the studio or 3D designer, but also on the available materials. On the Dolabella Heights project, we were fortunate to have control over the production of the location photos. So we thought ahead and took all the necessary views to achieve the highest quality and most realistic final result. In the photos below, we show you the process of creating one of the photomontages (we chose one that best represented the post-processing of the exterior, but there were dozens of such examples on this project).
Photoshop - Interior
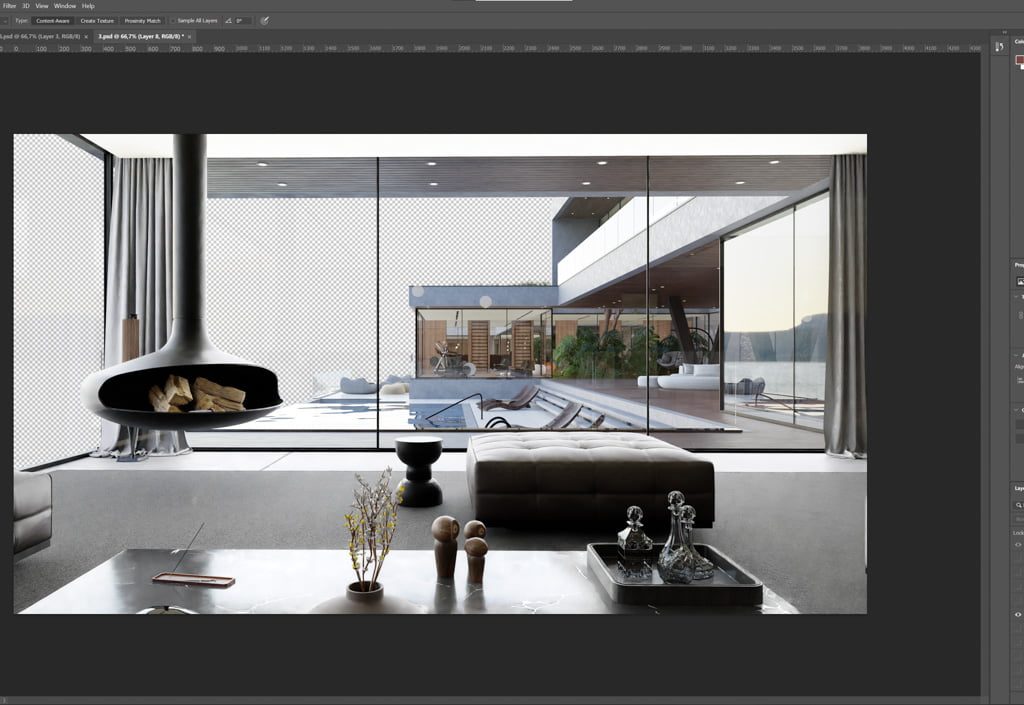
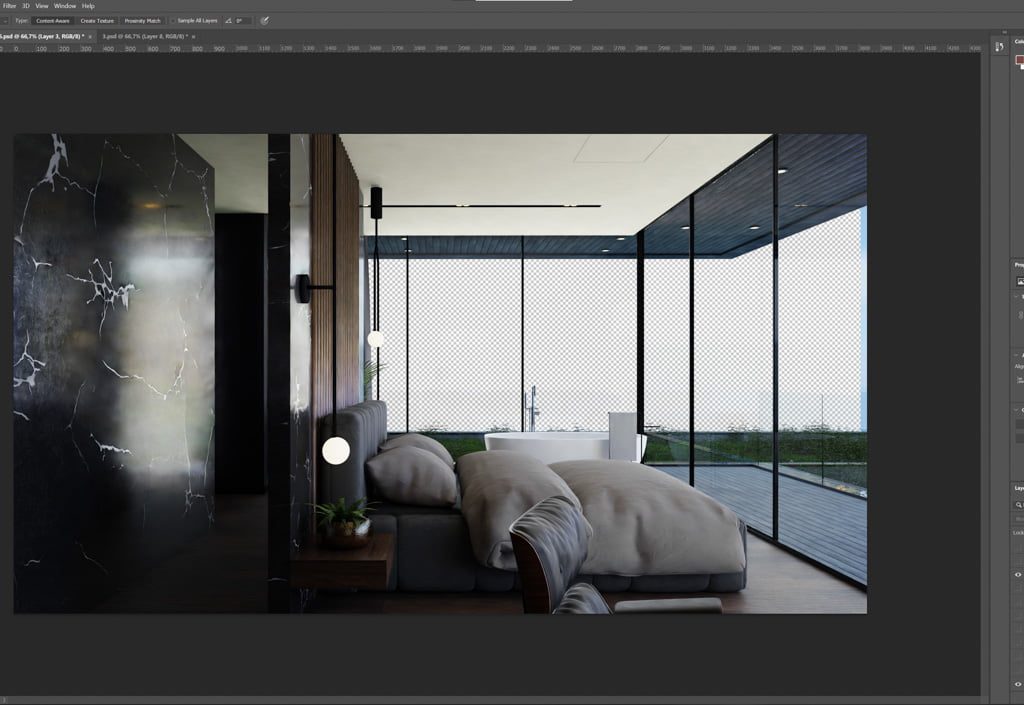
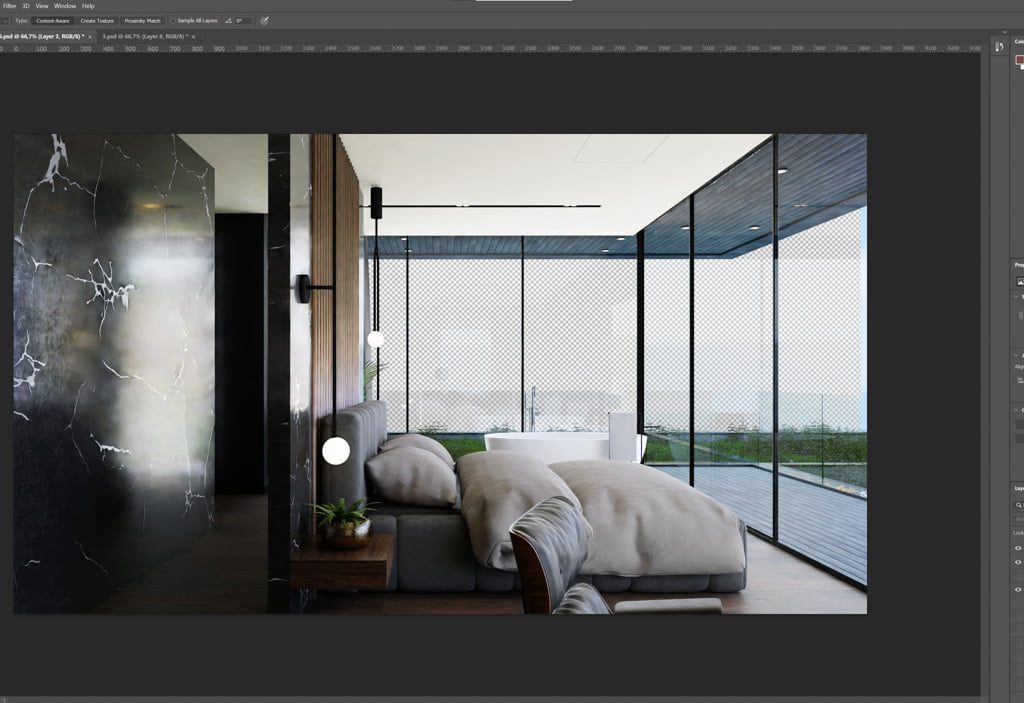
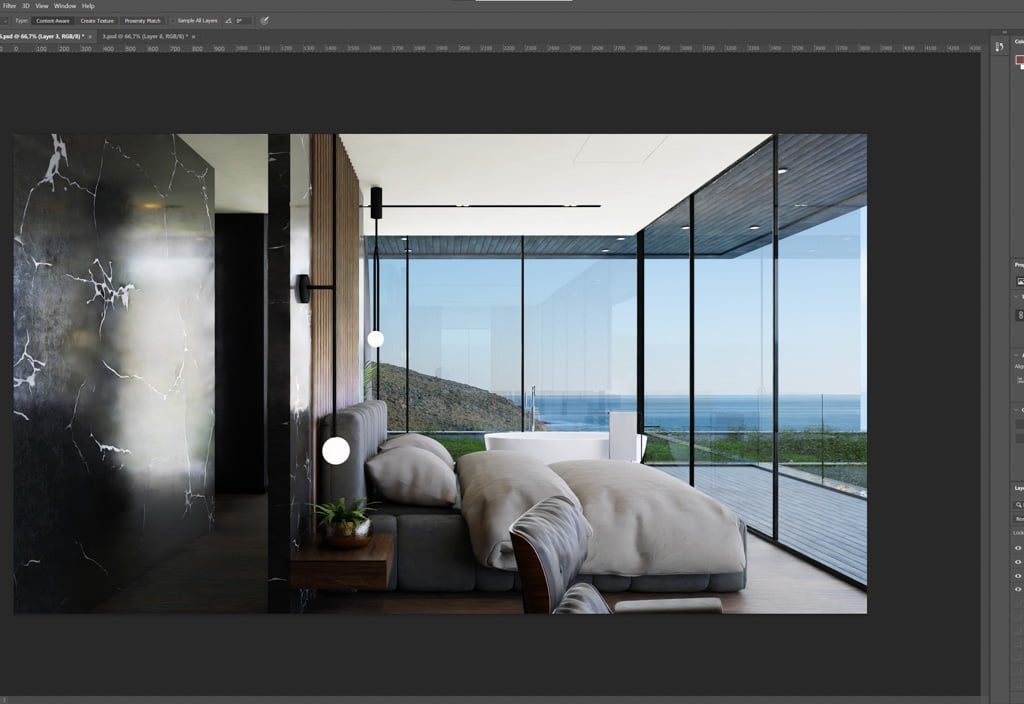
A similar story awaited us in the post-processing of interiors. In the following examples we have chosen one of the positions of the living room and the master bedroom to show you the post-processing process in Photoshop. Of course, it is important to prepare renders without backgrounds to make the whole process feasible. It is also important to choose and set the right HDRI map to achieve the highest quality of reflections, colors and atmosphere of the scene. For the needs of such projects, we independently create an HDRI map on location. In this way we achieve the synchronization of both and thus the most convincing final result.
Final post processing
Finally there is editing of all renderings in Lightroom and eventually Photoshop. Sometimes we change the entire sky in Photoshop, and in the latest versions there is a great “Sky Replacement” tool that gives us top results in terms of sky correction. Lightroom is definitely used for editing colors, their temperature and saturation, sharpness, contrast, light, haze and similar subtleties.
Conclusion
The Dolabella Heights project was completed in an excellent 6 weeks. An important focus during that time was project management and communication with the client. We believe that good communication is key to achieving top results and that client involvement is crucial in achieving ultimate satisfaction. As with other projects, update reports were prepared each week informing the client of what was done that week, what is planned for the next, but also our suggestions that contributed to further improvements in the project. A WhatsApp group was set up for the needs of the project, which included the client, the architecture firm, our project manager and the design team leader.
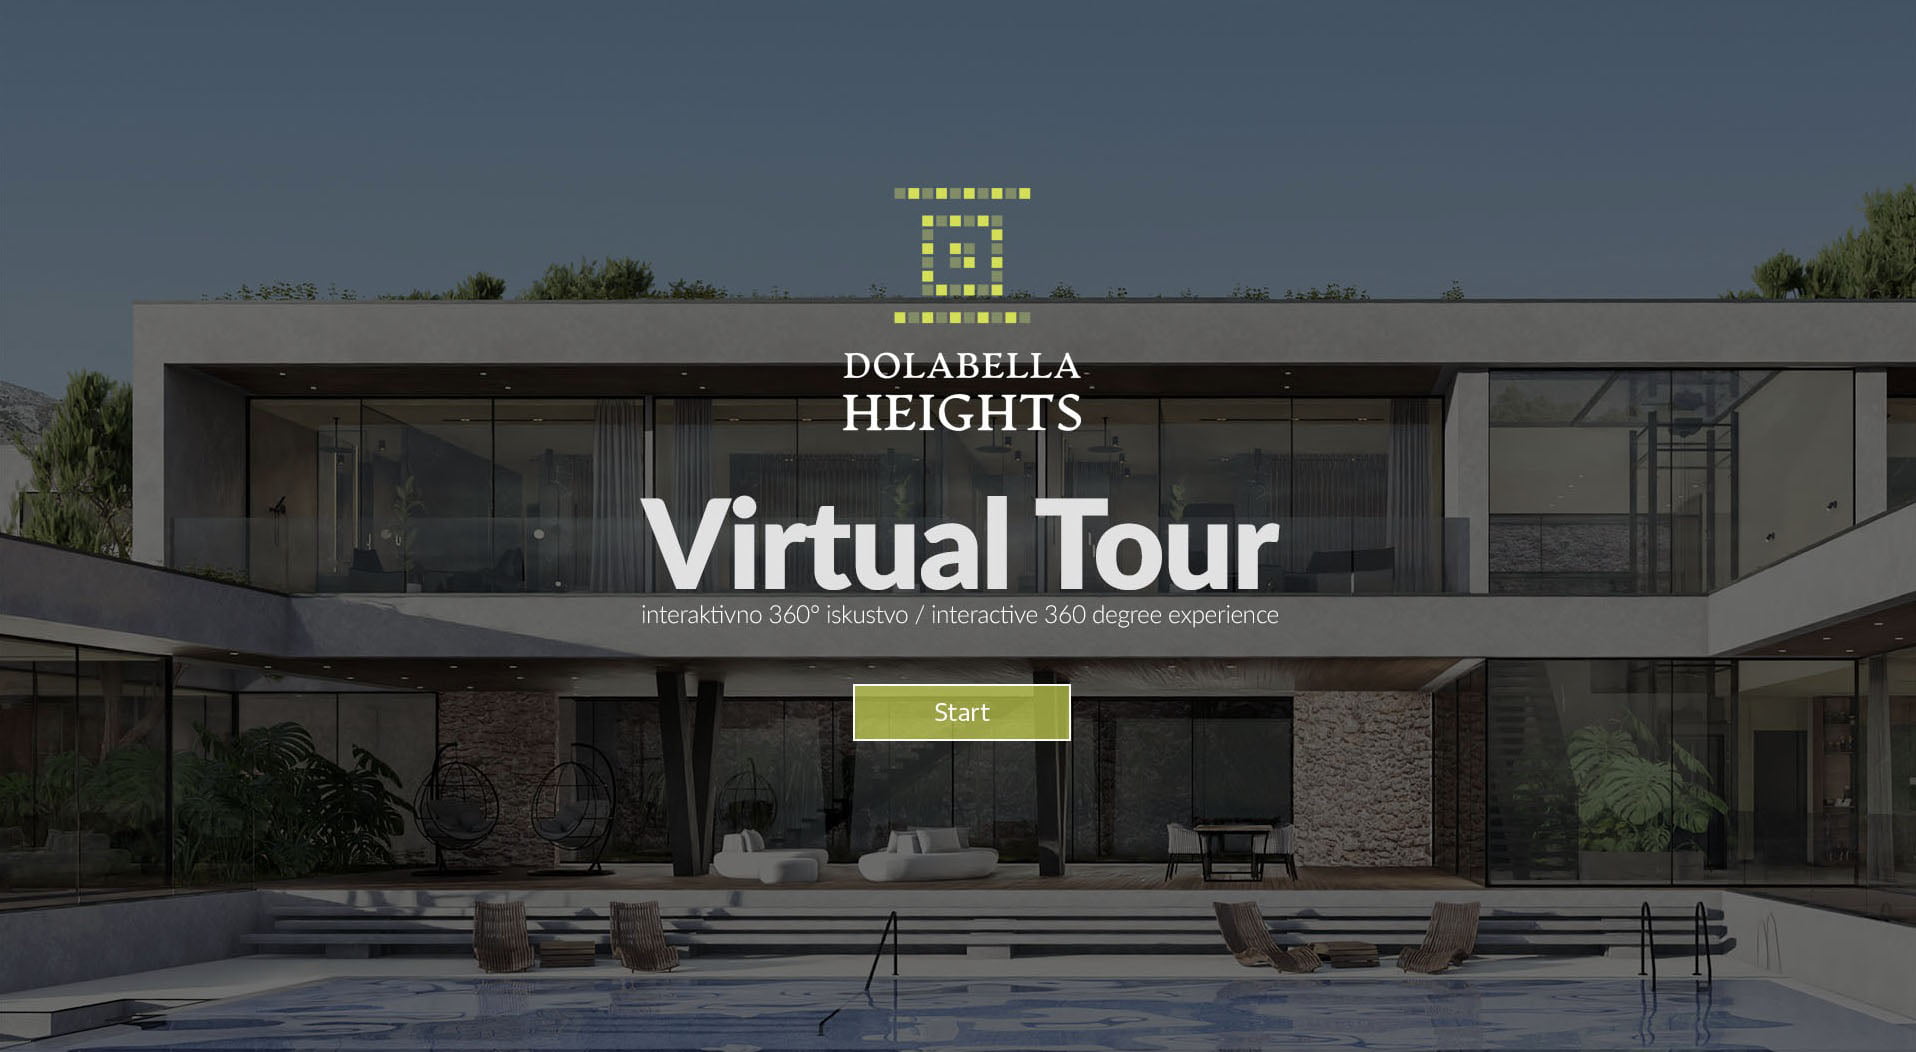
As an additional contribution to the project, we surprised the client with a small virtual tour through the 3D space, done in HTML5 technology (available on all platforms), a multi-resolution interface, a menu, but also full support for VR glasses like Oculus.
Contact Us
Do you have a project that you would like to talk about? Wondering which 3D visualization will work best for you? Do you have a question for us about how we work? Leave us a message here – and we will contact you!
5 Uses of 3D Rendering for Architects
Professional 3D visualization plays a significant role in various aspects of architecture, aiding architects in presenting their projects, enhancing their skills, and accelerating career g...
Architectural visualization in transition: The Influence of Apple Vision Pro and Meta Quest Pro / Quest 3
The world of architectural design and 3D visualization is about to take a giant leap forward, thanks to the recent unveiling of two groundbreaking products: Apple's Vision Pro and Meta's Q...
Will AI Replace 3D Artists or Architects Any Time Soon?
The question of whether Artificial Intelligence (AI) will replace 3D artists or architects is currently a focal point of debate amongst the creative community. AI's surge in popularity has dr...
Eco-Friendly Design: How 3D Visualization Supports Sustainable Architecture
As concerns about climate change and dwindling natural resources continue to grow, architects, construction companies, and investors are increasingly focusing on creating eco-friendly and ...
3D Visualization in Furniture Manufacturing Industry
The furniture manufacturing industry is constantly evolving, with new technologies and advancements making it easier to create high-quality, functional pieces. One of the most exciting develop...
The Best 3D Rendering Software of 2022
Check out our list of the best 3D rendering software tools for animation, special effects, and architectural visualization. Some are free. 3D rendering is the final stage of the 3D animatio...
Case study: the process of creating 3D exterior visualizations of a family villa in Zagreb
Recently, we have been receiving more and more requests related to visualizations and renovation projects of family houses. Therefore, we decided to create a case study about the process of cr...
Sign up for our Referral Partner Program and get rewarded
Format 3D Referral Program allows you to leverage your sales and entrepreneurial skills to create a new long-term revenue stream for yourself.Over the past 17 years, Format 3D has provided...
Case Study: Sveti Filip i Jakov Tourist Resort 3D visualizations
In the next case study, we describe the process of creating 3D visualizations of the tourist complex in the settlements of Sveti Filip i Jakov not far from Zadar. The project consisted of 19 d...
Case Study: 3D visualization process of 7 luxury villas Dolabella Heights, Cavtat, Dubrovnik
In this case study we present the process of creating a 3D visualization for one of the most exclusive projects on the Adriatic. It is the Dolabella Heights project, which includes 7 luxury vi...


